How to Create a Floral Wall Basket with Boxwood
Learn how to create a pretty seasonal floral wall basket filled with boxwood. You will love this simple DIY floral craft.
Hi friends and Happy Tuesday! Welcome to the Pinterest Challenge!! If I am so glad you’re here! If you are visiting from my friend Renee’s blog, Peacock Ridge Farm, welcome!
What is the Pinterest Challenge?
This Pinterest Challenge is hosted by creative and talented friend Cindy of CountyRoad407.com. Each month one inspiration photo is chosen and each of the participating bloggers use that photo to recreate something similar, but in their own personal style.
Our Inspiration
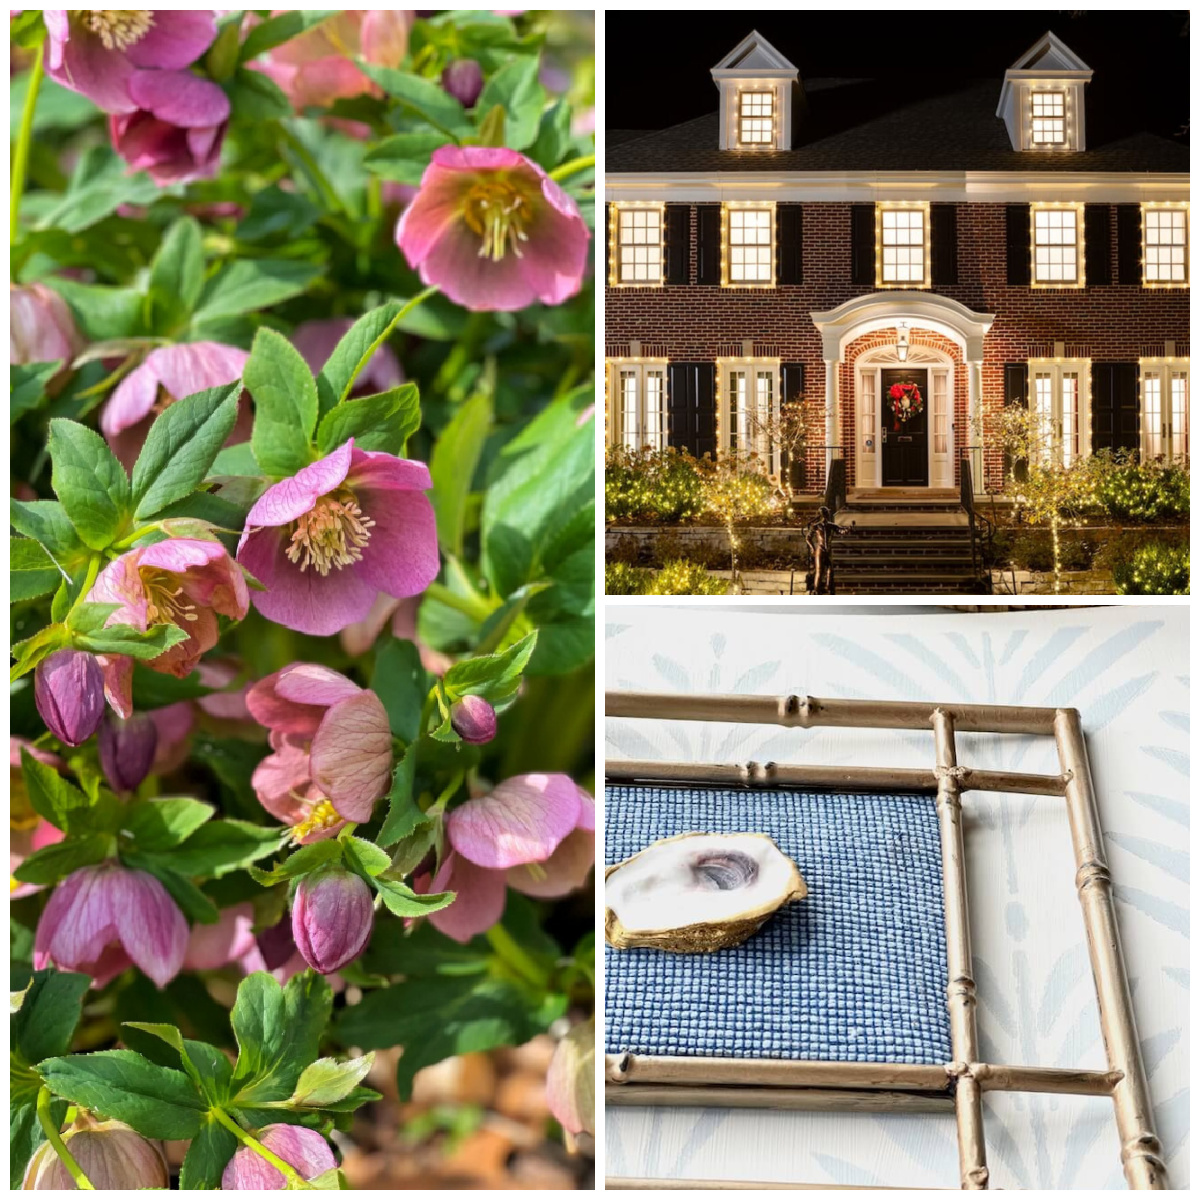
This month’s challenge is all about boxwood. Our beautiful inspiration comes from Courtenay at The Creek Line House. In her post, Courtenay shares how to make a wreath using fresh boxwood. What a beautiful way to greet guests!
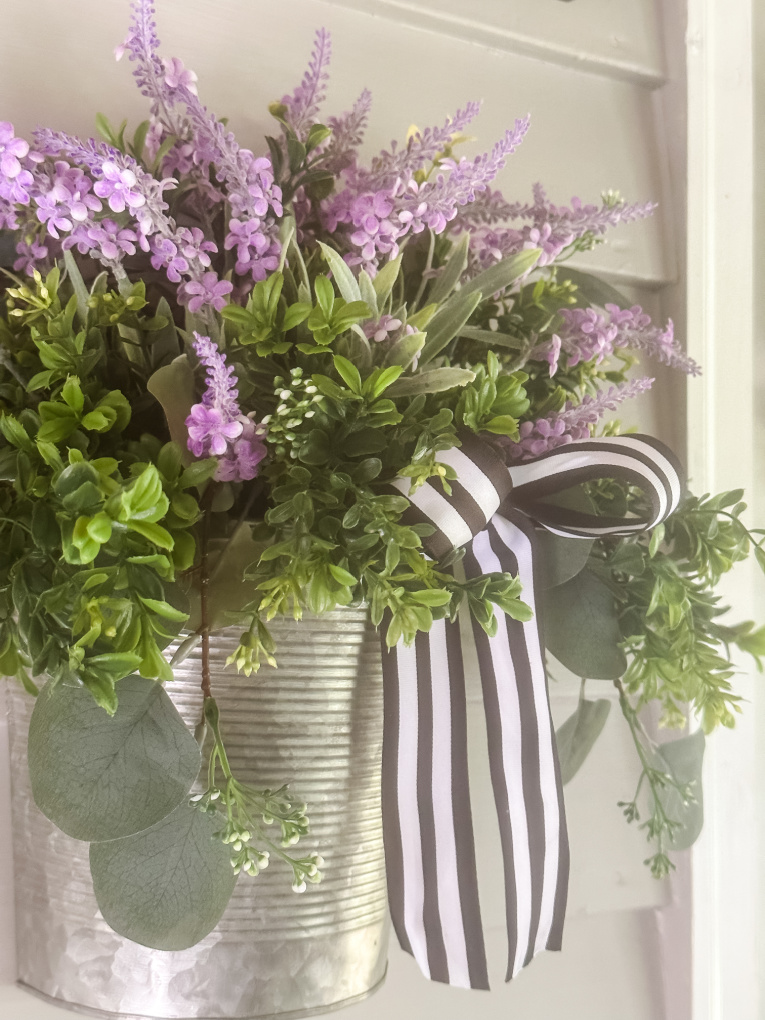
Floral Wall Basket with Boxwood
Boxwood is one of my favorite greens. It is classic, timeless, and can be used throughout the year. I am fortunate to have a large boxwood hedge in my front yard and often use cuttings from it to decorate my home. However, I have recently been cleaning out my craft supplies and found some artificial boxwood. I decided to use it in today’s craft project.
I love making homemade wreaths like this floral summer wreath, this spring tulip wreath, and this dried hydrangea wreath. But instead of making a wreath, I used what I had on hand to create this floral wall basket with boxwood. This hanging wall basket with boxwood and florals is perfect for adding a fresh and unique touch to your home.
The best part is that this project is so simple to make and there is no glue involved. You can simply change out the florals and ribbon to update this basket for each season.
Materials Used
This post contains affiliate links. Please see my disclosure policy here. Thank you for your support.
As I said, I cleaned out my craft supplies, so I did not need to purchase anything. The galvanized basket I used is the same one that I filled with fresh flowers when I recently added some simple patriotic decor to my porch.
- wall basket
- floral foam
- artificial boxwood greenery
- eucalyptus
- florals of your choice
- ribbon of your choice
- floral wire
- floral wire cutters
How to Create a Floral Wall Basket with Boxwood
First, place the floral foam inside the basket.
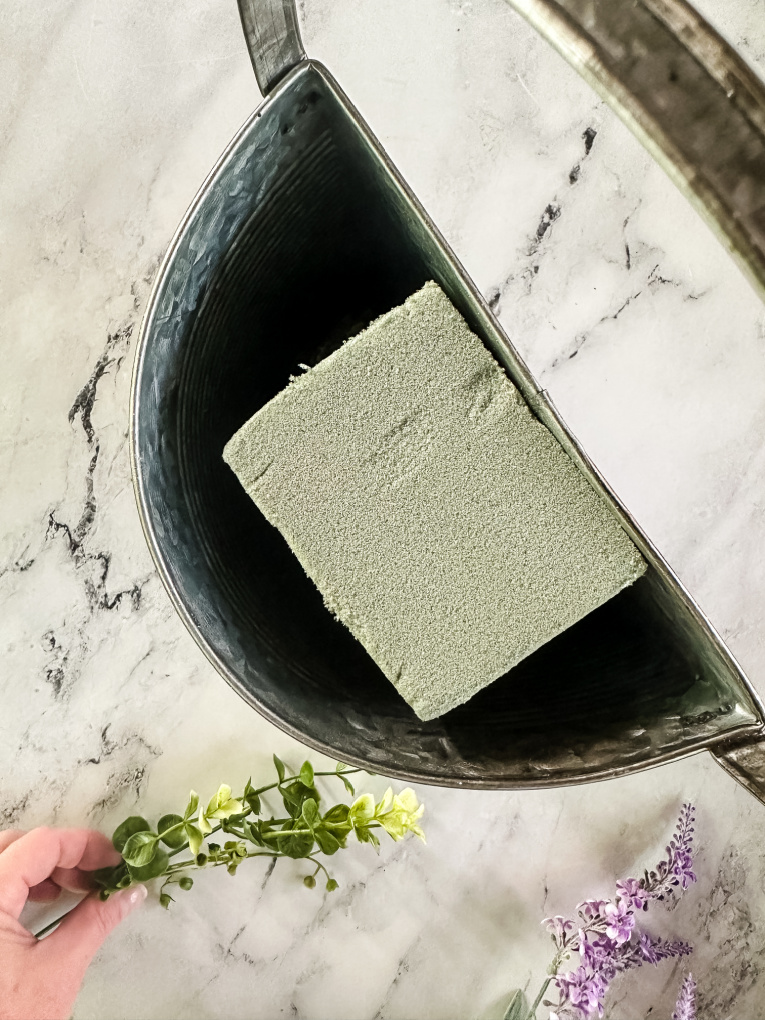
I used the filler, thriller, and spiller method of filling a floral basket, similar to how you would plant a container garden.
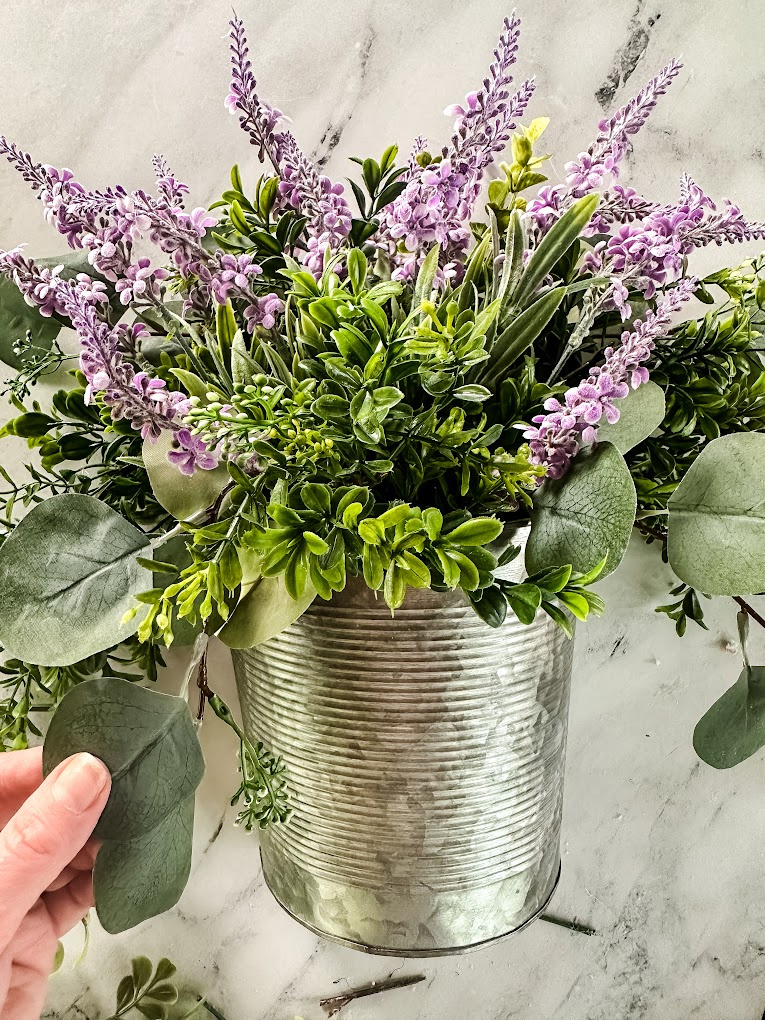
Using the floral wire cutters, cut the artificial boxwood and push the stems into the floral foam. This will be your filler.
Next, cut the flower stems and push them into the floral foam. These are your thrillers.
Then, cut the seeded eucalyptus stems and push them into the floral foam. Bend the stems so they spill over the side of your basket. This is your spiller.
If you would like, tie a simple bow with ribbon. Add a piece of floral wire to the bow and press the wire into the floral foam.
Hang and enjoy!
Thank you so much for visiting today! If you have any questions about this project, please feel free to reach out to me. I would love to connect with you on Facebook, Instagram, Pinterest, or here on the blog!
Next, please head over to visit my friend, Diane of South House Design. You will love her beautiful fresh boxwood wreath!
And, please enjoy all of the amazing ideas from my talented friends!
How to Create a Floral Wall Basket with Boxwood
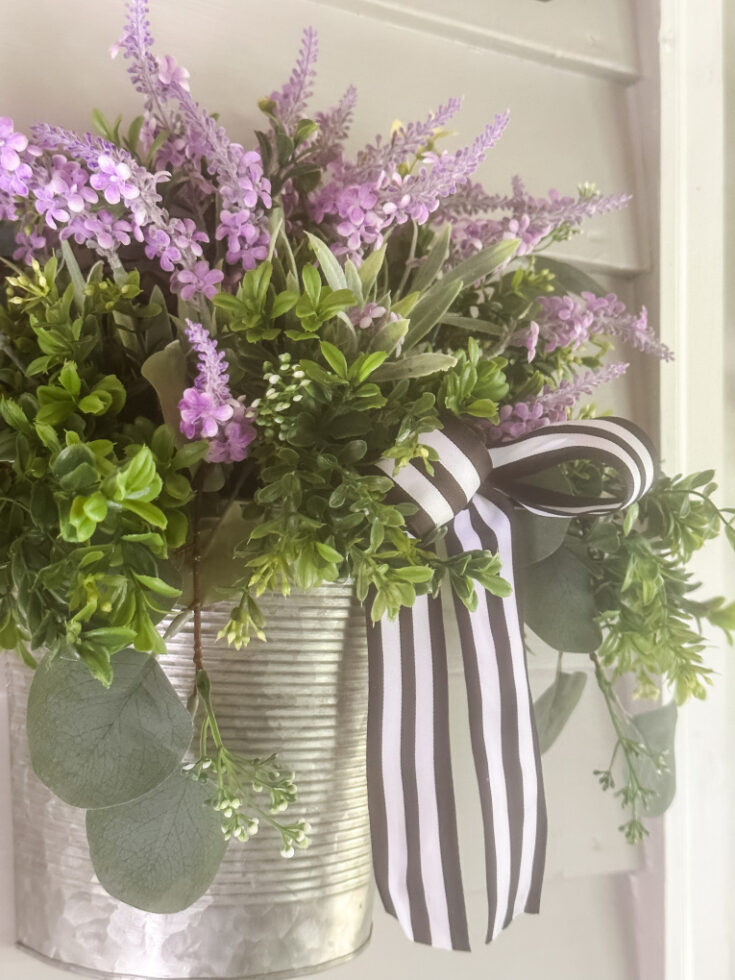
Learn how to create a pretty seasonal floral wall basket filled with boxwood. You will love this simple DIY floral craft.
Materials
- wall basket
- floral foam
- artificial boxwood greenery
- artificial seeded eucalyptus
- artificial florals of your choice
- ribbon of your choice
- floral wire
Tools
- floral wire cutters
Instructions
- First, place the floral foam inside the basket.
- Using the floral wire cutters, cut the artificial boxwood and push the stems into the floral foam. This will be your filler.
- Next, cut the flower stems and push them into the floral foam. These are your thrillers.
- Then, cut the seeded eucalyptus stems and push them into the floral foam. Bend the stems so they spill over the side of your basket. This is your spiller.
- If you would like, tie a simple bow with ribbon. Add a piece of floral wire to the bow and press the wire into the floral foam. Hang and enjoy!
Notes
I used the filler, thriller, and spiller method of filling a floral basket, similar to how you would plant a container garden.


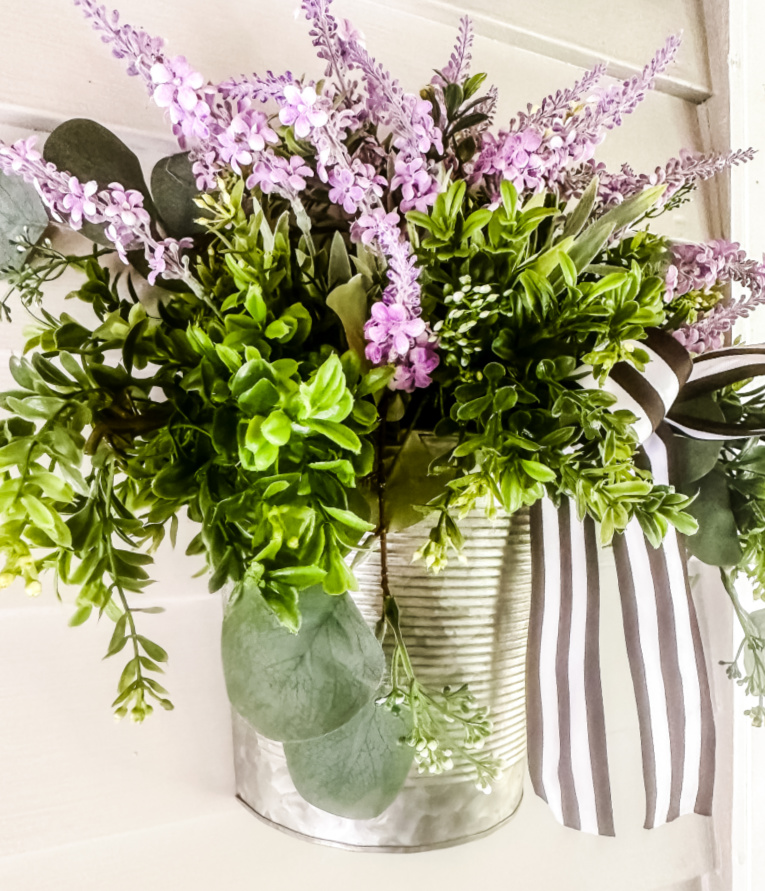





What a pretty bouquet. Such a lovely way to add a pop of floral color.
Lynne, I love your new boxwood basket!!! It’s beautiful with the eucalyptus and little purple spiked flowers. Great tutorial!! I know everyone will enjoy walking up and seeing it there as they come inside your home.
Enjoy! and happy summer hugs to you,
Barb 🙂
I love your can idea. How unique and such a fun idea. The boxwood and flowers create the most beautiful door hanging. I’ve been using a basket, now I need to think outside the box and get creative.
Gorgeous as always, Lynne! I love your combination of picks and stems! This was such a fun challenge! I’m so glad to be linking up with you all.
I love the galvanized wall basket you used. Love all the florals you used. So pretty, Lynne!
Who wouldn’t get a big ol’ smile on their face when walking up to this door?! So so pretty. You can’t go wrong with boxwood. Thanks for joining in this month. pinned
Bravo Lynne, on putting your own spin on the challenge this month! I love the galvanized wall basket and your floral arrangement! Pinning!
This floral basket turned out so cute Lynne! I love the mix of greenery with the flowers, and it looks so cute on your door!
Love your wall basket version, Lynne. So cute and easy to whip together and it looks great with the ribbon. Always enjoy seeing all the variety on these challenges!
This is such a fun idea. I love it.
This is wonderful Lynne, I love to create different looks for my door too, I love the way you did the ribbon~
What a beautiful wreath for this time of year, Lynne!! It’s not bright and loud but it’s not fall either. The greenery mixed with that purple color is so pretty and I LOVE that galvanized basket! Hope you are enjoying Summer!!
How adorable using the galvanized container. I absolutely love it.
I just loved the entire way and the content indeed I appreciate it.
I love this bucket of flowers instead of a traditional wreath, Lynne!
Don’t forget to join us over at the Creative Crafts Linky Party every Wednesday through Sunday
https://creativelybeth.com/creative-crafts-linky-party/
Followed and Pinned!