How to Dry Brush Painted Flower Pots
Hello Friends! I hope your summer is off to a great start! School recently ended here in Connecticut and I have to say, it was bittersweet. I teach fourth grade, the oldest grade in my school. As as much as the anticipation builds and we all look forward to summer, it is always a little sad to say goodbye to the kiddos.
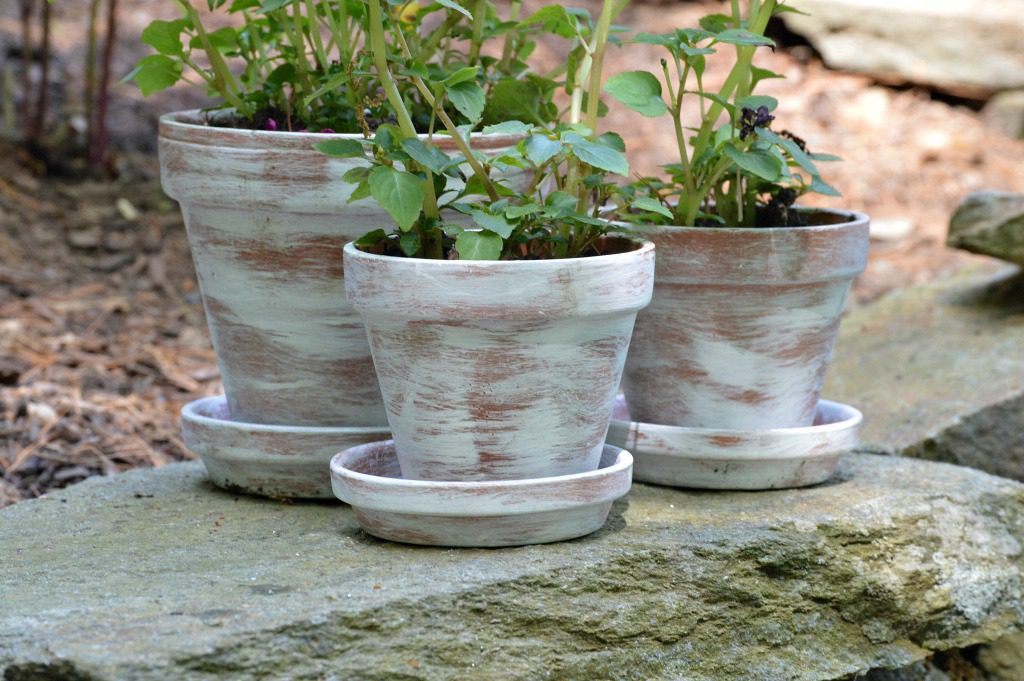
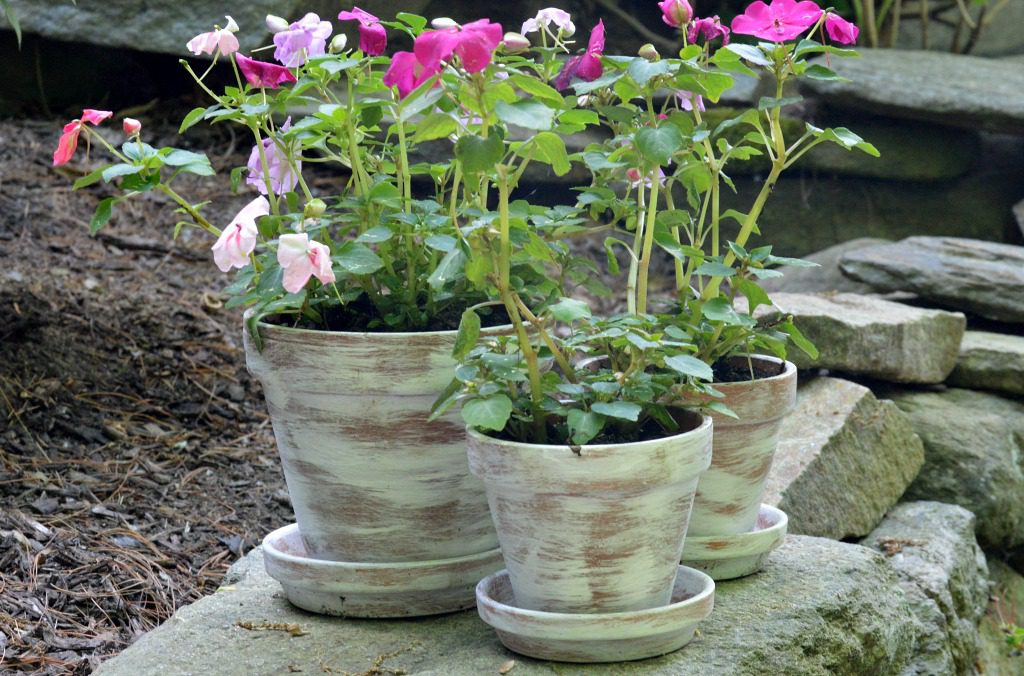
Now that summer is officially here, I am settling into a routine and finally catching up on some projects around the house and out in the garden. I love to create pretty little areas around my yard. This cluster of flower pots brings in texture and some fun pops of summertime color. You can use varying heights and sizes for added interest.
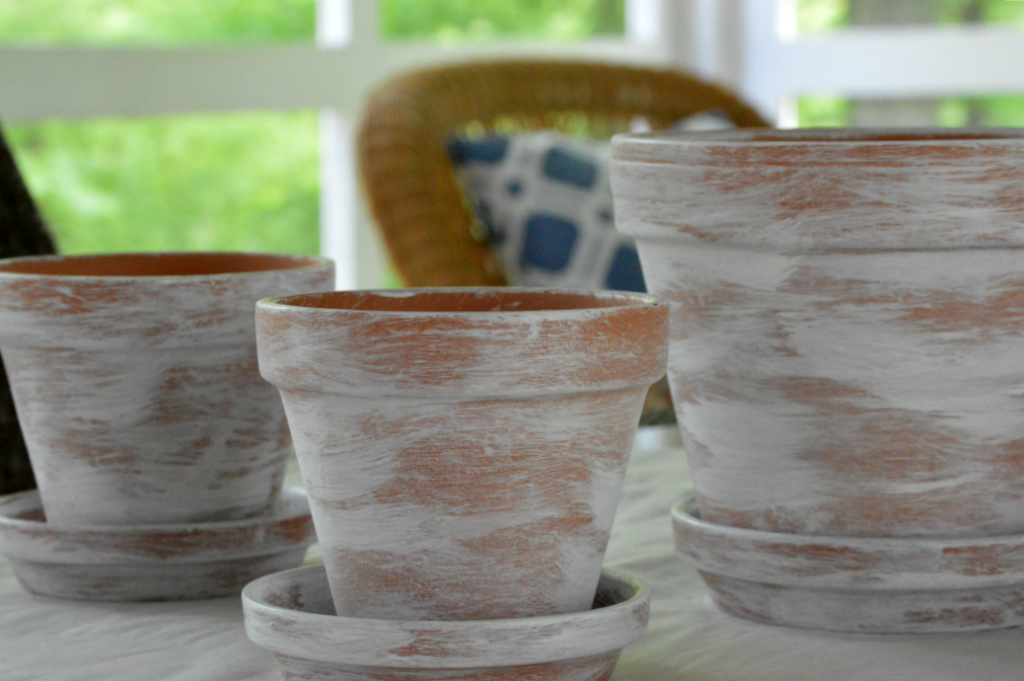
One project that I would love to share with you is the dry brush painting technique that I used to create the aged look of these flower pots.
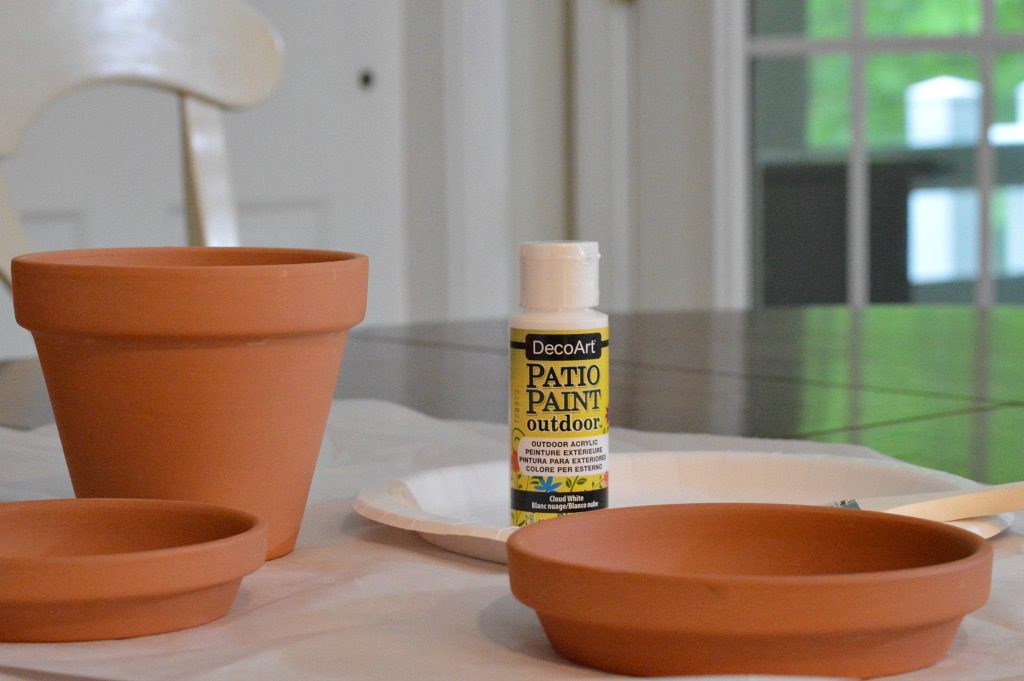
For this project, I began with a few terracotta clay pots, along with DecoArt’s Patio Paint in Cloud White, a dry bristled paint brush, and a paper plate.
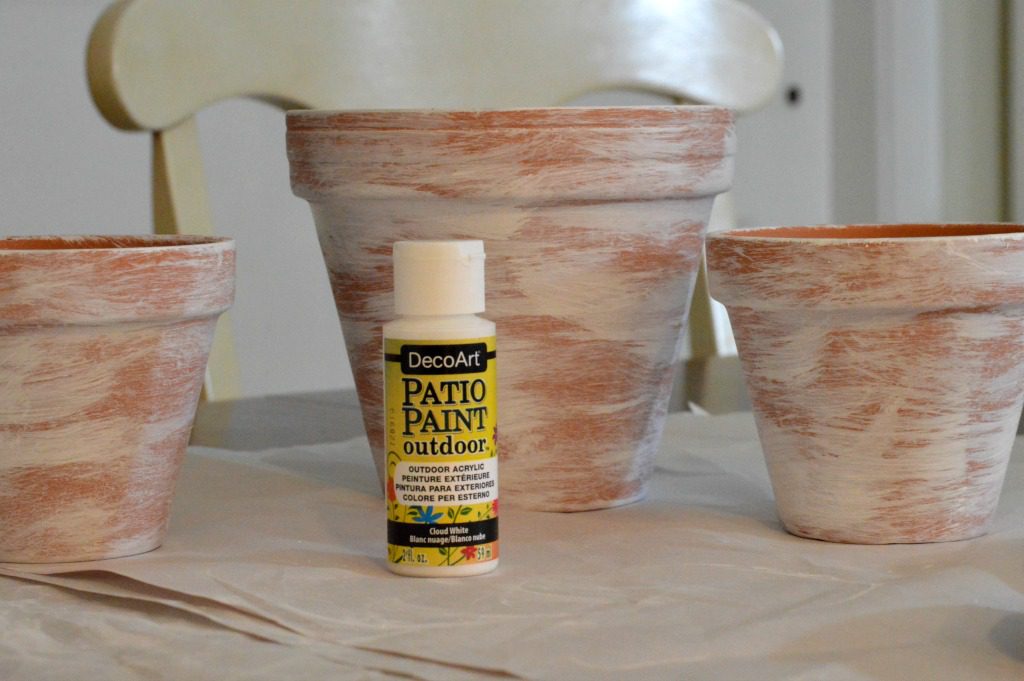
For the dry brush painting technique, gently dip your brush into the paint and then dabbed it on the paper plate to remove any excess paint. With the brush almost dry, paint the pots, using short, light, swift strokes. There is no right or wrong way to do this. Just have some fun and go with whatever looks good to you. This painting technique creates a scratchy, worn imperfect look, which I love.
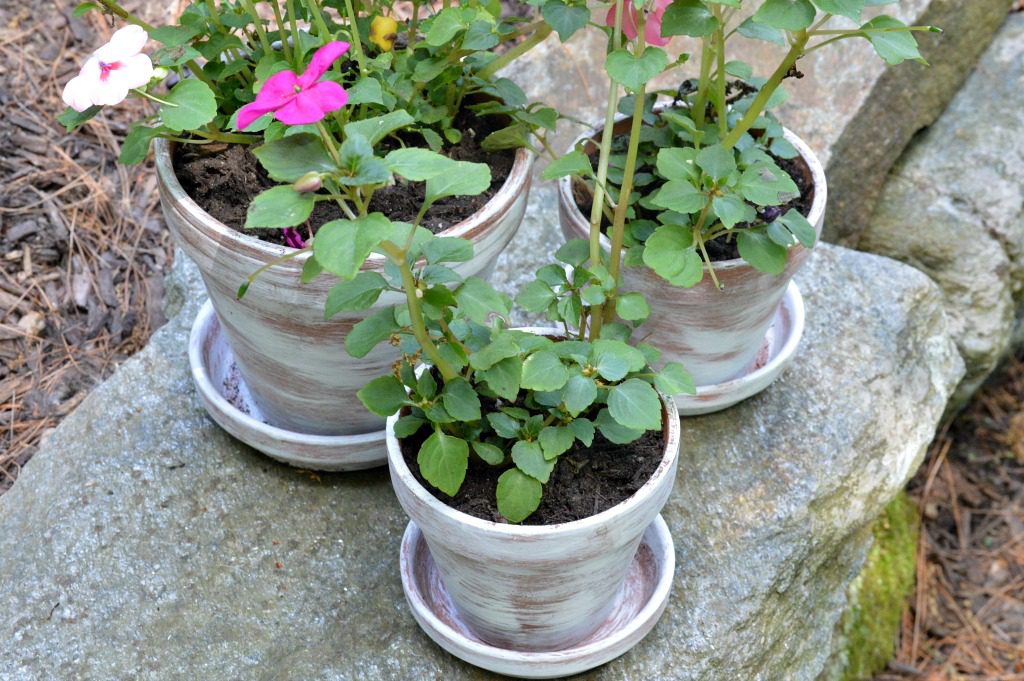
You can always go back and add more colors or layers of paint. I chose to keep my flower pots simple and just go with one color. Once the pots were dry, I did lightly sand the pots to help them appear more “aged” and to create more texture. I love that they are perfectly imperfect!
After adding a few colorful impatient plants, I found a spot in the yard to show off these beauties. In a few short week, these plants will grow to be bright and full.
These pots would be so pretty holding some herbs…maybe some Thyme, Rosemary or Lavender? Perhaps filled with some colorful mums this autumn? The possibilities are endless! What would you like to plant in these “aged” pots? I’d love to hear your ideas!
Wishing you a great week ahead!

If you want to save this post for later, pin it here:



Hi Lynne! This is such a great project! I’m with you…I love how terracotta pots look when they have aged, and this is a great way to get the look! Thank you for this tutorial…. will definitely be trying it!
Hi Kristine! Thank you so much for your kind comment! I hope you give this simple project a try. Please let me know how it turns out for you. Best wishes for a wonderful weekend! xo
Looks fabulous! Pinned and shared.
Thank you so much, Carol! I hope you give this simple project a try. Have a great weekend!
I have dry brushed pots before and I love the look! Yours look great! Thanks for sharing with SYC.
hugs,
Jann
I appreciate your kind words, Jann! Best wishes for a great weekend!
I like the way those turned out. Much more rustic and unique looking and so simple.
Thanks so much, Cindy! I appreciate your kind words. Wishing you a wonderful weekend!
These are so sweet! Love the simplicity of this project!
Thanks so much, Bonnie! I hope you give this simple project a try. Enjoy a wonderful weekend!
This looks beautiful yet easy to make. Thanks for sharing!
Thank you so much for your kind words, Cecilia! Hope you are enjoying a lovely weekend!
These are so pretty, Lynne, and such a great way to update the garden for summer holidays, I’m featuring your post at the Hearth and Soul Link party this week.Thank you so much for sharing it. Hope to see you at the party! Have a lovely week!
Thank you so much, April! I am so honored to be featured at your link party. Best wishes to you for a wonderful week ahead!
Simple and pretty this is so my style! Great idea and it turned out so lovely. Happy Summer, Kippi
Thank you so much, Kippi! I am so glad you like these and I hope you give this project a try!