How to Make a DIY Topiary in 5 Easy Steps
Add a touch of classic greenery to your space! Learn how to make this simple and inexpensive DIY topiary in 5 easy steps!
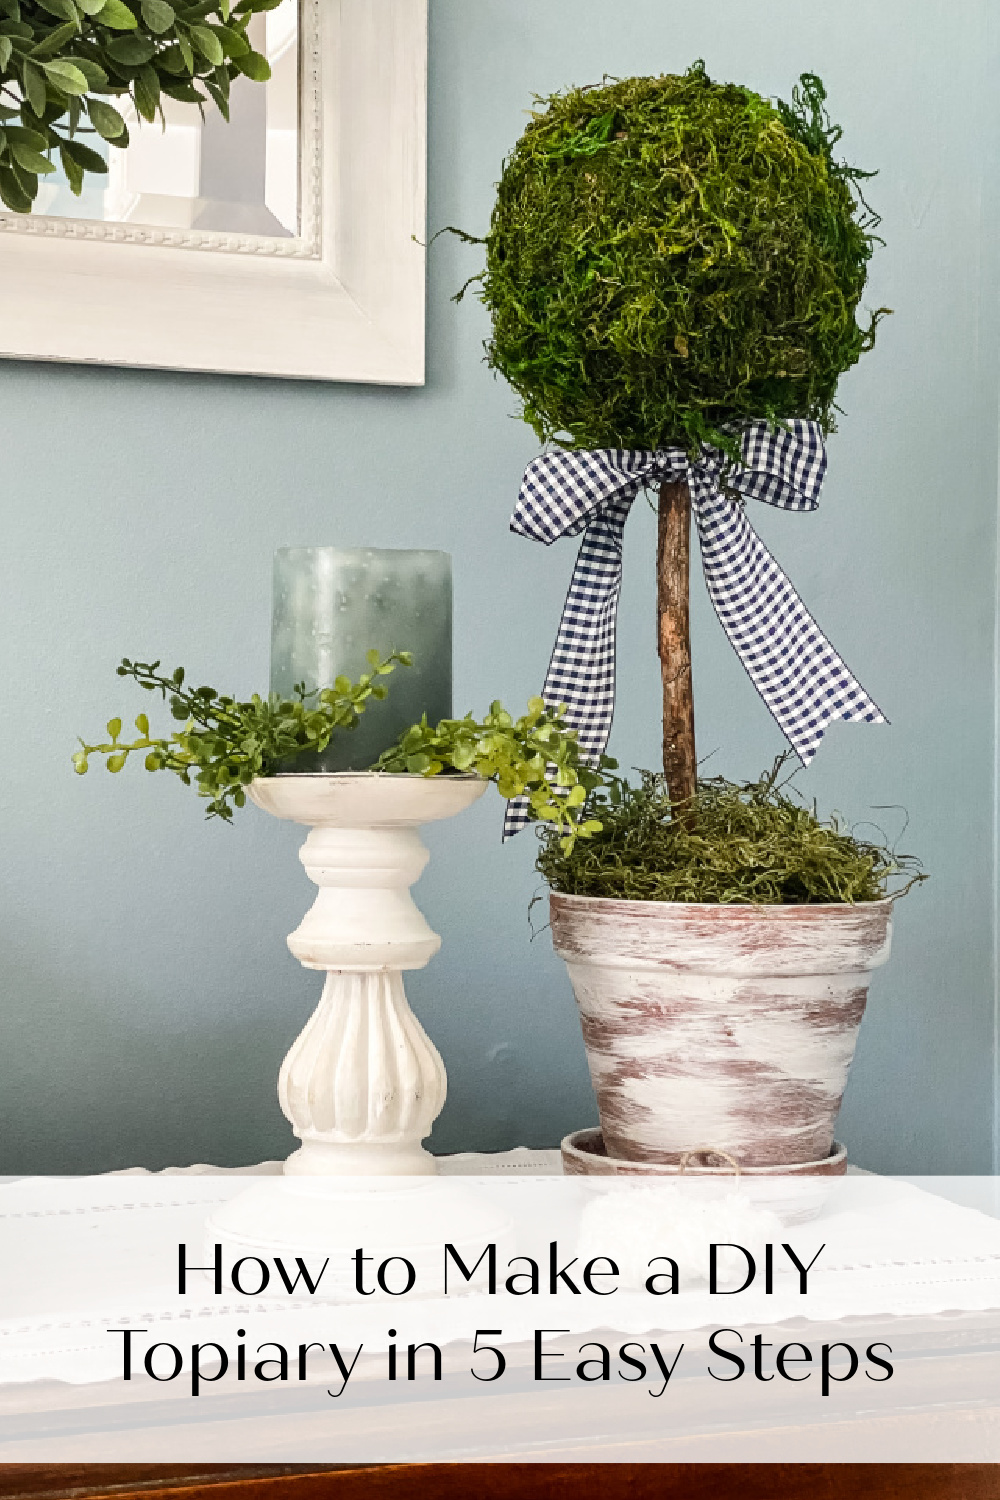
I love adding classic greenery to my New England home. But during winter time, when I can’t have the real thing, I can still bring in a touch of green with a DIY topiary. Today I am sharing a quick and easy project for adding some classic decor and greenery to your space.
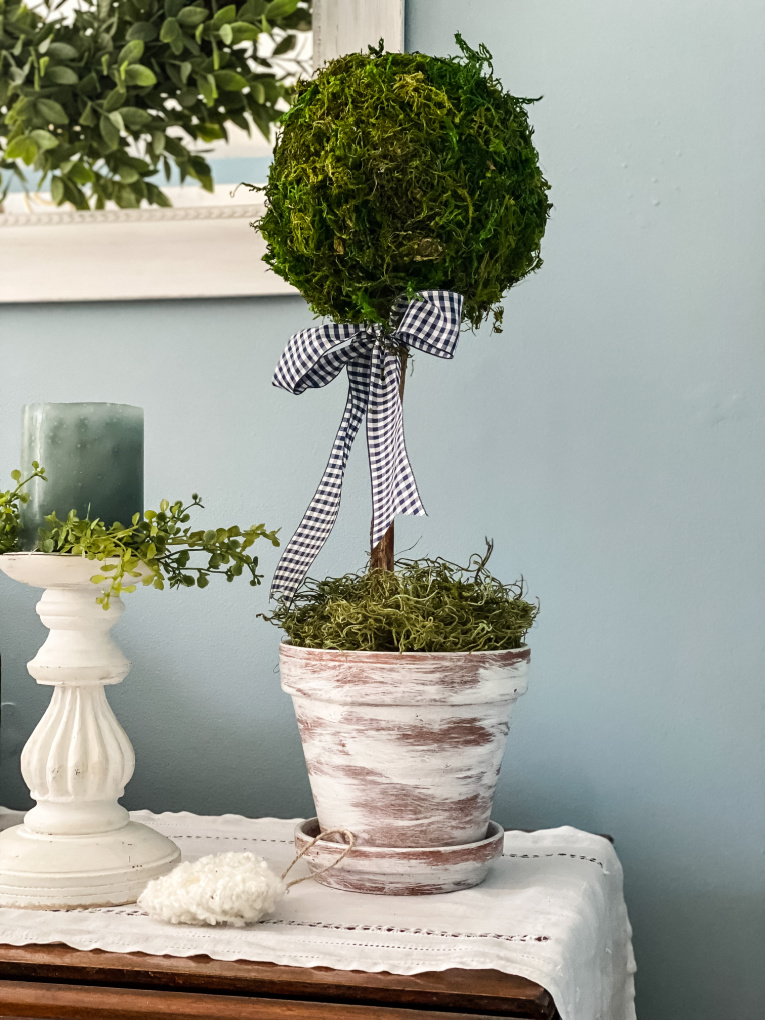
This DIY faux topiary is a simple craft project requires just a few supplies and easily comes together in just 5 simple steps.
What is a topiary?
A topiary is a perennial plant that has been carefully clipped and trimmed into a clearly defined shape. These classic, timeless plants are popular decor items because they complement a variety of decor styles.
What are the advantages of making an artificial DIY topiary?
Artificial topiaries can be very expensive to purchase. By making your own, you can add a touch of green to your home or office without spending a lot of money. An artificial topiary requires no water, daily care, or sunlight, so it can be placed in a room without a window to bring in a natural element.

This post contains affiliate links. If you click on an affiliate link and purchase something, I may receive a small commission, at NO additional cost to you.
What materials do I need to make a DIY topiary?
- green styrofoam block
- green styrofoam ball (or spray paint it green!) Mine is 6 inches.
- stick or wooden dowel
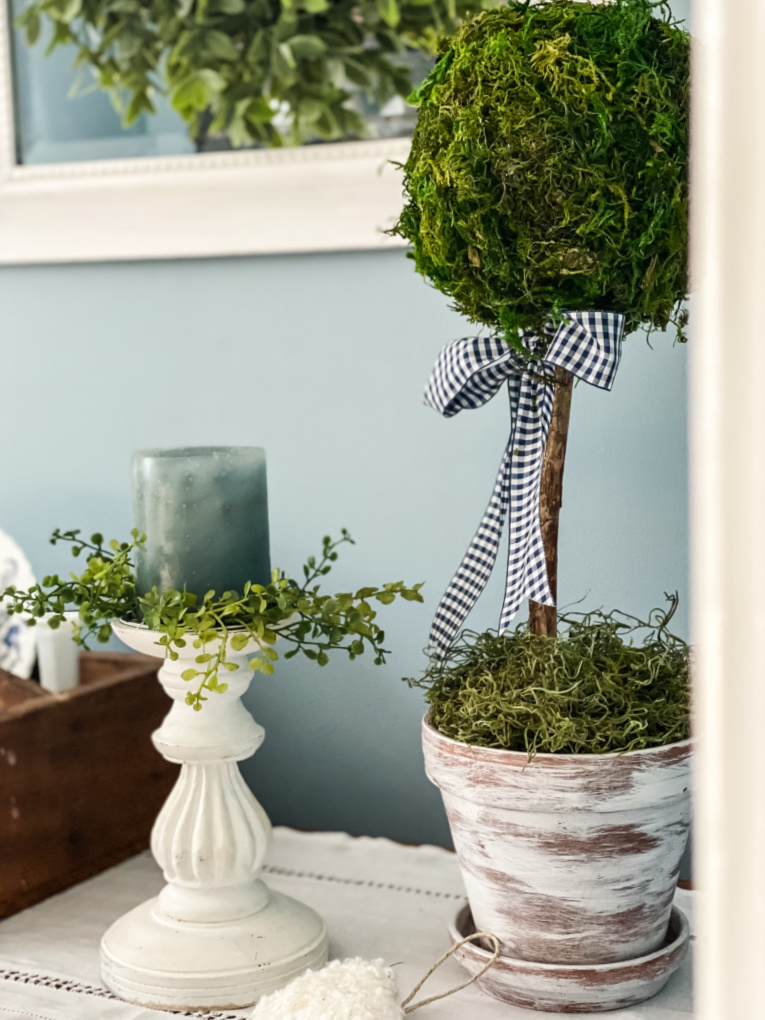
- flowerpot or container (I used this Dry Brush Painted Flower Pot that I had made.)
- green moss
- Spanish moss
- hot glue gun with glue
Shop This Post

How do you make a DIY topiary?
- First, cut the green styrofoam block to fit into your container or flower pot. Insert the styrofoam block into the container and glue it to secure.
- Next, working in sections, add glue to the styrofoam ball and cover with moss. Continue this process until the entire styrofoam ball is completely covered.
- Push moss-covered styrofoam ball into the stick or dowel.
- Then, push your stick into the styrofoam block.
- Finally, add Spanish moss to the top of the flower pot to stabilize and cover styrofoam block.
More Craft Projects You May Enjoy
How to Make Decoupaged Easter Eggs
DIY Faux Mercury Glass Votive Holders
Thank you so much for visiting today! I would love to connect with you on Facebook, Instagram, Pinterest, or here on the blog! If you have any questions about this project, please don’t hesitate to ask. Please let me know if you make a topiary. If you post it, please tag me. I would love to see and hear about your projects!


How to Make a DIY Topiary in 5 Easy Steps
Equipment
- 1 hot glue gun
- hot glue sticks
Materials
- green styrofoam block
- green styrofoam ball (or spray paint it green!)
- stick or wooden dowel
- flowerpot or container
- green moss
- Spanish moss
Instructions
- First, cut the green styrofoam block to fit into your container or flower pot. Insert the styrofoam block into the container and glue it to secure.
- Next, working in sections, add glue to the styrofoam ball and cover with moss. Continue this process until the entire styrofoam ball is completely covered.
- Push moss-covered styrofoam ball into the stick or dowel.
- Then, push your stick into the styrofoam block.
- Finally, add Spanish moss to the top of the flower pot to stabilize and cover styrofoam block.
This is beautiful Lynne! I see these and always think they’re so cute, but never would have thought I could make one myself. Love the painted flower pot, and the little vignette you created. Can’t wait to see your makeover!
Beautiful! I am with you on the quick and easy projects! I really love that more natural looking boxwood you found. The ones I have are perfectly round little balls.
Love your topiary! Such a creative idea!
Lynne, I love quick and easy projects, and this hits the mark! Topiaries are so expensive at home stores, so I love that you can make your own for a lot less. It looks so high end! It really gives your porch a homey, natural look. Plus, there’s no need to water! Thanks for sharing 🙂
I love your topiary, Lynne! It looks so authentic and fresh!
Thanks so much, Julie! It was so easy and fun to put together! Wishing you a wonderful week! xo
It’s simply STUNNING!! I LOVE it…what a beautiful piece to use all your round in your home and in various places!!
It’s simply STUNNING!! I LOVE it…what a beautiful piece to use all your round in your home and in various places!!
Thank you so much for your kind words, Rachel! It was so easy and inexpensive to make. I hope you give it a try! Thank you for stopping by!
These are a great addition to any space! And I love the pretty way you’ve styled it!
Thank you so much, Janet! I appreciate your kind words. So happy you stopped by today!
This is gorgeous, Lynne! I love topiaries. I’m definitely going to try this.
This is such a beautiful vignette. I love the topiary.
These topiaries are really pretty.
Thank you so much, Tammy!
Super cute. I would love it if you could share this on The Fabulous Friday Link Party this Friday. You can find the link on my website. Hugs to you.