DIY Patriotic Pizza Pan Door Hanger
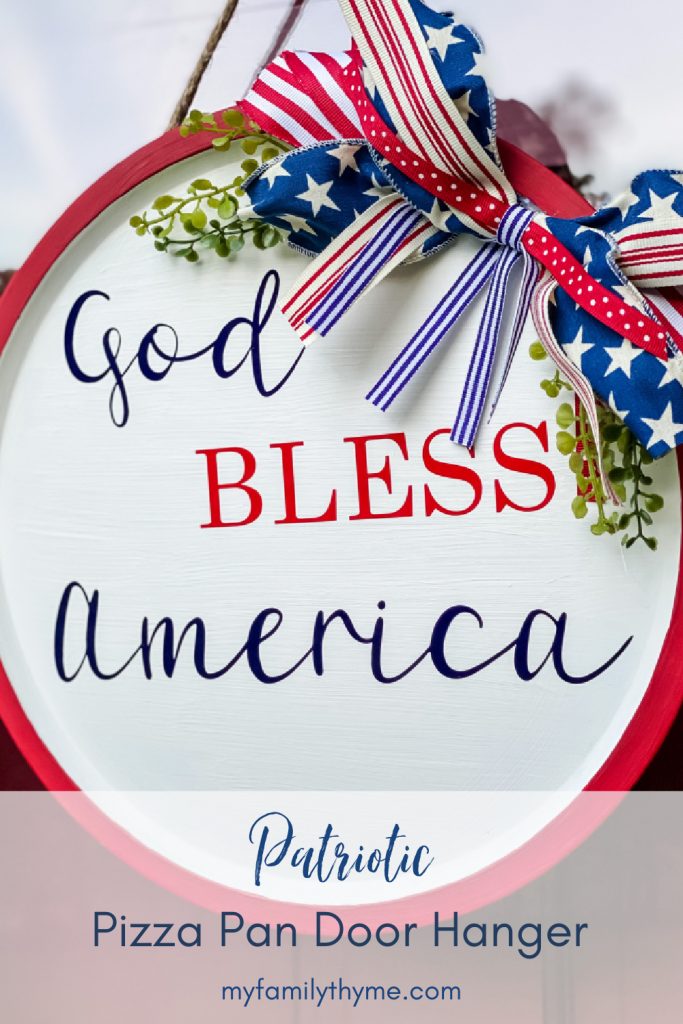
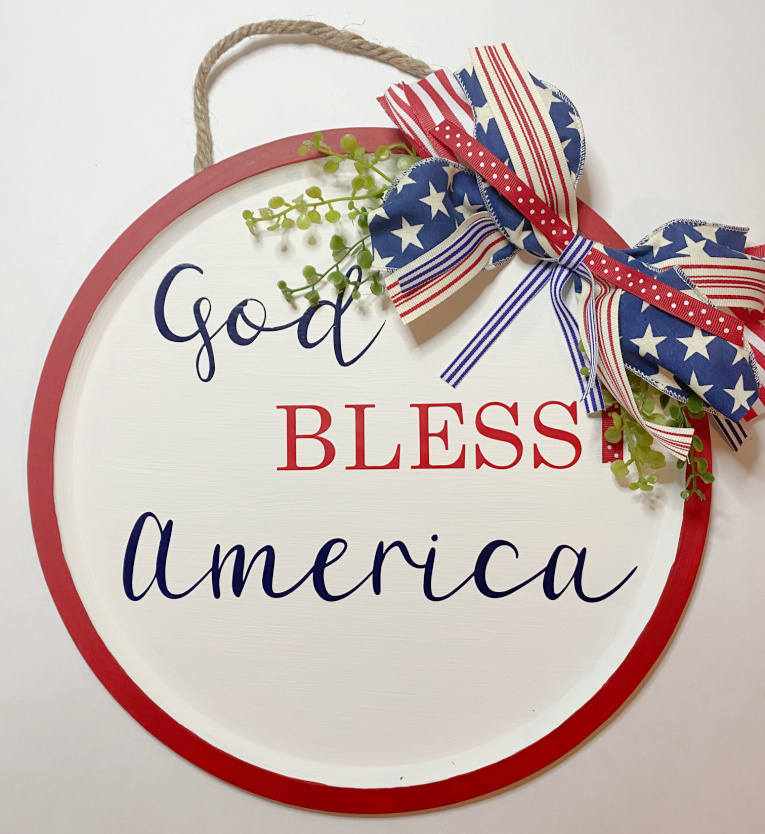
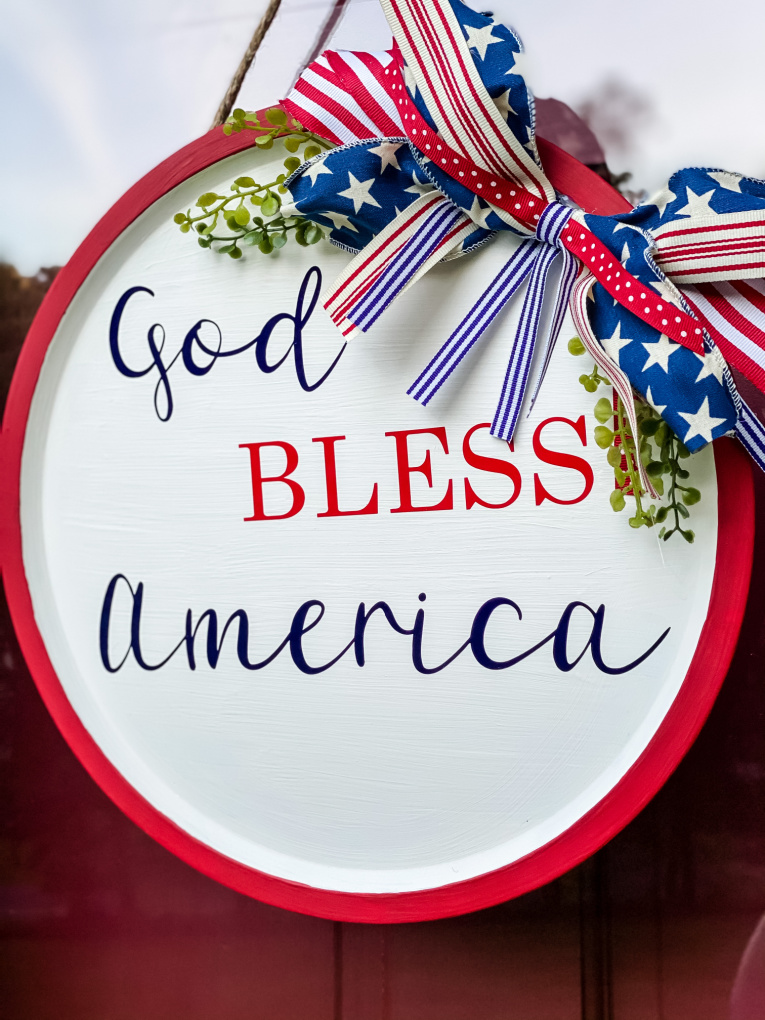
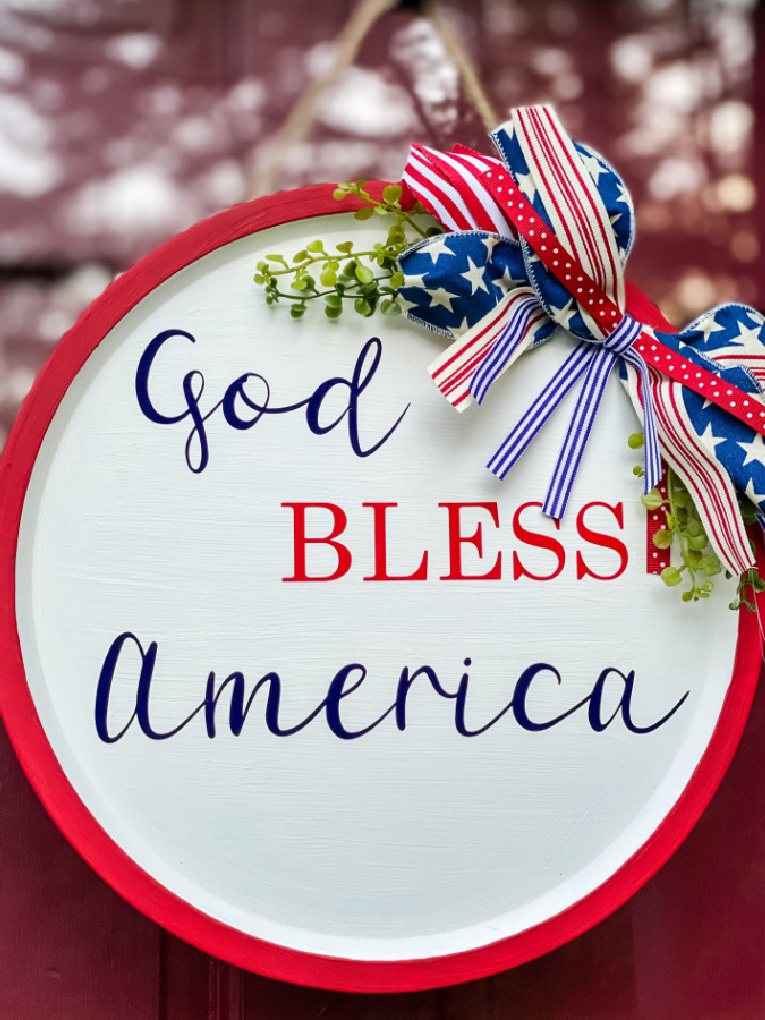
Today I am sharing this DIY Patriotic Pizza Pan Door Hanger. Take a Dollar Store pizza pan, along with craft paint and turn it into this fun patriotic decor!
Hi Friends! I am so happy to join a talented group of bloggers for a Creative Craft Blog Hop, hosted by the lovely Andrea from Design Morsels. You don’t want to miss out on all of the creative ideas you will find at the end of this post!
Memorial Day weekend has arrived, This unofficial start of summer is the time when I bring out everything red, white, and blue. I love adding little touches patriotic holiday decor around my home…especially when it’s something homemade.
This past winter I was shopping at Dollar Tree and saw a stack of pizza pans. I bought a couple and added them to my ever growing stash of craft supplies, figuring I’d come up with an idea of how to use them. Then, I got to thinking, what if I painted one and added some cute cottage-style lettering along with a little festive ribbon? If it didn’t work out, it was only a dollar, right?
I am happy to share that it did work out and it was as easy to make as it sounds. I am so excited to share this adorable DIY Patriotic Pizza Pan Door Hanger.
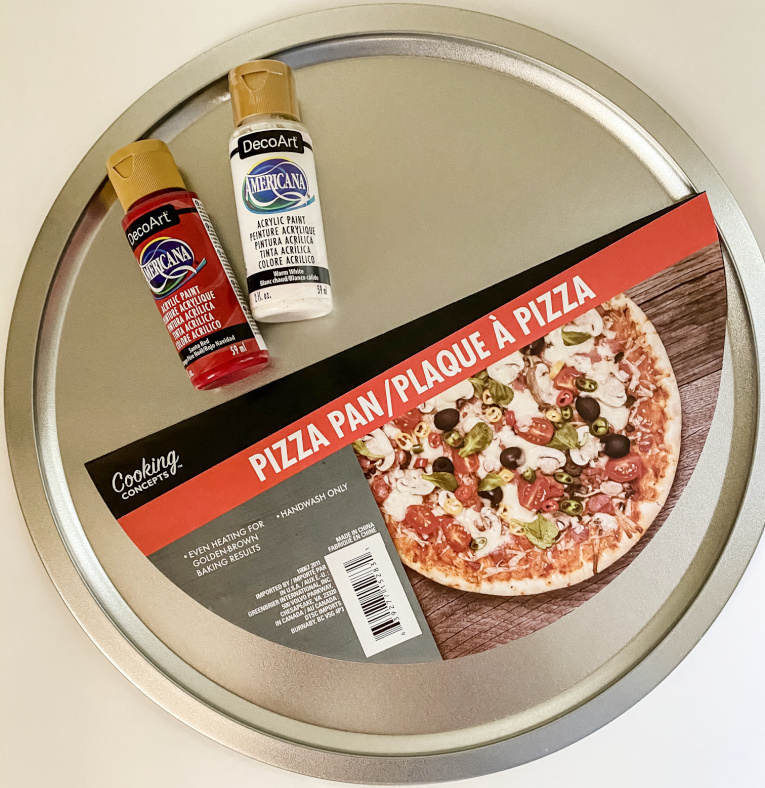
To make this DIY Patriotic sign, you need just a few supplies. I was fortunate and had all of this on hand, so I didn’t need to purchase anything.
I have included some affiliate links for your convenience. There is no additional cost to you. Please see my disclosure policy for more information.
Materials:
- pizza pan (from Dollar Tree)
- craft paint (I used Warm White and Santa Red from DecoArt.)
- paint brushes
- Vinyl Lettering (If you don’t have a Cricut Explore Air Machine to cut your permanent vinyl, you could always use pick up some letter stickers at your local craft store. If you do cut your letting with a Cricut, you will also need a cutting mat and transfer tape.)
- a piece of jute roping
- variety of ribbon
- floral wire
- glue gun with glue
- greenery
The Pizza Pan
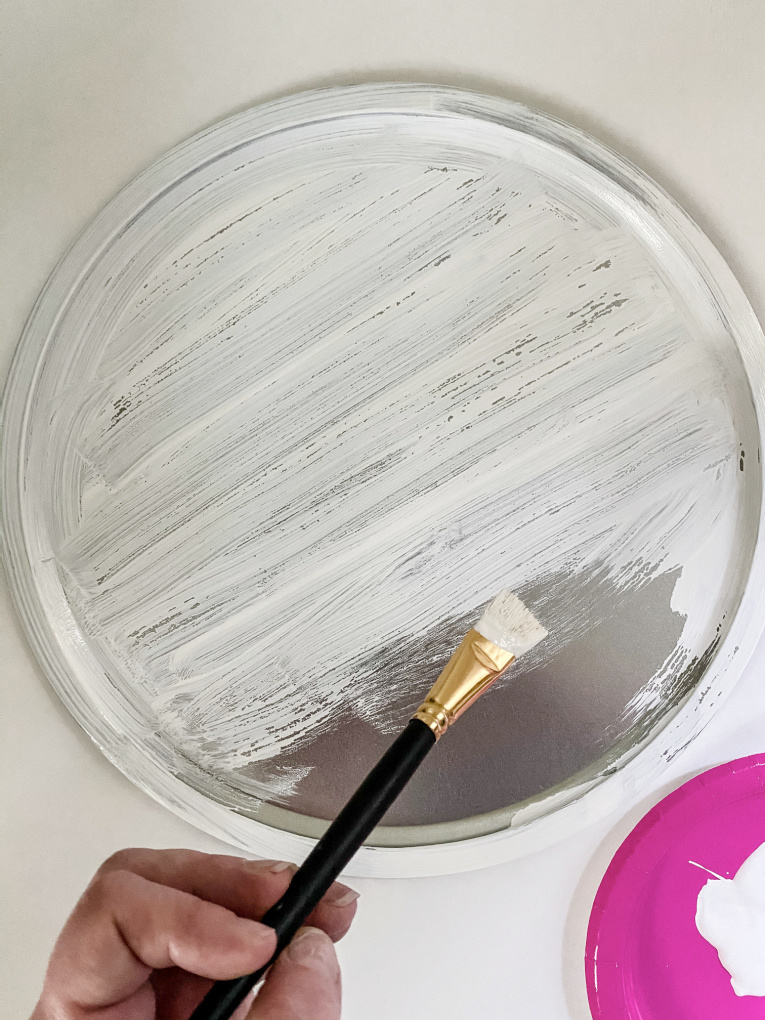
The first thing you want to do is paint the base of your pizza pan. It took about three coats to cover it completely, letting it dry between coats. I only painted the front of the pan, using DecoArt’s Warm White. This creamy white color is one of my favorites. Then, with a more narrow brush, I painted the rim with DecoArt’s Santa Red. This bold, beautiful color pops against the warm white. Again, it took about a couple of coats to completely cover.
Once the front of the pizza pan is completely dry, flip it over and hot glue a piece of jute on the back. This will be used to hang it. Now that the base is done, let’s decorate!
The Lettering
I am very fortunate that I have a Cricut Explore Air Machine that I received as a Christmas gift. I am having so much fun using it to make personalized gifts like this sweet Customized Pillow Cover. Repurposing some old, dated canvas prints and adding some lettering made with the Cricut, I was able to make these Farmhouse Style Signs for my mantle. But my favorite project is this Easter Bunny Reverse Canvas. It’s amazing what you can do with an inexpensive canvas and a piece of scrapbook paper!
Back to the lettering for this project…
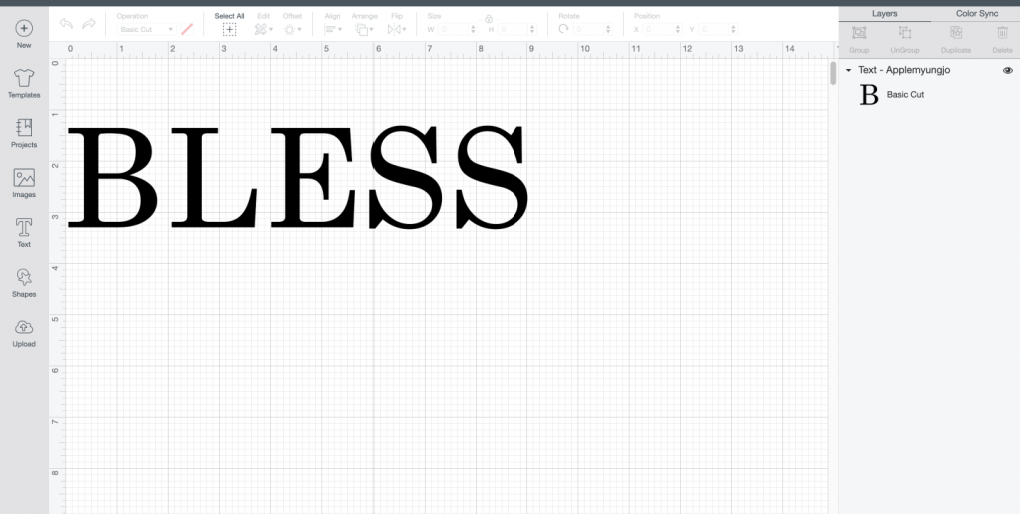
Using Cricut Design Space, I used the fonts DTS Cottage Style and Apple Myungjo to write the text: God Bless America. It’s so much fun to play with fonts and find those that complement each other well!
I did measure the diameter of the pizza pan and kept that in mind when sizing my words.
When I was happy with my lettering design, I welded the words and cut them using the Cricut Explore Air Machine, along with navy and red permanent vinyl.
Once all of the cutting is done, I weeded the vinyl. This means I used my weeding tool from this basic Cricut tool kit to remove the excess vinyl so that I just had the lettering left.
Applying the Lettering to the Pizza Pan
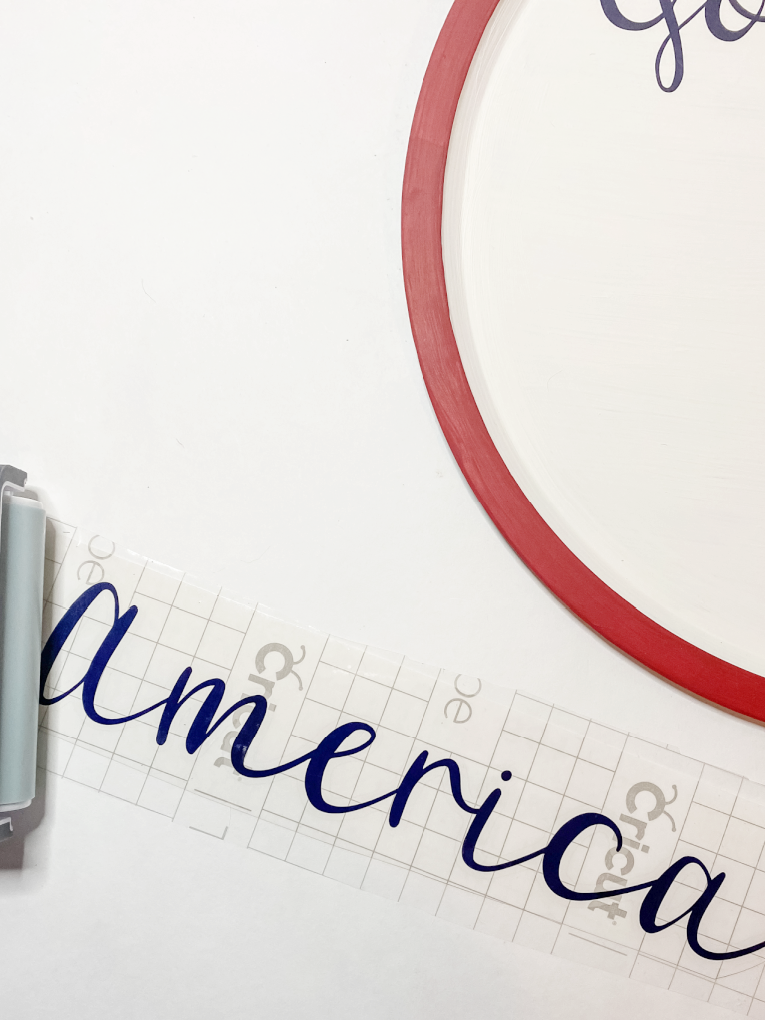
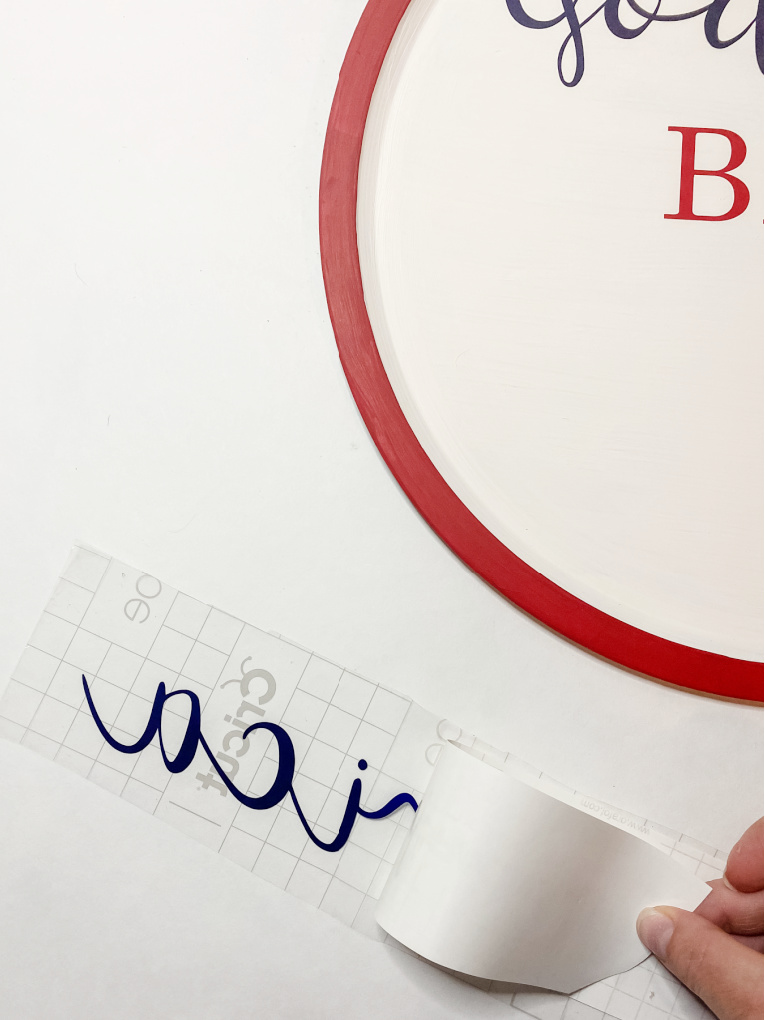
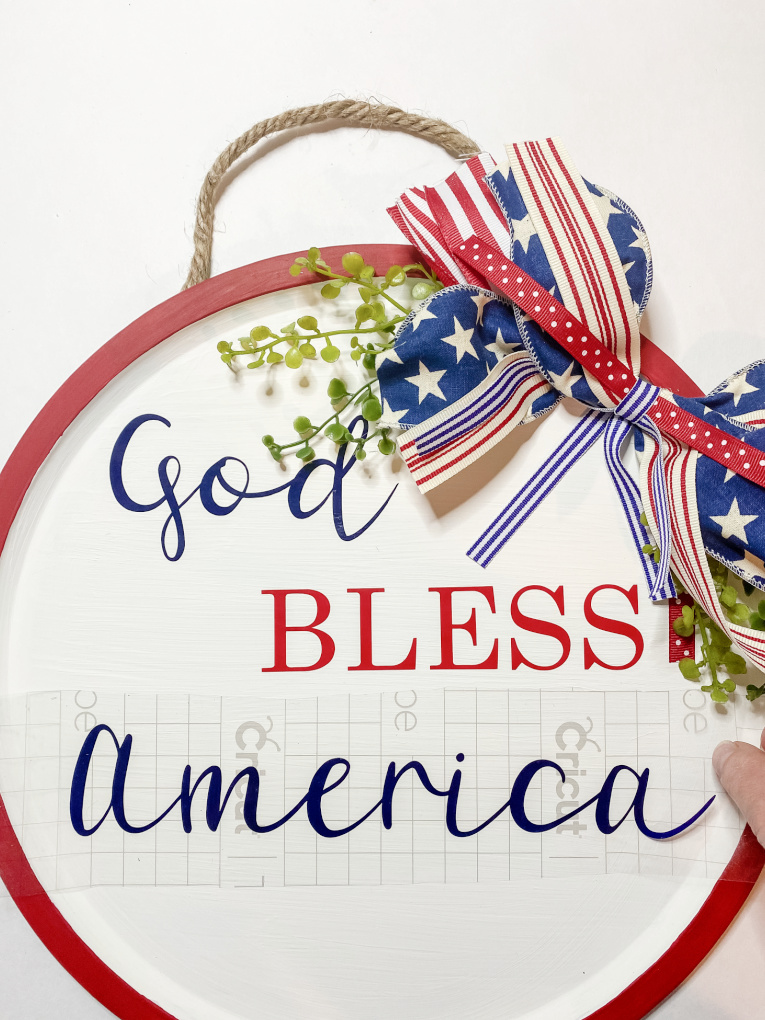
The next step is to use Cricut vinyl transfer tape to transfer the lettering onto the pan. Cut a piece to size, peel off the backing (but keep it for later), and adhere the transfer tape to your lettering, smoothing as you go. Next, remove the backing from the lettering and place the lettering onto the pan. The grid on the transfer tape helps to align the lettering so it goes on straight. When you are happy with the placement, carefully peel back the transfer tape and replace it on its backing. You can reuse it again!
The Bow
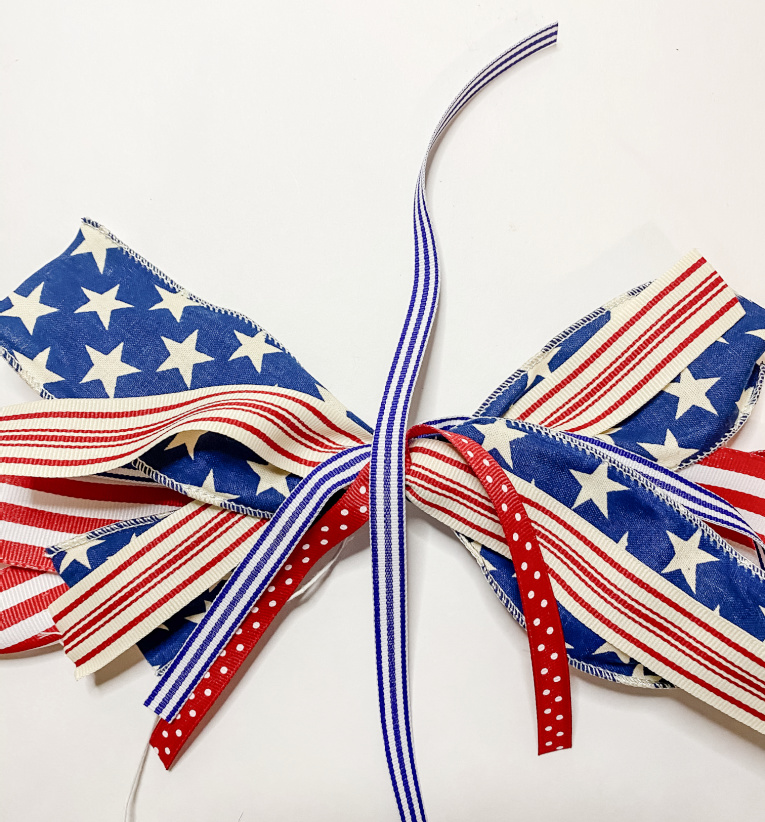
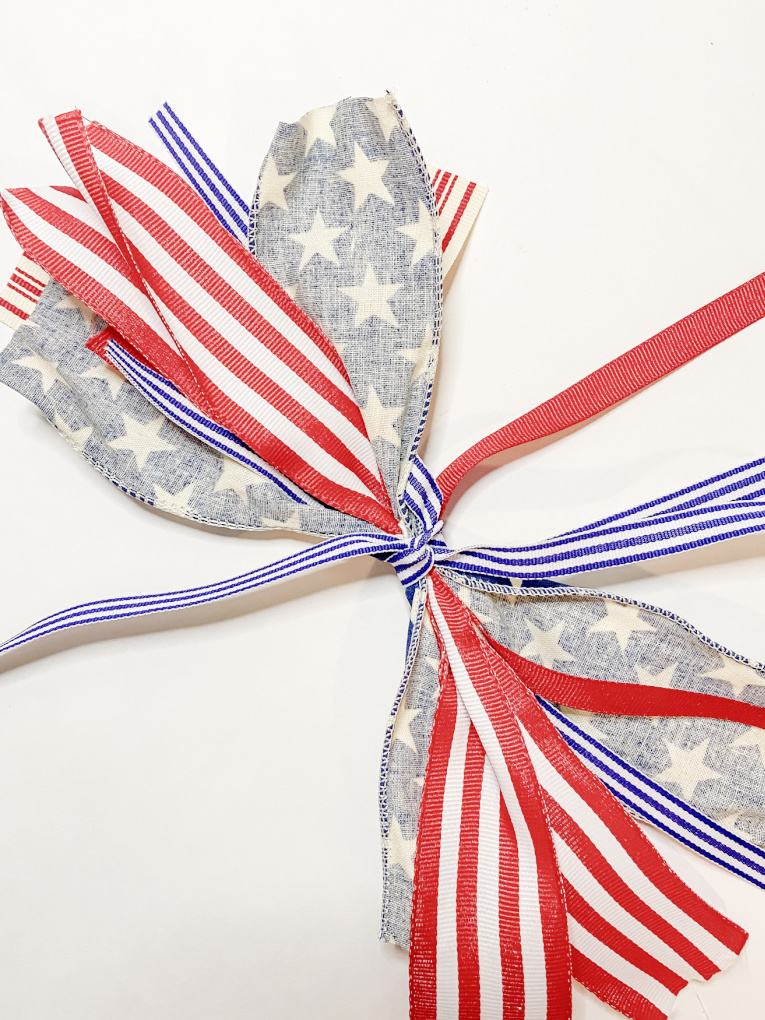
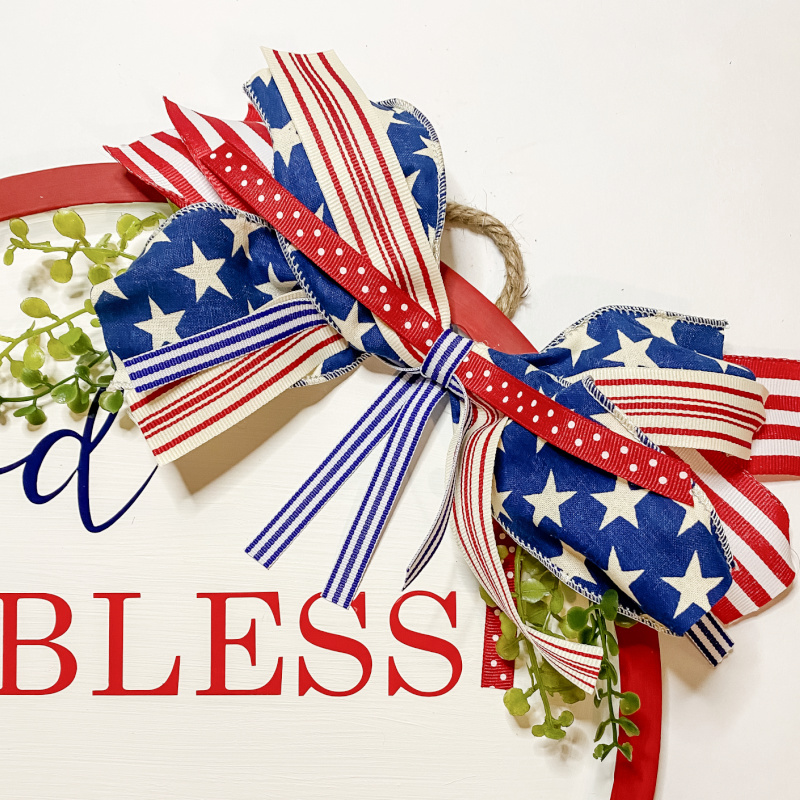
This is the fun part when you can mix and match colors, patterns, and textures. I do like making traditional bows like on this Easy Spring Floral Wreath, but for this bow, I decided to just layer and gather the ribbon like the bow on the Christmas Ornament Reverse Canvas. After going through my ribbon, I chose 5 different red, white, and blue patterns. Next, I cut two pieces of each pattern, each piece measuring about 5 – 6 inches long. Then I just layered the ribbon, beginning with the thickest. When I was happy with my pattern, I gathered it and twisted a piece of floral wire in the center. To hide the wire, I tied another narrow piece of ribbon around the center. Lastly, just fluff and trim the ribbon until you are happy with your bow. Carefully hot glue the bow to the front of your pan.
Finishing Your Pizza Pan Door Hanger
When looking at this craft project, I thought it needed a little something more. I decided to add a few pieces of artificial greenery that I had left over from another project. Since some of my ribbon is not wired, I wasn’t loving the way it was hanging. Adding just a few small drops of glue kept it in place.
I am really happy with how this came out.
Now, I just need to decide where to put it.
Should I hang it on a door inside? Or, maybe on the front door?
I may hang it on my back porch. There, it would be protected from any weather and would go well with my Patriotic Picnic Tablescape. Where would you display this in your home?
Thank you so much for visiting today! I would love to connect with you on Facebook, Instagram, Pinterest, or here on the blog!
Please go and visit my talented, crafty blogging friends! You’ll be inspired by all of the creativity!
How to Make a Patriotic Door Wreath from Dollar Tree
A Simple Outdoor Lantern Change
How I Made a Very Starry Patriotic Wreath
How to Paint a Flower Pot with Ceramic Paint

This came out SO good, Lynne! You’d never know that is a Dollar Tree pizza pan. I love the fonts that you chose and the ribbons. Adding the bit of greenery was the perfect finishing touch! I think it will great on your sunporch. I’m so glad you got your tech stuff straightened out! It’s always fun to hop with you, my friend 🙂
Lynne, So glad your site is up and running again so I could see your festive Patriotic Pizza Pan Door Hanger! It’s so perfect for Memorial Day thru the 4th! I love your layered ribbon bow too. Wishing you a Happy Memorial Day Weekend. ♥
This turned out so cute I can’t believe it’s a pizza pan. Love the ribbons too. It’s almost too good to put outside. Thanks for being in the hop and enjoy Memorial Day.
I am 100% in love with this project! You could so easily sell these. Sharing on my FB page today and I’m sure my readers will love this project as much as I do.
Very cute Lynn! I love the way you created a bow with lengths of ribbon, that’s pretty brilliant! I’m so glad you were able to fix your blog issues and join us in this hop~Happy Memorial Day!
Well, I’ll never look at a pizza pan the same way again! This is genius! Thanks for the tutorial – pinned!
Lynne, this is a great project and so perfect for all out patriotic holidays. It’s so colorful and I love the lettering. I would just need to buy a pizza plate to make it. Thanks so much for the inspiration.
What a great project Lynne! I’m so glad your blog post was able to join us this month as you had a lot going on with the storm and that plugin going wonky. I love that this can be kept up all summer long. Thanks for sharing!
Lynne, you did a wonderful job with that pizza pan. I love the end results with the bright patriotic colors!
So glad you were able to join this hop.
Lynne, Your pizza pan door hanger is perfect for this summer! It would like like it would fit right in on my front porch this season! I had never thought about using acrylic paint on a pizza pan, I have always used spray paint. I still need to get to work learning how to use my Cricut! I am so impressed with this fun project!
This is so cute!!! Dollar store crafts are just about my favorite!!! Who would’ve though there were so many things you can do with a pizza pan!
Your patriotic wall hanging is such a smart idea, and it’s so sweet! Pinned, and I’m blessed to be sharing you tomorrow at Tuesday Turn About!
Thank you so much, Julie! xo
Lynne, I love your patriotic upcycled pizza pan wreath and I’m Canadian! This could easily be adapted for our Canada Day celebrations on July 1st. Pinned 🙂
Omgoodness, this is so adorable! Who knew you could use a pizza pan for this type of project! Pinned!