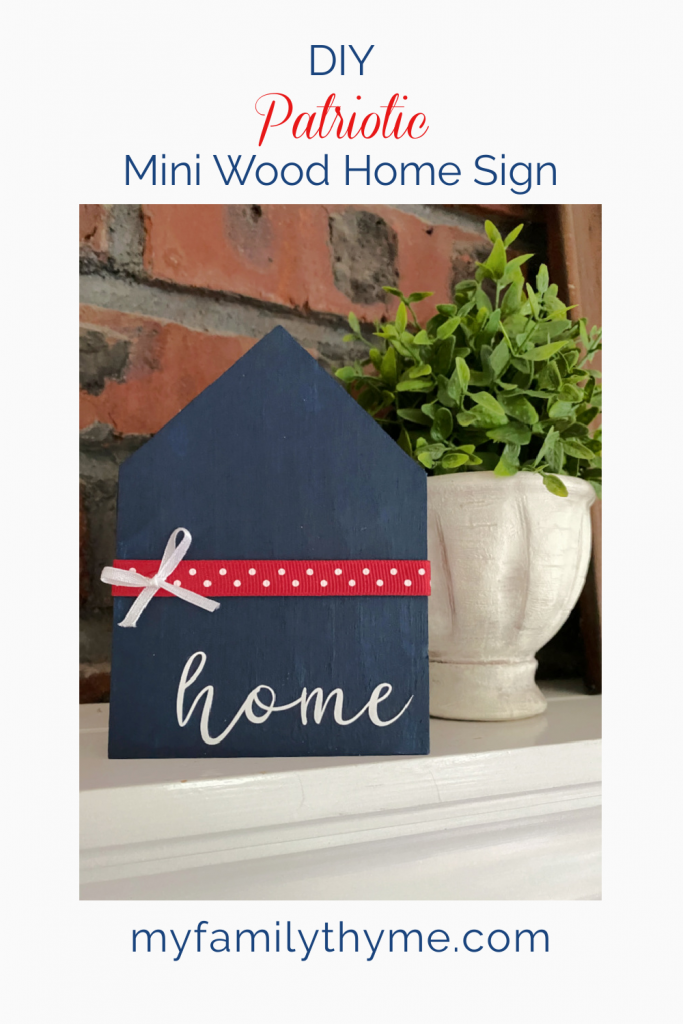
DIY Patriotic Mini Wood Home Sign
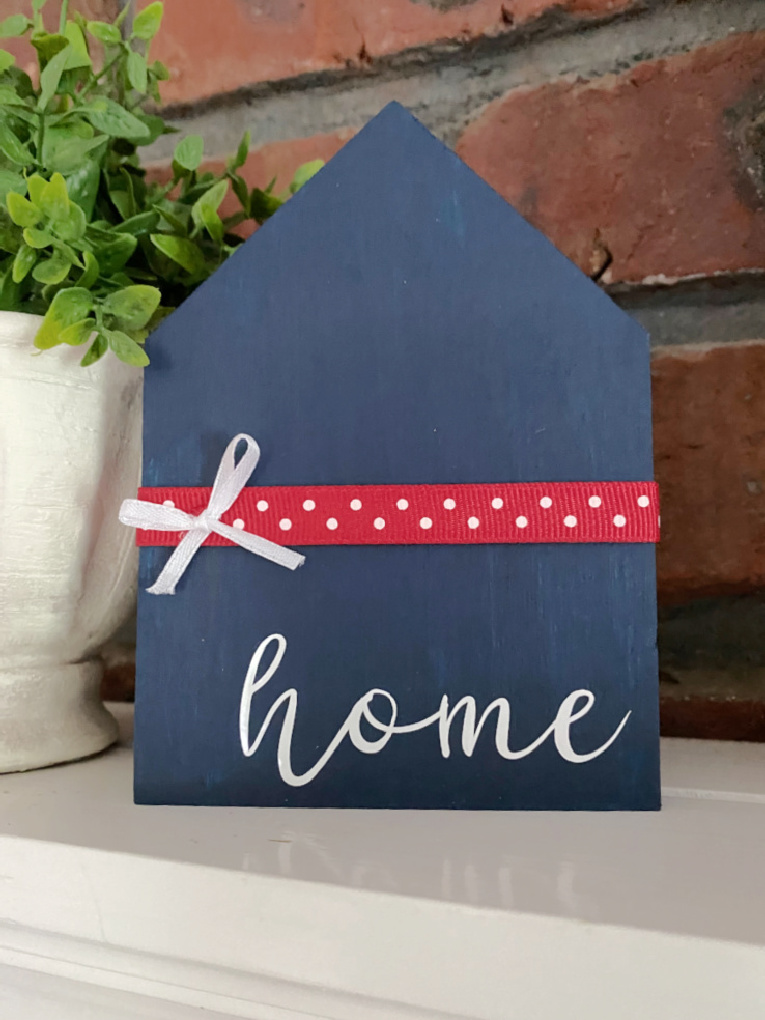
Today I am sharing this DIY Patriotic Mini Wood Home Sign. Take a plain wood block and turn it into cute seasonal decor in just a few simple steps!
 Hello and Welcome to the Creative Craft Blog Hop. I am so happy to be joining this creative group of bloggers today! You don’t want to miss out on all of the creative ideas you will find at the end of this post!
The hop is hosted by some talented ladies: Chloe from Celebrate and Decorate and Andrea from Design Morsels, and during the summer this hop will be hosted by Sara from Birdz of a Feather!
A dear friend of mine recently experienced a very important day in her life; she became a U.S. citizen. I realize how meaningful this day was to her and her family, so I wanted to make her a little something to celebrate this occasion. This sweet little wood sign made a thoughtful gift for her and is also a fun little piece of patriotic decor. This wood sign is so easy to make and comes together in just a few simple steps. Today I am sharing how to make DIY Patriotic Mini Wood Home Sign!
Materials:
To make this DIY Patriotic Mini Wood Home Sign, you need just a few supplies. I have included some affiliate links for your convenience. There is no additional cost to you. Please see my disclosure policy for more information.
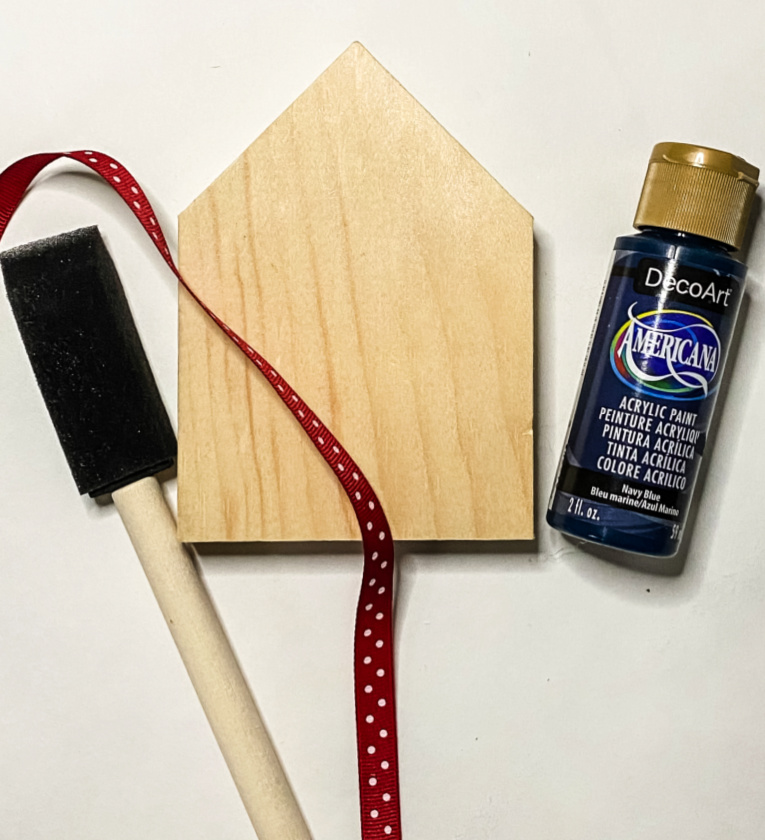
- Mini wood home-shaped wood block (I purchased mine at Michael’s crafts.)
- Deco Art craft paint (I used Navy Blue, but Uniform Blue, Midnite Blue, or Primary Blue would look great too!)
- foam paint brush
- Vinyl Lettering (If you don’t have a Cricut Explore Air Machine to cut your permanent vinyl, you could always use pick up some letter stickers at your local craft store. If you do cut your letting with a Cricut, you will also need a cutting mat and transfer tape.)
- Ribbon of your choice.
- glue gun with glue
Directions for Making Your DIY Patriotic Mini Wood Home Sign
Paint
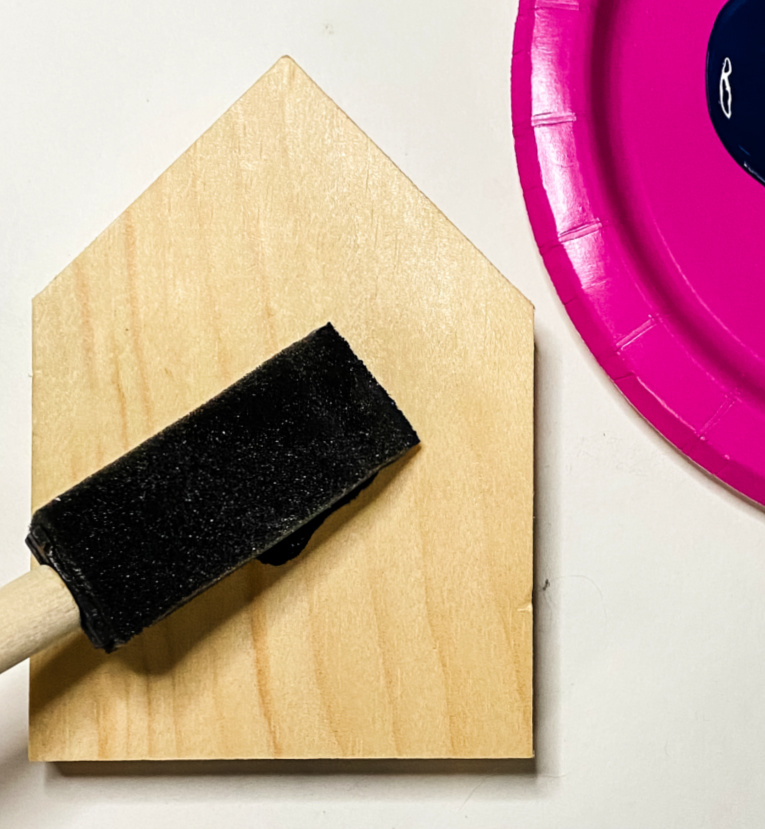
First, using your foam brush, paint your wood block, using acrylic craft paint. I gave my block three complete coats of paint, with time between each coat to dry.
The Lettering
I am very fortunate that I have a Cricut Explore Air Machine that I had received as a Christmas gift. I am having so much fun using it to make personalized gifts like this sweet Customized Pillow Cover. Repurposing some old, dated canvas prints and adding some lettering made with the Cricut, I was able to make these Farmhouse Style Signs for my mantle. I have made seasonal decor like this Easter Bunny Reverse Canvas and most recently, this DIY Patriotic Pizza Pan Door Hanger.
In Cricut Design space, type the word “home”. I used the font, DTS Cottage Style. This is also the same font that I used for my DIY Patriotic Pizza Pan Door Hanger. This script is one of my favorites! As I said, if you don’t have a Cricut, you can always use some letter stickers. There are a variety available at your local craft store.
When I was happy with my lettering design, I welded the words and cut them using the Cricut Explore Air Machine, with white permanent vinyl.
Once all of the cutting is done, I weeded the vinyl. This means I used my weeding tool from this basic Cricut tool kit to remove the excess vinyl so that I just had the lettering left.
Adhering the Lettering
The next step is to use Cricut vinyl transfer tape to transfer the lettering onto the painted wood block. Cut a piece of transfer tape to size, peel off the backing (but keep it for later), and adhere the transfer tape to your lettering, smoothing as you go. Next, remove the backing from the lettering and place the lettering onto the pan. The grid on the transfer tape helps to align the lettering so it goes on straight. When you are happy with the placement, carefully peel back the transfer tape and replace it on its backing. You can reuse the transfer tape again!
The Ribbon
Once the lettering is in place, turn the block over to the back. Using the hot glue, adhere the ribbon of your choice. I love this fun polka dot ribbon!
Finally, for an extra detail, add a small bow in a coordinating ribbon and enjoy.
Just think how versatile this craft project is! You can add some artificial greenery or flowers too. By changing up the colors, lettering, and ribbon, you can create sweet little signs for all of the seasons and holidays too. I’m thinking about all of the possibilities!
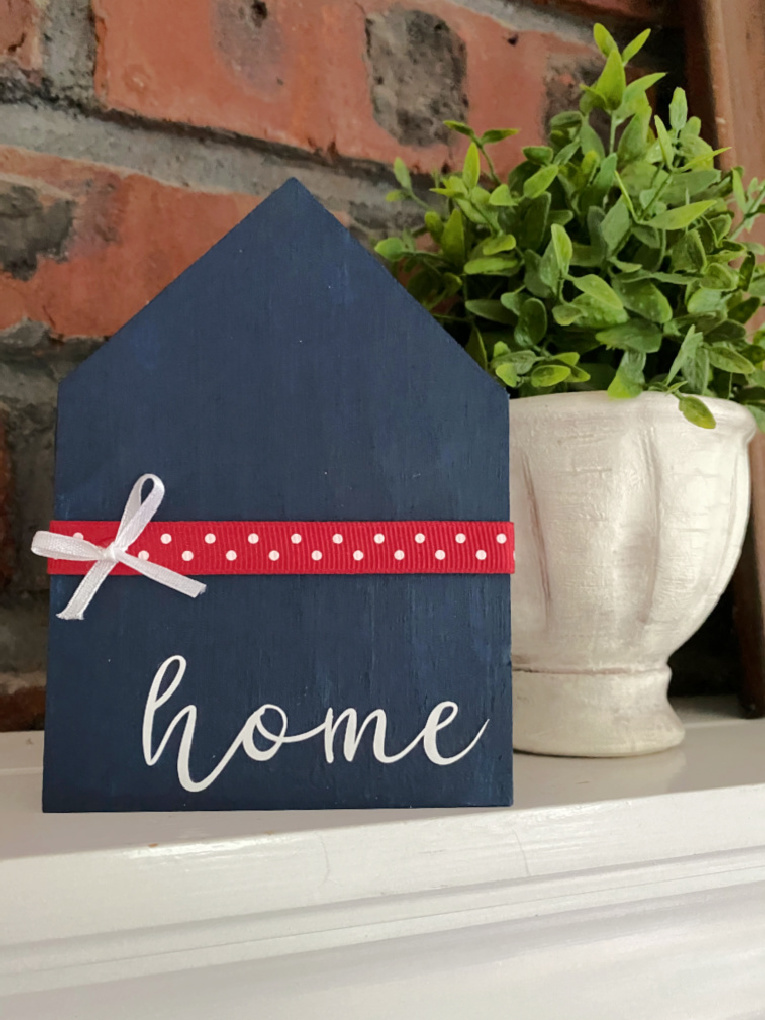
How cute is this?!
This little DIY Patriotic Wood Home Sign brought a smile to my friend’s face when I gave it to her, and I hope you enjoyed it too!
Thank you so much for visiting today! I would love to connect with you on Facebook, Instagram, Pinterest, or here on the blog!
Please go and visit my talented, crafty blogging friends! You’ll be inspired by all of the creativity!
How to Create a Layered Summer Wreath
How to Stencil Tile Coasters for Home Decor
July Front Door Wreath Basket Using Paint Sticks
Dollar General Little Truck Revamp
DIY Bee Door Arrangement with an Upcycled Prime Envelope



Sweet, cute and simple, it’s adorable Lynn!
How sweet and thoughtful of you to make a patriotic sign for a dear friend’s new citizenship! It looks quite lovely and will be a lasting memory and keepsake from a very good friend!
What a lovely way to commemorate citizenship Lynne and an exciting day for your friend on many levels; I’m sure she loved your thoughtful gift!
Lynne this looks so cute. Love the whole thing, so simple to make but makes a huge statement. Thanks for sharing.
Going through the process of getting your U.S. citizenship is a big event in a persons life. Bravo to your friend, and to you for gifting her with this cute patriotic craft to celebrate!
This is so cute, Lynne! I love simple crafts that make a big impact! Blessings, Cecilia @My Thrift Store Addiction
Lynne that is the cutest little sign. I can think of so many ways to use this and would make a great gift. You are so creative. So happy to be on the hop with you!! Pinning for later.
What a darling sign, Lynne. I love that Cricut font. The colors and using ribbon made this a simple, but pretty project. Happy 4th.
Thank you so much for your kind words, Carol! So fun to be hopping with you!
So adorable and easily adaptable too!