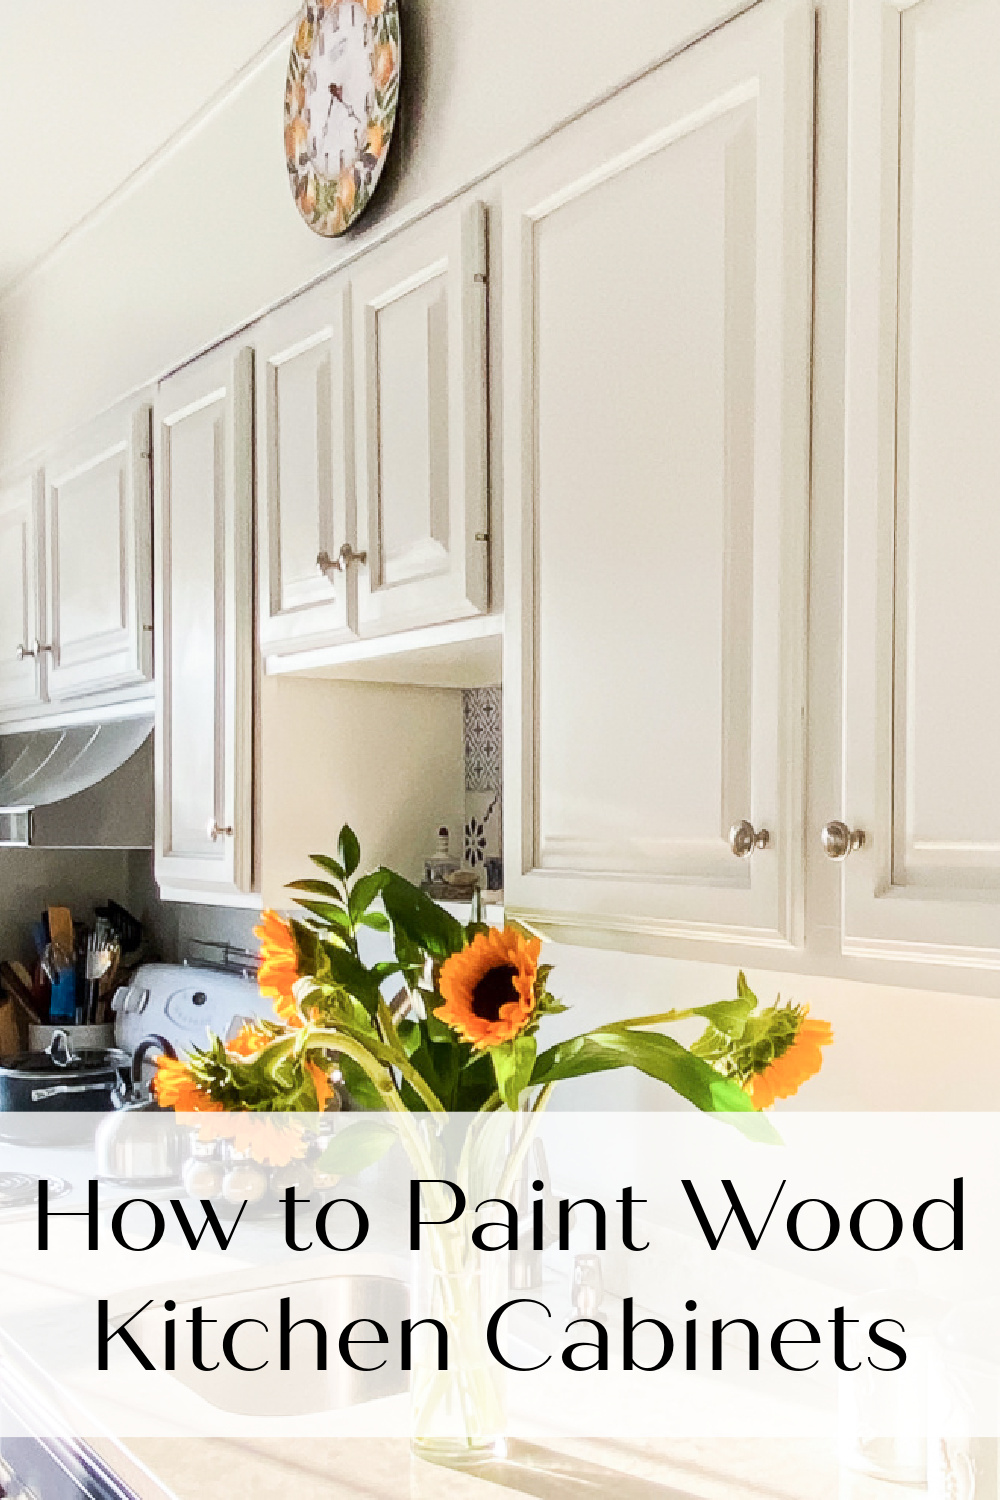
How to Paint Wood Kitchen Cabinets
Update and refresh your dated kitchen cabinets with this step by step tutorial of how to prepare and paint your wood kitchen cabinets.
The Kitchen
This kitchen project I am sharing is a little unique. This little cape-style home on the Connecticut shoreline has been the setting of my family’s story since my grandparents built in 1952. When they were no longer with us, the house became my mom’s. This home is full of wonderful memories. When I think of this place, I can’t help but smile.
A couple of years ago, I had to sell this home. My mom has Alzheimer’s Disease. With the level of care that my mom began to require, this house provided the resources that were needed to help my mom live a comfortable life. As difficult as it was for me, there is a silver lining to this story. My life-long friend, Lisa, a friend who is truly more like family, purchased the house. She had asked for my help in updating and decorating the home. Together, we added a more contemporary, coastal style, while honoring the home’s past.
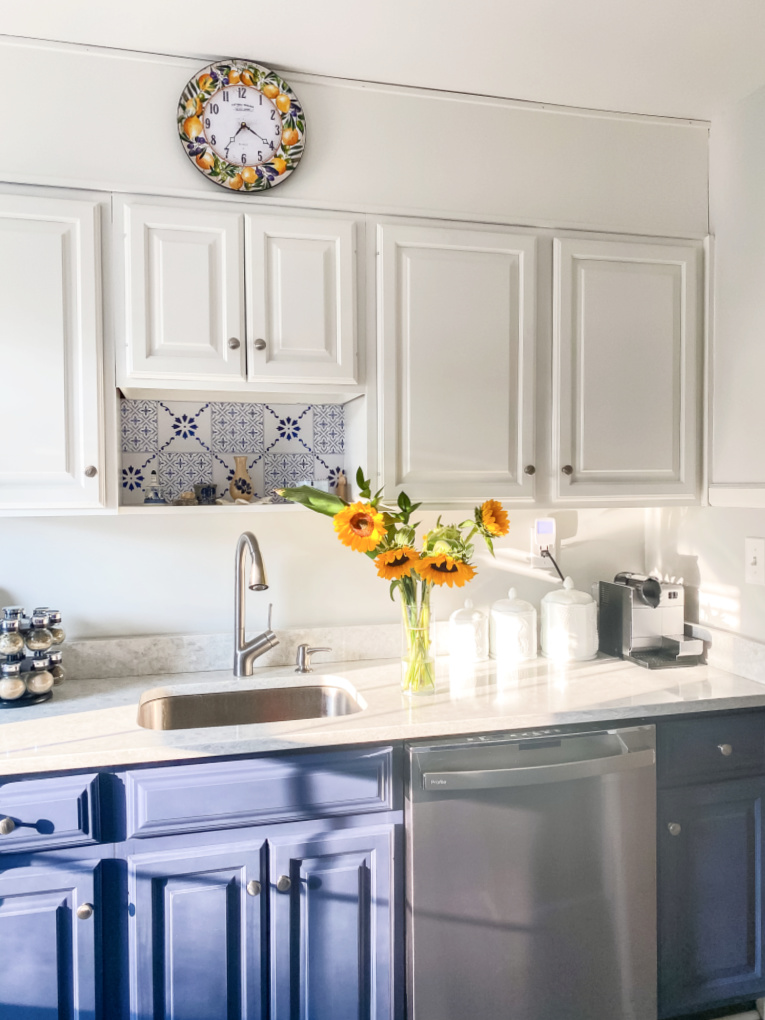
With high ceilings and abundance of natural light, this eat-in kitchen had so much potential. The biggest change in updating the kitchen was painting the cabinets.
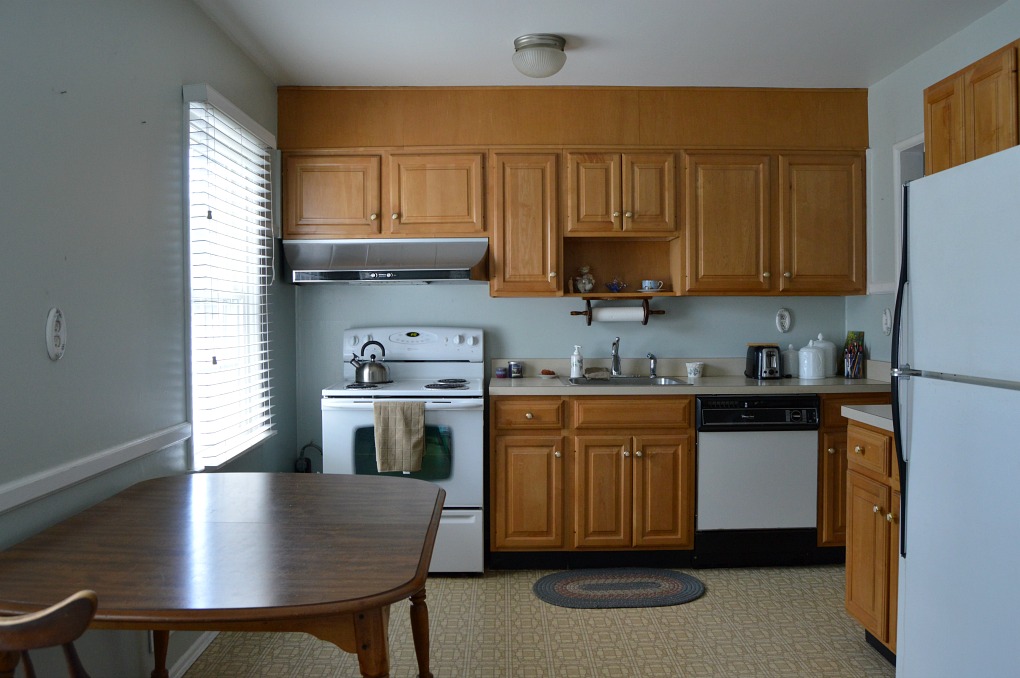
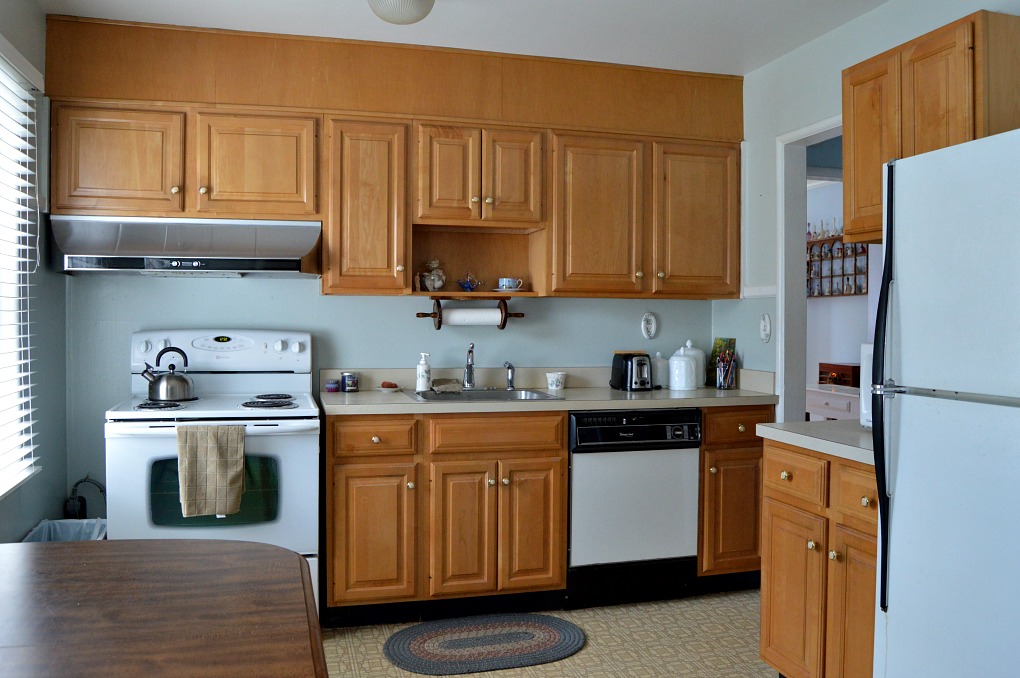
Before:
Here’s a look at how the space started out.
Materials Needed to Paint Wood Kitchen Cabinets
Affiliate links are included in this post for your convenience, with no additional cost to you. Thank you for your support!
- Krud Kutter Cleaner / Degreaser
- chemical resistant gloves
- cleaning rags
- tarps/dropcloths
- lint-free cloth
- Frog Tape painter’s tape
- paint sprayer (I used Wagner’s Flexio 3000 Paint Sprayer)
- INSL-X Bonding Primer
- four inch foam roller and roller covers
- 1 inch angled high quality paint brush
- utility knife
- Benjamin Moore Advance Paint (I used White Dove for the upper cabinets and Stunning for the lower cabinets.) When choosing colors, Lisa ordered these wonderful peel and stick color samples from Benjamin Moore.
Prepping and Cleaning the Kitchen Cabinet Frames and Door
The first thing I did was to sketch out a quick drawing of the kitchen layout. I numbered each cabinet, so I would be able to easily put it back together once it was finished.
I began my removing all of the hardware from the cabinets. Then I took all of the cabinet doors off, numbering and labeling them, using a piece of painter’s tape.
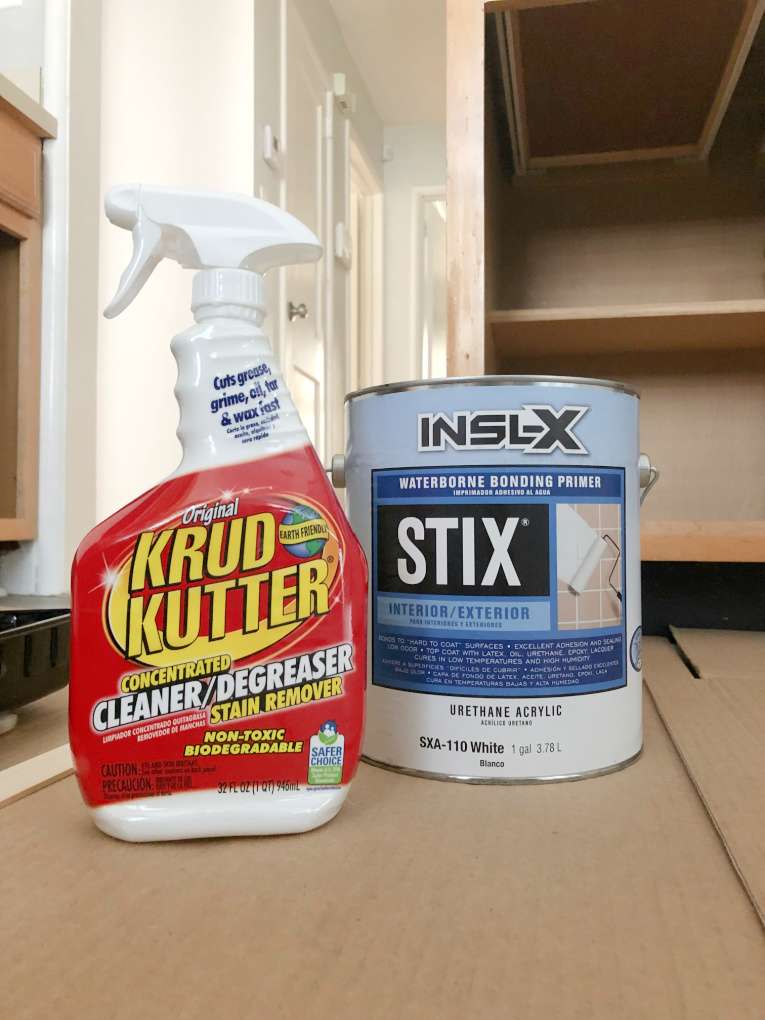
Next, you want to clean all of the cabinet doors and frames really well. I followed the directions on the bottle of Krud Kutter, while wearing chemical resistant gloves. Krud Kutter worked really well at getting off any grease and grime. Once the cabinet frames and doors were clean, I wiped everything down with a lint-free cloth. It is so important to take the time to properly clean and prepare the cabinets.
Next, I taped off the cabinet frames using Frog Tape painter’s tape.
Since I wasn’t working at my home, I had brought the doors back to my home to work in my garage. That way, I could work on them a little each day, giving at least 24 hours to dry between each step.
Priming the Kitchen Cabinet Frames and Doors
It was time to prime! I primed the cabinet frames and doors using INSL-X Bonding Primer. This product was a little pricier than other primers, but it was well worth the investment.
To prime the cabinet frames, I used a 1 inch angled brush to paint along the edges and a fine finish foam roller to paint the frames.
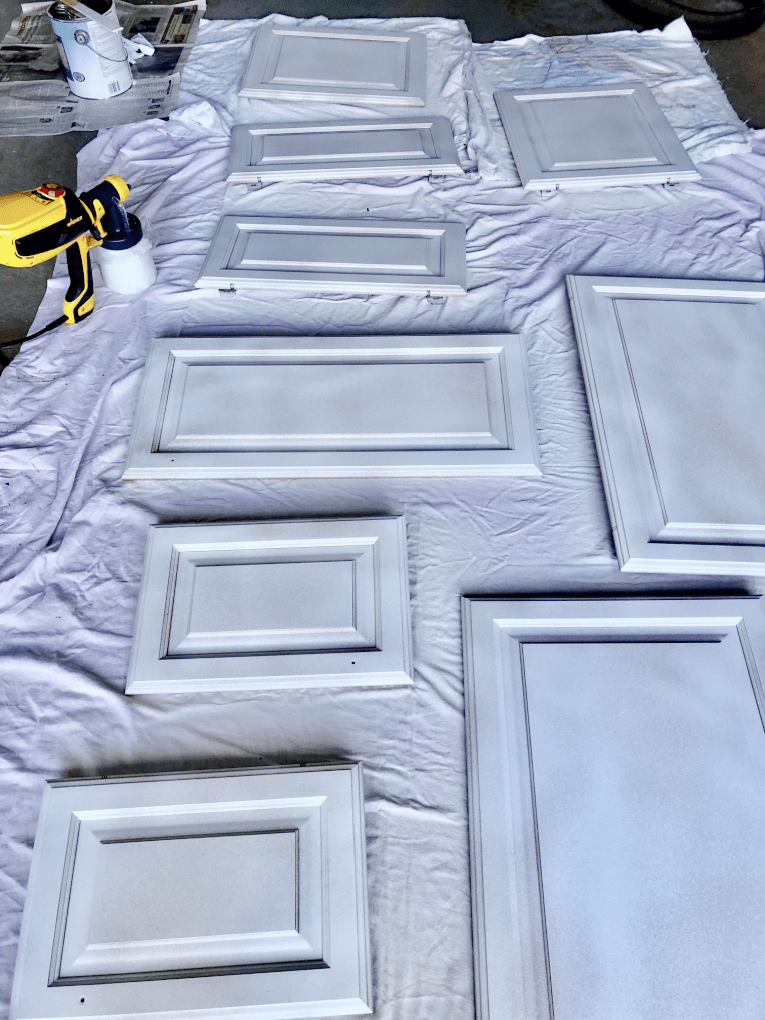
For the cabinet doors, I sprayed them, using my Wagner Flexio 3000 sprayer. This was a huge time saver and made them look so professional. You want to let them dry at least 24 hours before priming the opposite side. Once they are dry, wipe them with a lint-free cloth.
Painting the Kitchen Cabinet Frames and Doors
Now that the cabinets are cleaned, primed, and wiped again, it’s time to paint!
What paint should I use to paint my cabinets?
I chose to use Benjamin Moore’s Advance Paint. My children used to work at our local Ace Hardware and they both recommended this paint to me. This paint is self-leveling and dries to have a hard, durable finish. As it dries, it cures, so it does not require a top coat.
How do you achieve a smooth finish when painting cabinets?
Again, I used the paint sprayer and gave each door and cabinet frame three thin, even coats, giving 24 hours between each one to dry and cure. Using a fine finish foam roller and a high quality one-inch angled brush on the frames helped to achieve a smooth finish.
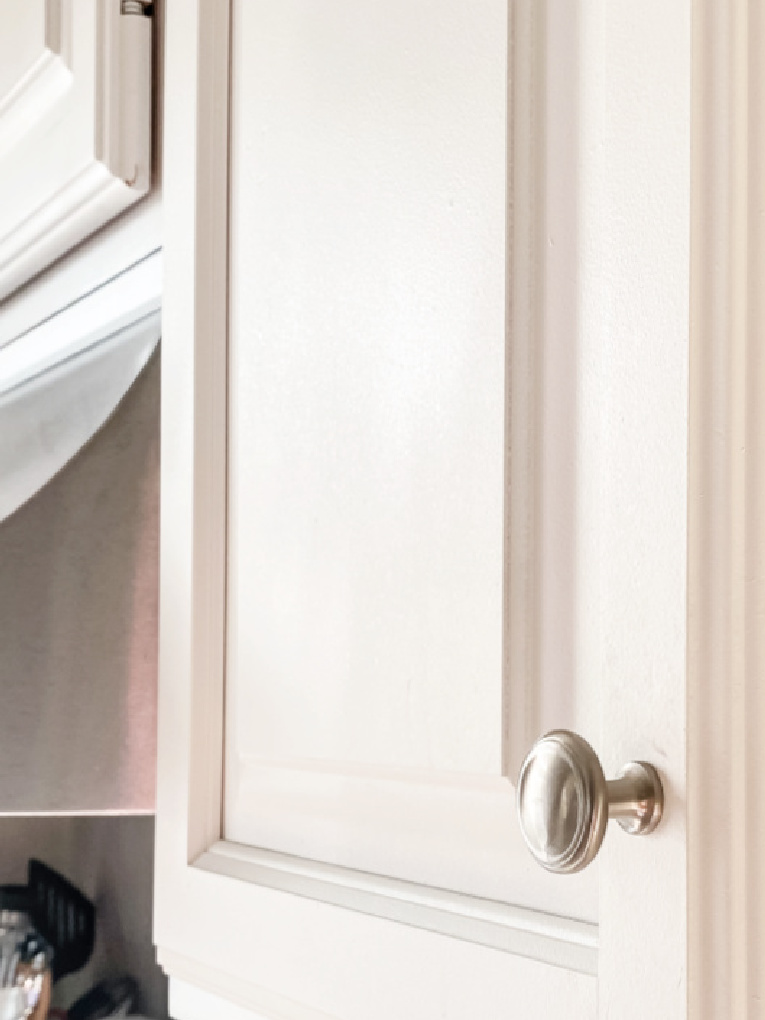
Add Hardware and Hang the Doors
Once the paint was cured, the doors were rehung and we added some new hardware. Lisa chose these classic brushed nickel knobs. I love the simple, timeless look of these.
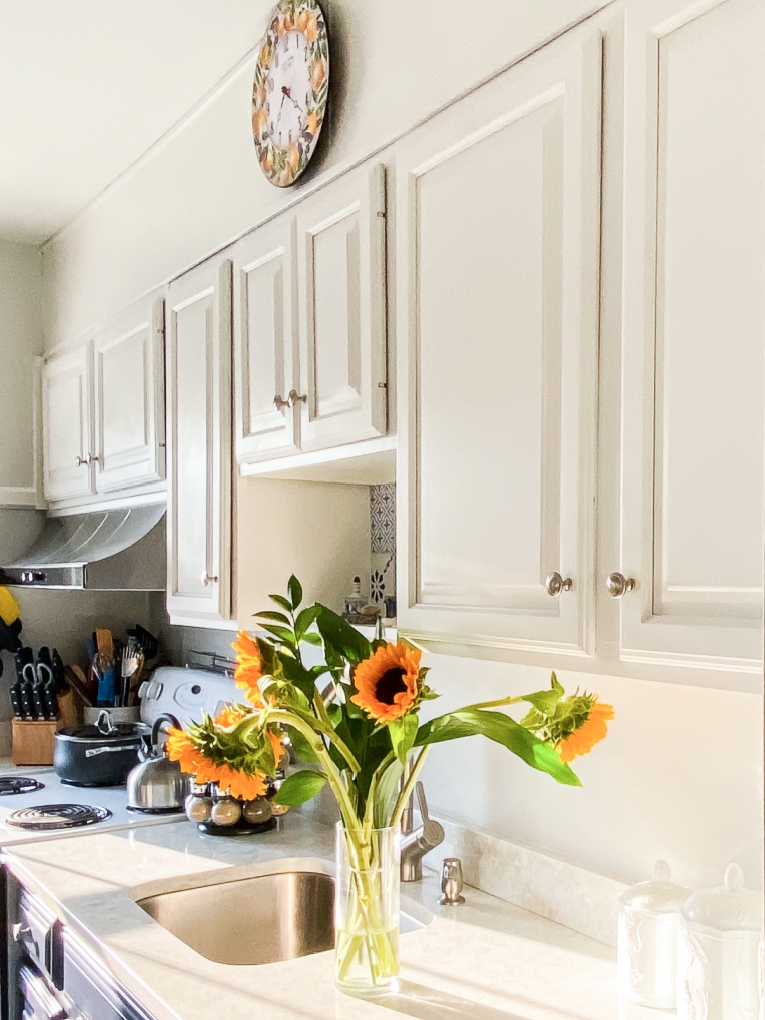
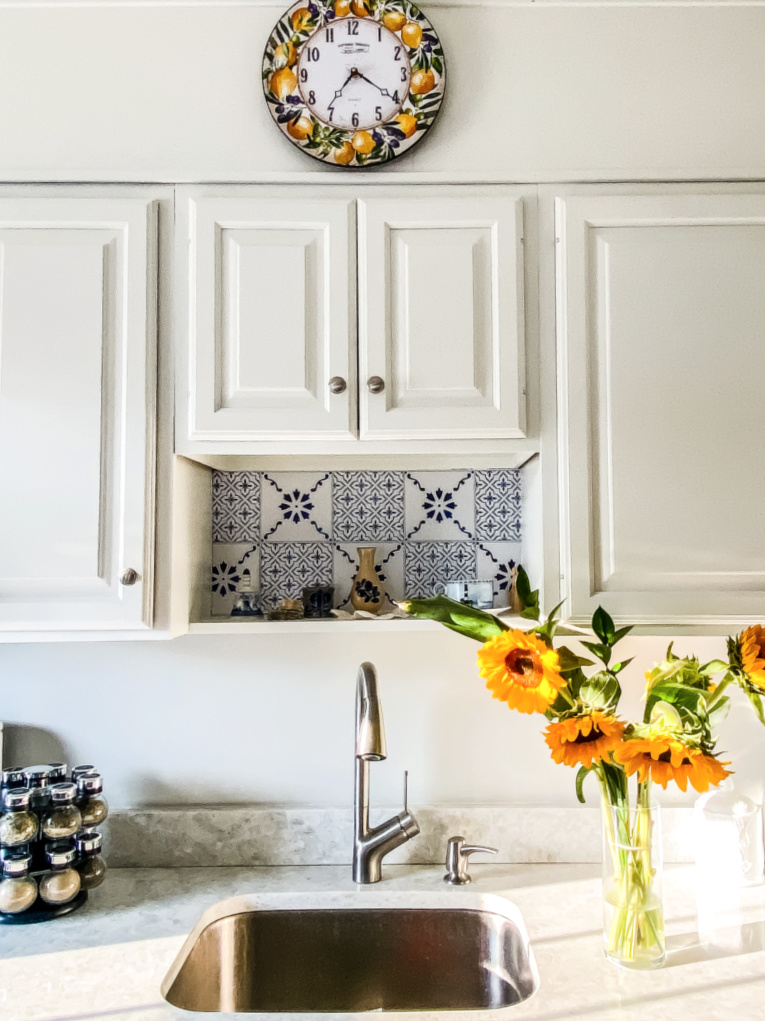
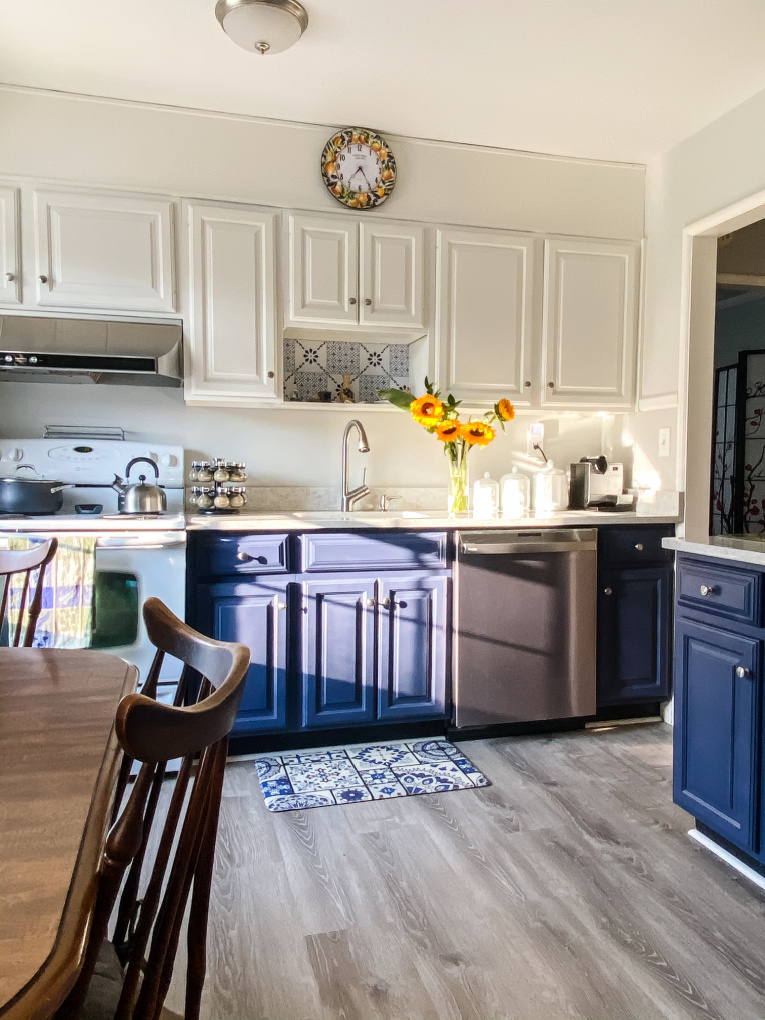
I am absolutely amazed by the transformation of this kitchen. I love how light, bright, and fresh it feels, while maintaining the New England character and charm.

I am so incredibly grateful to Lisa for purchasing this home and for letting me share in its transformation and preservation. Thanks to her, it is a place that will continue to feel like home to me.
Thank you so much for visiting today! I would love to connect with you on Facebook, Instagram, Pinterest, or here on the blog!

Source List:
Wall color: Benjamin Moore: Stonington Gray
Cabinet colors: Benjamin Moore: White Dove (uppers) and Stunning (lowers)
Flooring: Lifeproof Sterling Oak Luxury Vinyl Plank
Light fixture: 13-inch 2-Light Brushed Nickel Flush Mount with Frosted Glass Shade (2-Pack)
Quartz counter tops: Pental Terreno
Faucet: Setra Single-Handle Touchless Pull-Down Sprayer Kitchen Faucet by Kohler
Dishwasher: GE Profile 24 in. Fingerprint Resistant Stainless Steel Dishwasher
Floor Mat: Similar one linked here
Clock: Italian Pottery Style Lemon Wall Clock
The tile look is a sticker, ordered from the same company that I used for my bathroom floor tile stickers.
Oh Lynne – this turned out beautifully!! I so appreciate you detailing each of the steps you took. I have no intention of ever painting kitchen cabinets/doors, but the information you provided will be useful for ANY paint project!! I cannot even imagine having to sell a home that is so much a part of your heart. But happily, someone you know has taken it over which must give you much peace of mind and gratitude! Thank you for sharing this…I would love to see more posts about any other projects for this special little home!
Thank you so much, Kristine! I appreciate your kindness. At the time, selling the house was difficult, but it is such a blessing that one of my dearest friends now owns it. I am so blessed to continue to have a connection to this special place. Thank you so much for your kind words. This project was a labor of love and I think my family would be so pleased with the home’s next chapter. Wishing you a beautiful week! xo
Lynne, the kitchen cabinets look amazing! I am currently painting my kitchen cabinets so I completely understand the work that goes into this project. You did a great job! Pinning!
The kitchen cabinets look wonderful with the paint update. The new dishwasher looks great as well.
These are beautiful. You shared every detail.
Thanks for sharing!
Pinned!
Thank you so much, Cindy! Your kind words are so appreciated!
What a great transformation – and story. Cabinets can be a hard project for many to tackle, and you gave great steps and tips for it.
Thank you, Rosemary! I appreciate your kind comment. It was such a meaningful project!
How lovely that a friend bought the house. The cabinets look good as new!
She is a blessing…a friend that is really more like family. Thank you for your kind comment!
I want to paint our kitchen cabinets so badly but have always been nervous to do it. I have a sprayer and think it’s time to take the plunge. Thank you for the inspiration. The transformation is beautiful.
Thank you so much for your kind words! I can’t wait to see what you decide to do with your kitchen. Whatever you decide, it will be beautiful!
It looks amazing, Lynne! I recently painted my kitchen cabinets, I get how much work it is. This is a gorgeous makeover!
Thank you so much, Marieza! I appreciate your kind words. It is a great deal of work, but so worthwhile!
You did an amazing job on these DIY painted cabinets! Love the decor choices, too!
Thank you so much, Julie! It was such a special project and I am so grateful to be part of it.
What an amazing transformation. This is awesome. Thank you so much for sharing on Fabulous Friday Link Party. We sure appreciate you. Hugs and blessings to you.
Thank you so much for your kind words, Renae! It was such a meaningful project to do. Have a wonderful weekend!
Your kitchen looks AMAZING!
Thank you so much, Elizabeth!
Oh it is so special that a close friend purchased your mom’s home. So nice of you to help paint the cabinets. Love the colors and how bright the kitchen looks now.
Thank you so much, Marie! I am so grateful for my friend and enjoyed this meaningful project!
Lynne, your kitchen transformation is absolutely beautiful! I just love the dark and light together. Nice job, friend!
Thank you so much, Kim! It was such a fun project to do! Wishing you a wonderful week!
Wow, what a difference, worth the mammoth effort!
Lynne, you did an amazing job on your cabinets! Thanks for a great step by step plan.
hugs,
Rachelle
Thank you very much, Rachelle! It was such a fun, meaningful project to complete for my friend!
WOW! The kitchen looks amazing! You did a fabulous job on the cabinets! I think it’s so wonderful that your friend purchased the house and you can still spend time there! Here’s to great friends! Donna
WOW Lynne! What a beautiful transformation! It looks like a lot of work, but well worth it for the finished product. And so lovely that the house stayed with a close friend. I’m so sorry about your Mom, though. Sending love and {{{hugs}}}.
Nice post!
Thank you!