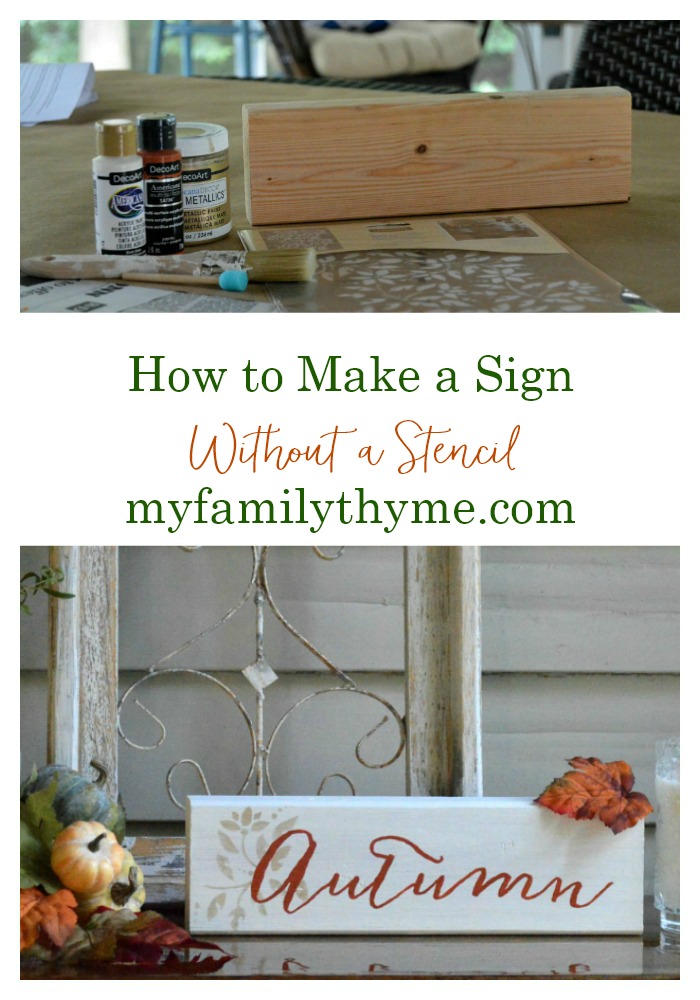
How to Make a Sign Without a Stencil
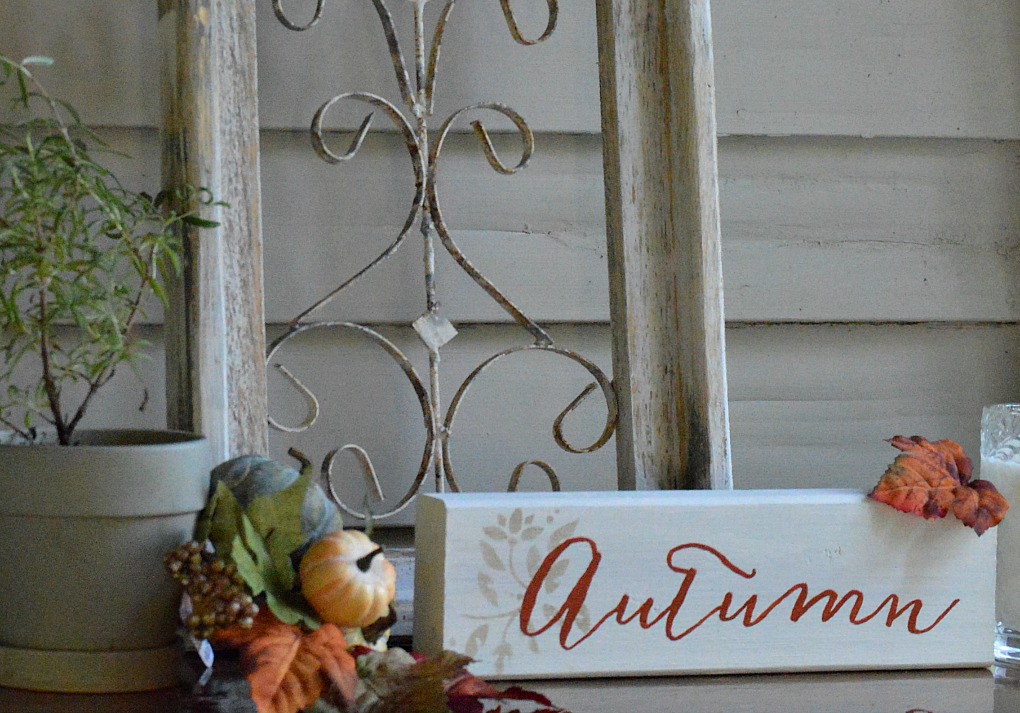
Learn how to make a beautiful, seasonal farmhouse-style sign without a stencil! You will love this easy and inexpensive project!
This post contains affiliate links. If you click on an affiliate link and purchase something, I may receive a small commission, at NO additional cost to you.
Hello! Have I got a great project for you! Today I am sharing a trick that you can use to make yourself a farmhouse-style sign for any time of year! It is so easy and you don’t even need a Cricut or a stencil. Just think…you can make your own farmhouse sign for Halloween, Thanksgiving, Christmas…the possibilities are endless. You can make your own farmhouse style sign for just a couple of dollars!
It’s the first day of the Harvest Home Hop! My friend, Juliette of A Loverly LIfe has organized a wonderful fall inspired blog hop. Over the next few weeks we will bring you ideas and inspiration to welcome fall into your home. If you are joining me from Nicolle, A Tiny Nest, welcome! I will definitely be using her great tips for making my pumpkins last longer!
This is such a simple method that I have used when I made my DIY Sign That Almost Wasn’t and created Back to School, Christmas, and Valentine’s Day Chalkboard Art for my kitchen chalkboard.
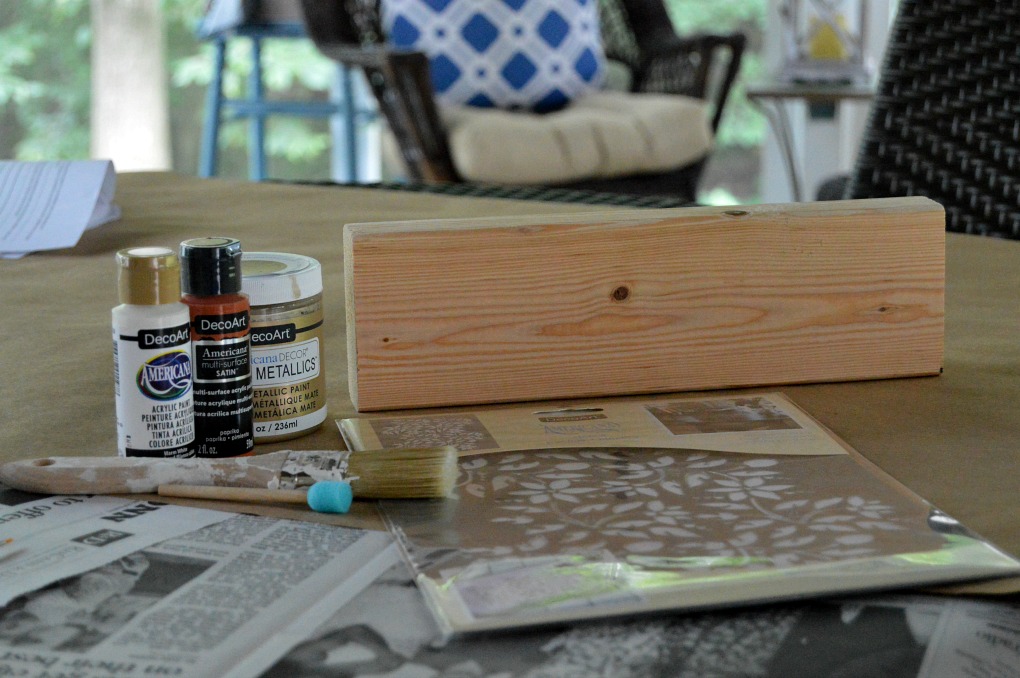
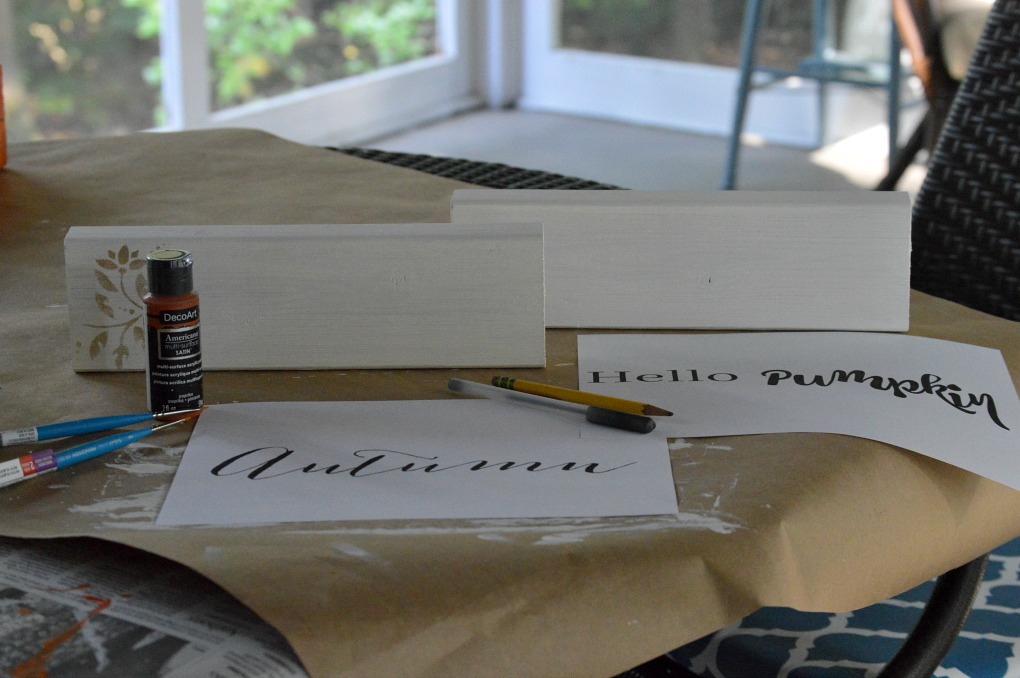
For this project, you will need:
- wood block (I used an 8 foot 2 by 4 from my local home improvement store, cut into 1 foot sections and sanded)
- DecoArt acrylic paint
- DecoArt stencil (This is optional. I did choose to use a stencil to add a little decoration to the sign.)
- variety of paint brushes
- Frog Tape painter’s tape
- printable (I made this Autumn printable by just printing out the word in a decorative font, in landscape mode.)
- pencil
- pen
How to Make Your Sign:
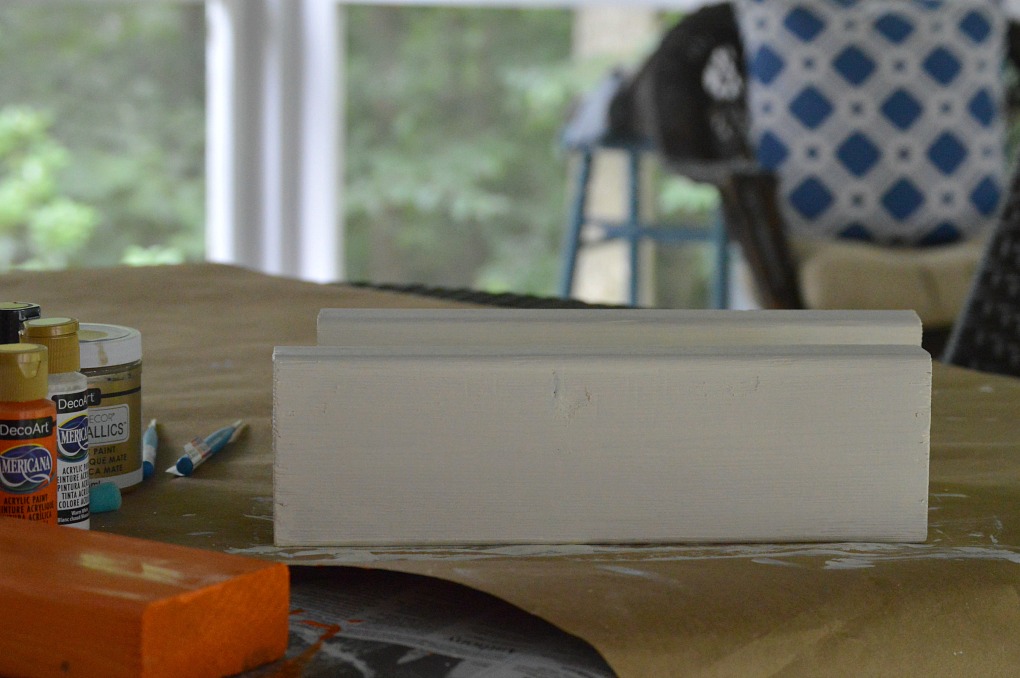
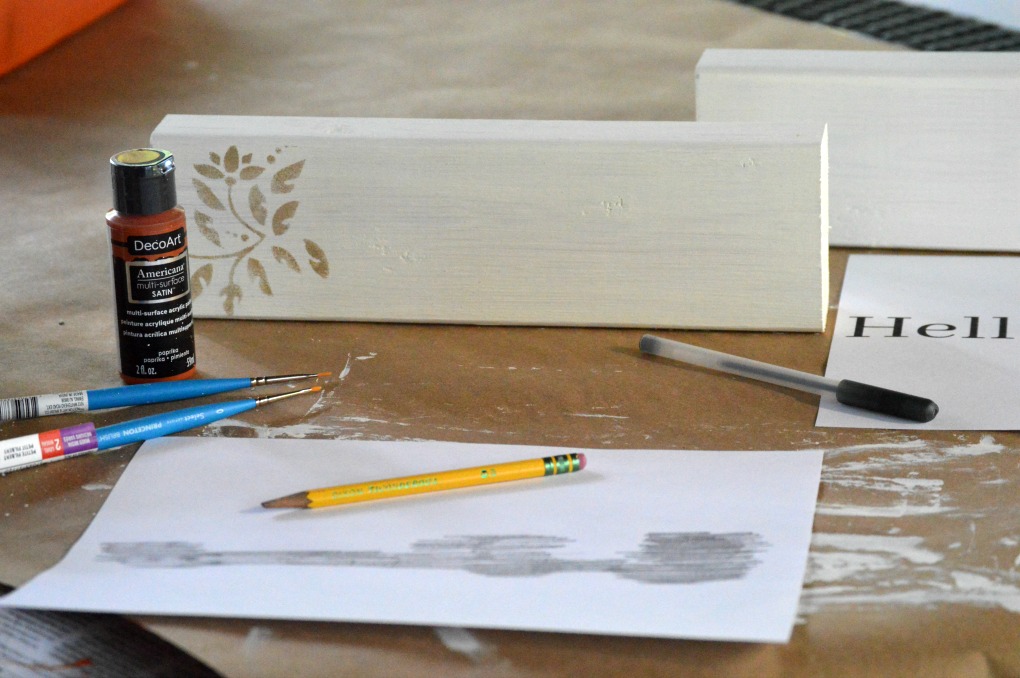
- Paint your wooden block the color of your choice. I used Warm White acrylic paint by DecoArt. This is one of my favorite Deco Art colors. It is a creamy white that provides a beautiful base.
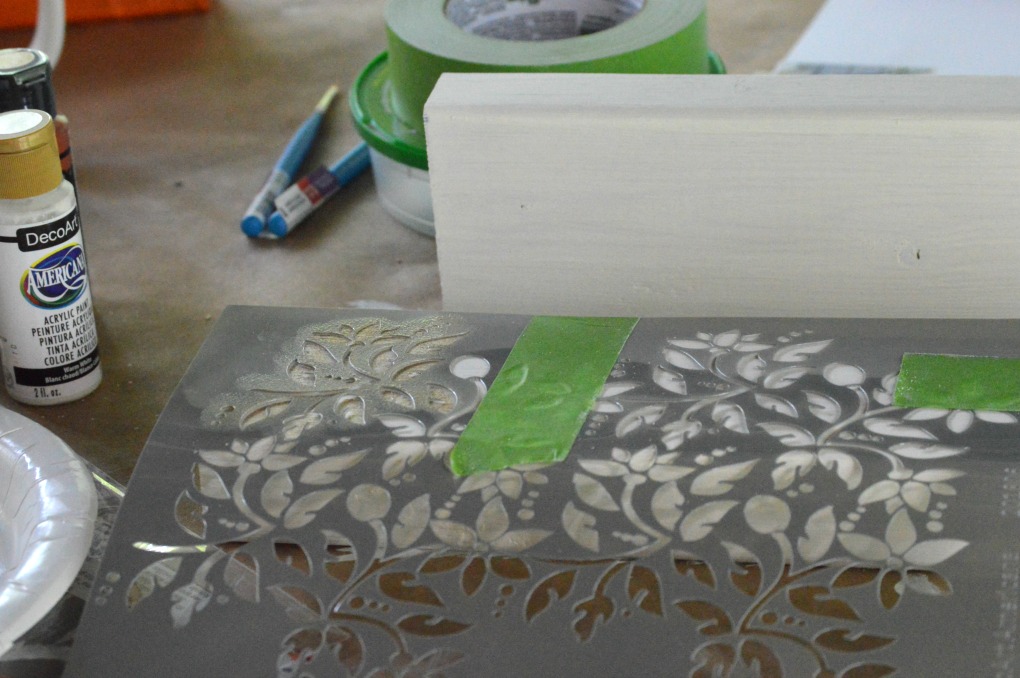
- When the wood block is completely dry, stencil a design of your choice onto the block. If you would like to add a little decoration to your sign, use painter’s tape to adhere the stencil to your project. I also like to use a paper plate as a paint tray.
- Using a foam stencil brush, gently dab off any additional paint. You need very little paint to stencil. Gently dab the foam brush directly onto the stencil, being careful not to rub. I used DecoArt Americana Decor Metallics paint in gold.
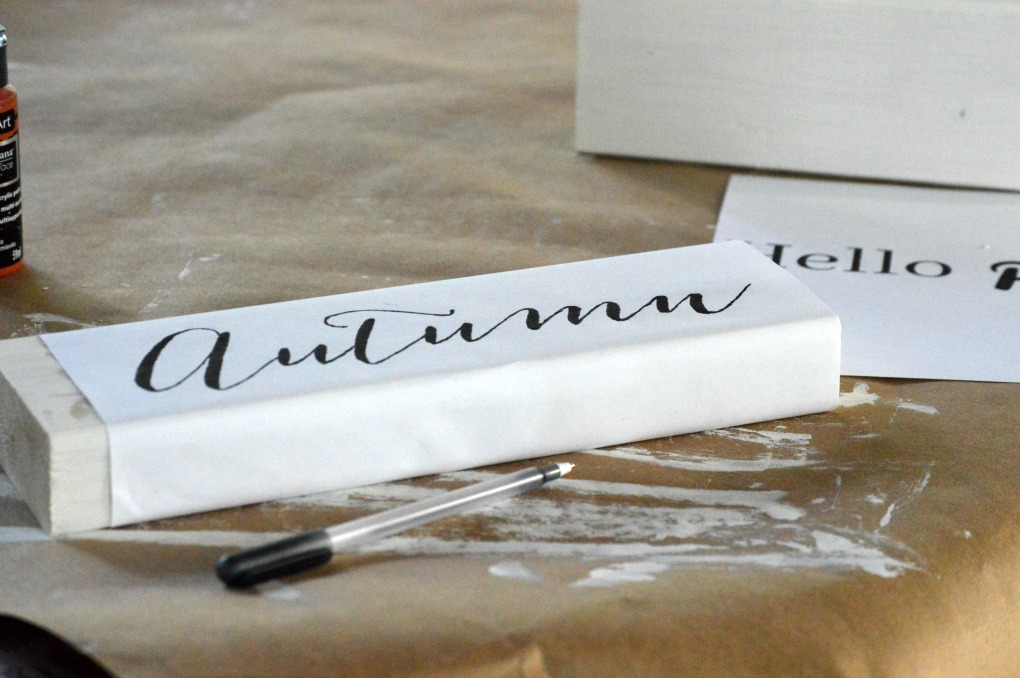
- Next take your printable and rub the back of it with pencil.
- Using the painter’s tape, tape your printable on the block and carefully trace the letters. I used a pen and pushed down hard.
- With a fine paint brush, fill in the lettering with your choice of paint. I used DecoArt Americana Satin Acrylic paint in the color, Paprika.
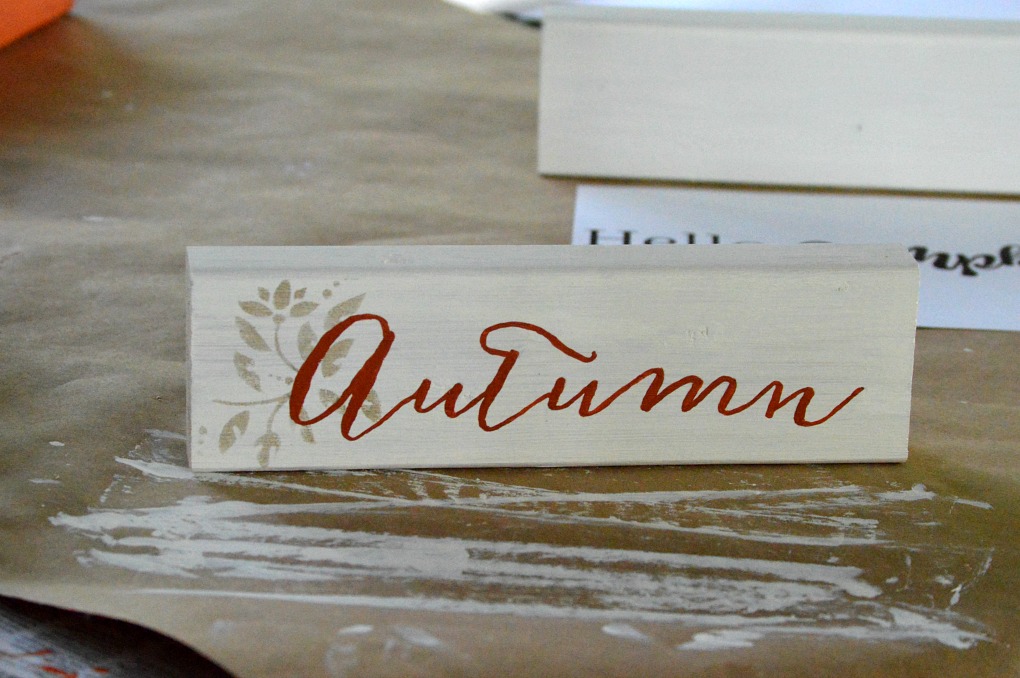
When all the lettering is complete, you are done.
Such an easy and inexpensive project!


I hope you give this project a try! What kind of sign would you like to make?
If you would like to save this post for later, please pin it here!
Please head over and visit the other bloggers sharing their Harvest Home ideas. There are so many amazing ideas for adding touches of fall into your home. Next is Stephanie from Gathered in the Kitchen She is so creative and I just love her wood sign!
Thank you so much for visiting today! I would love to connect with you on Facebook, Instagram, Pinterest, or here on the blog!


Thank you for joining the Harvest Hop 2021
xox Juliet
Shop some of my favorite fall finds!

Hi Lynn! These are absolutely adorable, what an easy project 🙂
Lynne this is so neat. I use the pencil trick all the time. One day I will get a cricut. Thanks for your tutorial. Super cute.
These are so adorable! I have a stack of 4×4 pieces I may try this! Thanks for the inspiration. (I hope I did comment twice. I did not see my previous comment post!)
That turned out cute! I love making signs for my home, and that’s how I do it, since I don’t have a Cricut, and usually there isn’t a stencil with the sentiment that I want. Thanks for the inspiration and the tips!
I love the added touch of the leaves behind the words in a nice subtle color. Pinned.
This is perfect for me, I hate to use stencils!
Such a cute sign! You are ready for fall friend!
Happy Wednesday!
karianne
Oh, thank you for sharing this! I often want to add some sort of lettering to projects and what do you do when you don’t have a stencil or cutting machine? You’ve given us a way to make them!!!! Pinned!
Love the transfer method for making a sign, and this one is so pretty, Lynne! So good to have you at TTA!
Your autumn sign turned out great. Not using a stencil can be tricky, but yours looks wonderful.
Very pretty! The nice thing about making a sign this way is that you can use any font you like!
Love it! I usually just draw something then paint it in, I’m too lazy to find a stencil or image that matches what is in my head. Pinned!
Easy and great way to make signs. I’ve done this before and it’s useful for those that don’t have a cut machine and need a nice way to transfer fonts. Pinned.
Very pretty, Lynne! Saw this featured on My Hubbard Home and love it! Pinned.
Thank you so much, Debra! It was such an honor to be featured on My Hubbard Home! Have a wonderful week!
Hi, Lynne, here is that link where I featured your stencil art. Thank you once more for letting me use it 🙂
https://myhubbardhome.com/friday-with-friends-upcycled-and-diy-crafts/
take care
Rachelle
Thank you so much, Rachelle! I am honored to be included in your post! 🙂
Thanks for the reminder that Autumn is such a lovely term. Why do we use Fall all the time, when we could be using Autumn? Hmmm . . . another mystery of our modern society. I love how your block looks. Maybe I need one in amongst the pumpkins to come.
Great tutorial to follow.
I love this sign, Lynne. I have several wood pieces like this that I can use. Great suggestion for a way to make a simple sign. Happy to be hopping with you.
This is such a great tip – the sign is beautiful.
Thank you for joining the Harvest Hop
Lynne, your writing is so nice! If I tried this my sign would be a big time fail lol. Happy hopoing with you!
Clever idea – I am loving hopping with such talented ladies!
Another wonderful project that can be completed with things you already have in your home! I love this blog hop! Great project!
How cute! I love it and that lettering! Pinning this process for sure! Loved hopping with you, friend.
It couldn’t be a simpler way to introduce the season! I love it! I’ve always wanted to do the pencil trick but never have. I think I need to get some scrap wood from my garage and do some practicing. I actually did do this as a child but that’s too long ago to remember..lol.