Easy DIY Embroidery Hoop Wreath With Fabric
Learn how to create a beautiful DIY Embroidery Hoop Wreath using an embroidery hoop, fabric, ribbon, and embellishments.

There’s still a couple of days left in July. I just couldn’t let our Christmas in July celebration end without joining some blogging friends in sharing some early inspiration for a Blue & White Christmas. If you are visiting from one of these blogger buddies, welcome. We have a variety of blue and white styling and making inspiration for you! Enjoy! I’ll get us started with this Easy DIY Embroidery Hoop Wreath with Fabric.
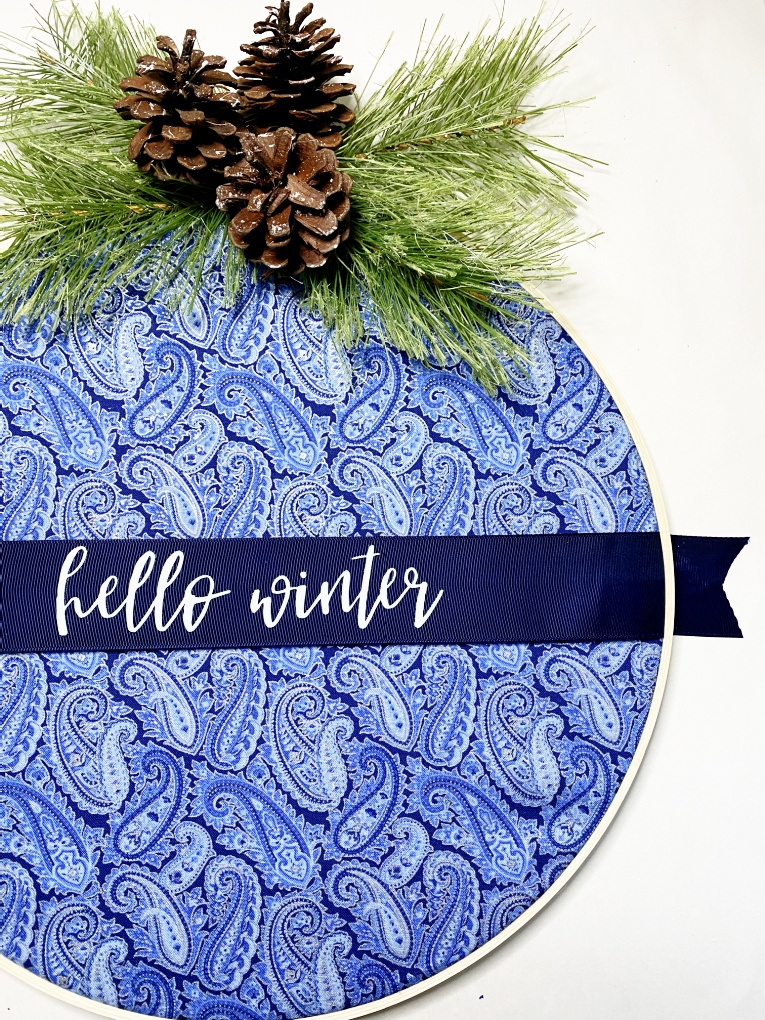
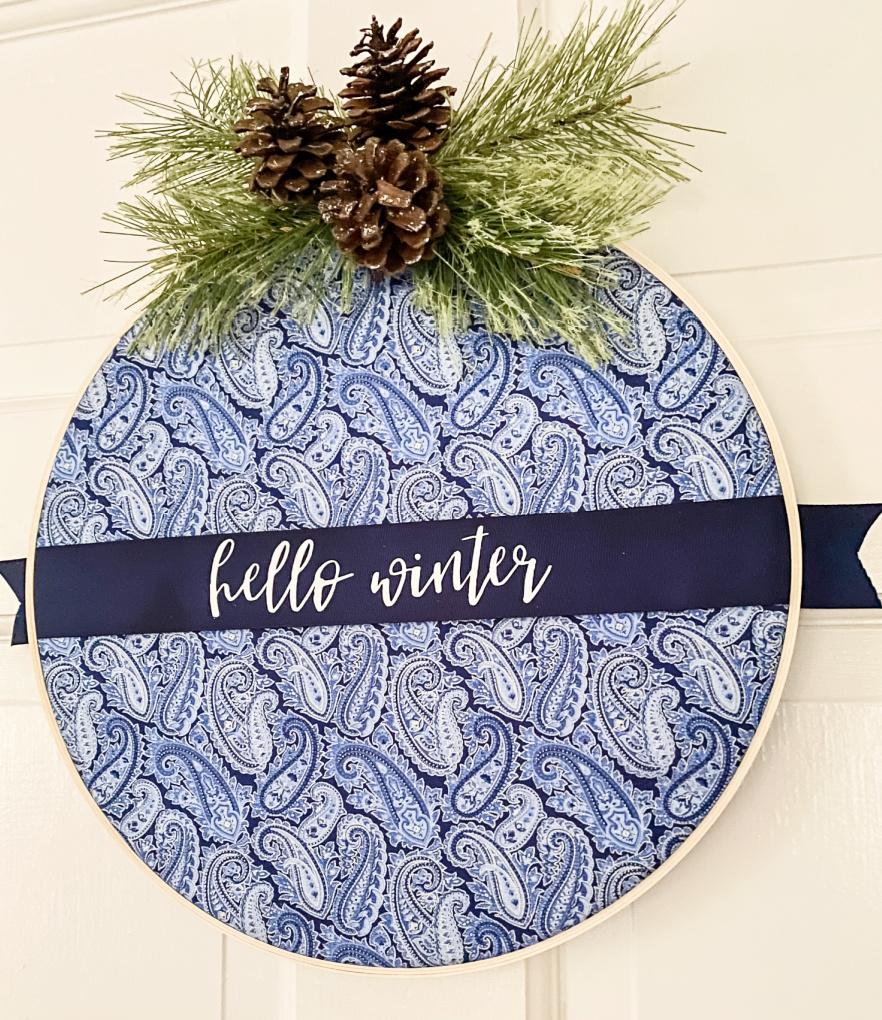
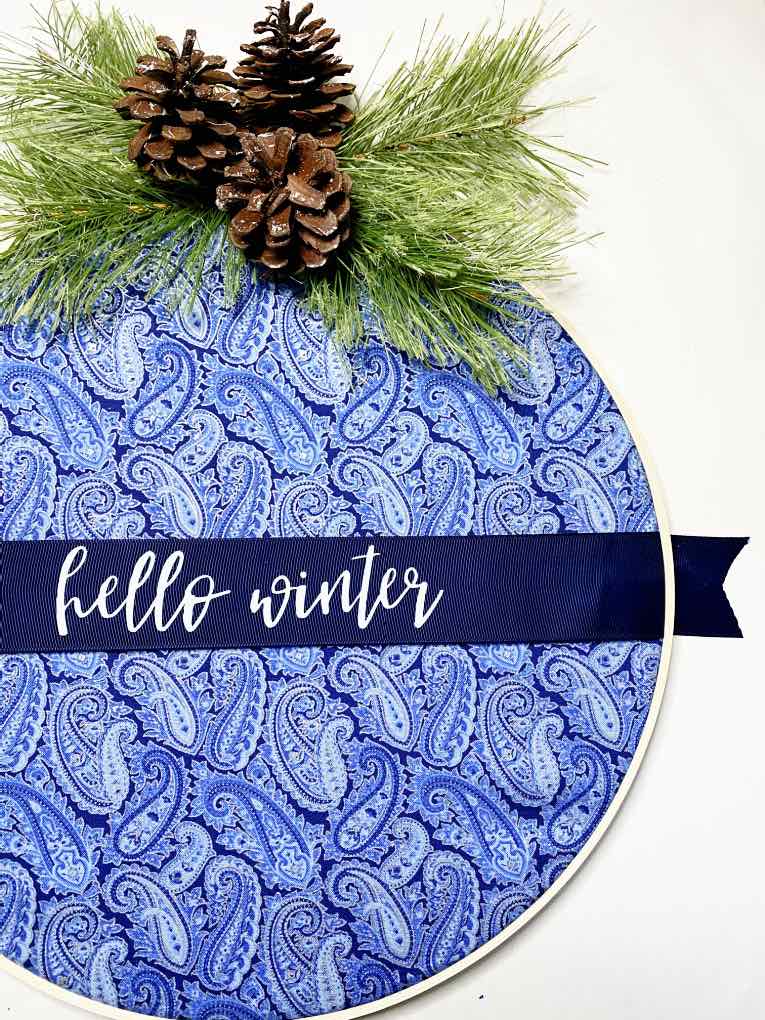
Add a seasonal touch and welcome your guests with this simple wreath. This DIY Embroidery Hoop Wreath with Fabric is a great wreath to make because it is easy, inexpensive, and best of all, can be customized for any season, occasion, or holiday that you would like. Let’s get started!
What do you need to make an embroidery hoop wreath?
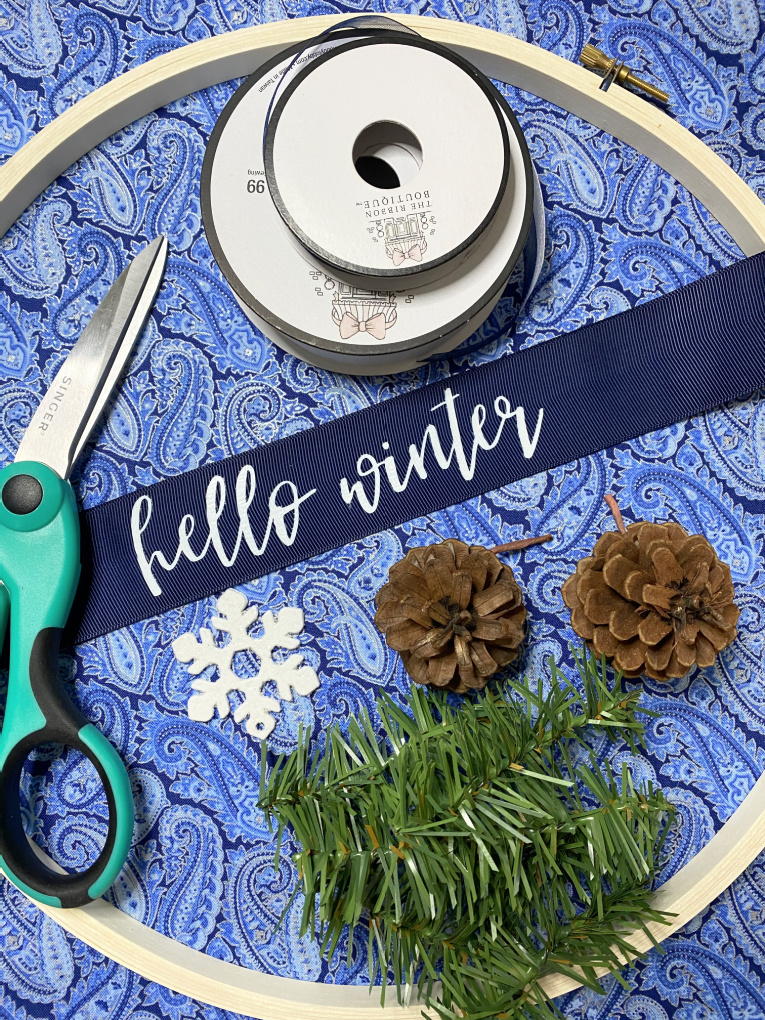
For this wreath you will need a few simple materials. I have included some affiliate links for your convenience. There is no additional cost to you. Please see my disclosure policy for more information.
- an embroidery hoop (I used a 12 inch embroidery hoop. Whichever size you choose will be the size of your wreath.)
- choice of fabric (I purchased 2 inches more than the size of my embroidery hoop. Since the fabric is folder, I was able to make 2 wreaths.)
- ribbon of your choice
- fabric scissors (These are my favorite!)
- hot glue gun and glue
- choice of accents or embellishments for decorating
What will I need to add lettering to the ribbon?
- ribbon (at least 1 1/2 inches wide)
- Cricut Explore Air 2
- Cricut Cutting Mat
- Cricut Heat Transfer Vinyl
- Cricut weeding tool
- Cricut EasyPress or iron
- Cricut EasyPress Mat
- parchment paper
How do you add lettering to the ribbon?
I used grosgrain ribbon that is 1 1/2 inches wide and followed the same process that I used HERE when I created a customized pillow cover with the Cricut.
How do you make an embroidery hoop wreath with fabric?
- Iron your fabric.
- Unscrew the top of your embroidery hoop to separate it.
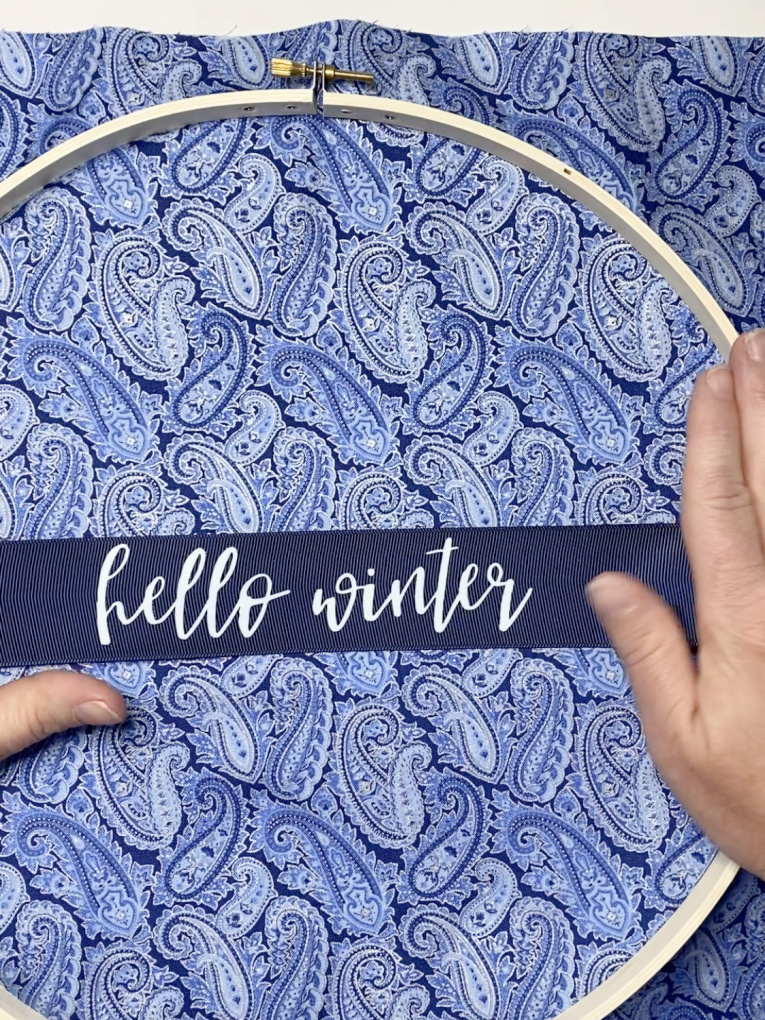
- Place the inner hoop down and lay the fabric and ribbon on top of it.
- When you are happy with the placement, add the larger, outer hoop over it and tighten it by screwing the top.
- Pull on the fabric and ribbon so it is tight.
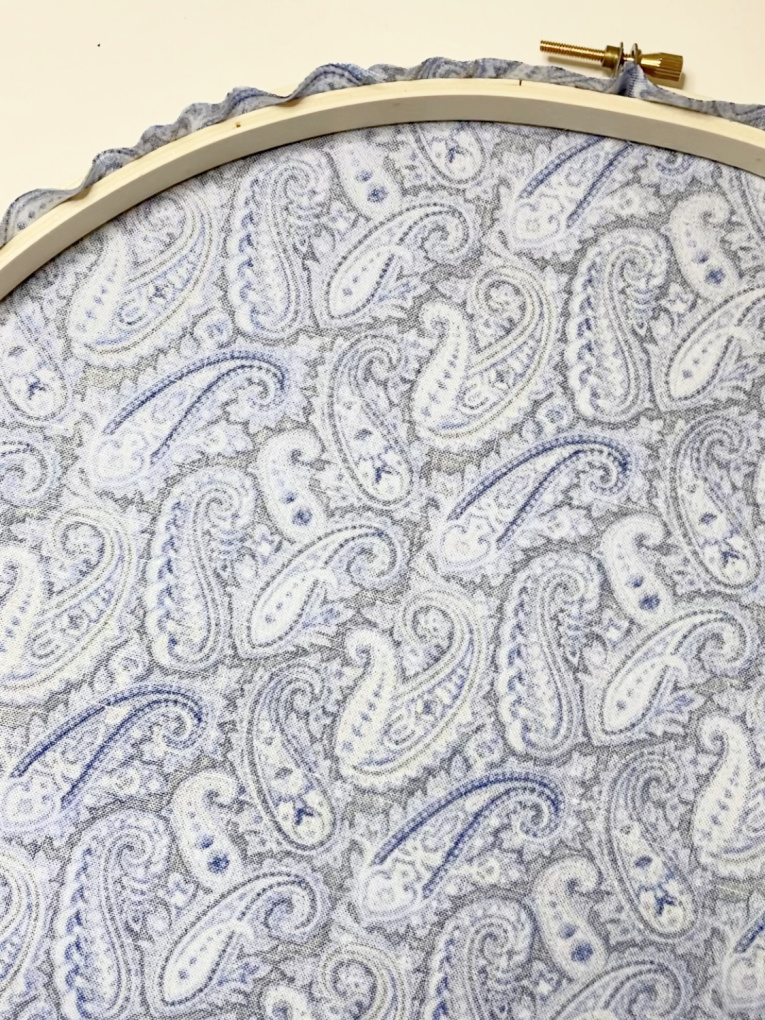
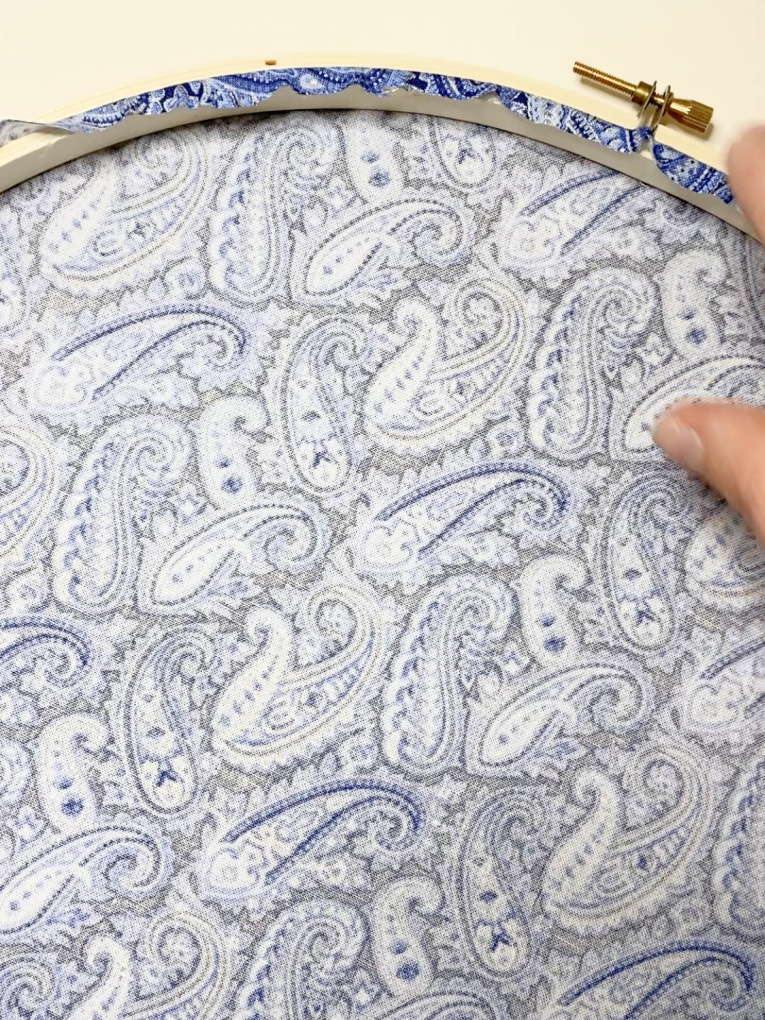
- Turn your wreath over. Using your fabric scissors, trim the excess fabric.
- Use a hot glue gun to glue the excess fabric to the inside of the embroidery hoop.
How do you keep the fabric tight in an embroidery hoop?
By pulling the fabric tight, tightening the screw at the top and gluing the excess fabric to the hoop, the fabric has stayed tight in the embroidery hoop.
Decorate Your Wreath
Next, I went through my stash of craft supplies and dug out some fun accents and embellishments for decoration. I used pine cones, snowflake accents, and winter greenery floral picks. Floral picks are single stems of artificial leaves, flowers, or berries.
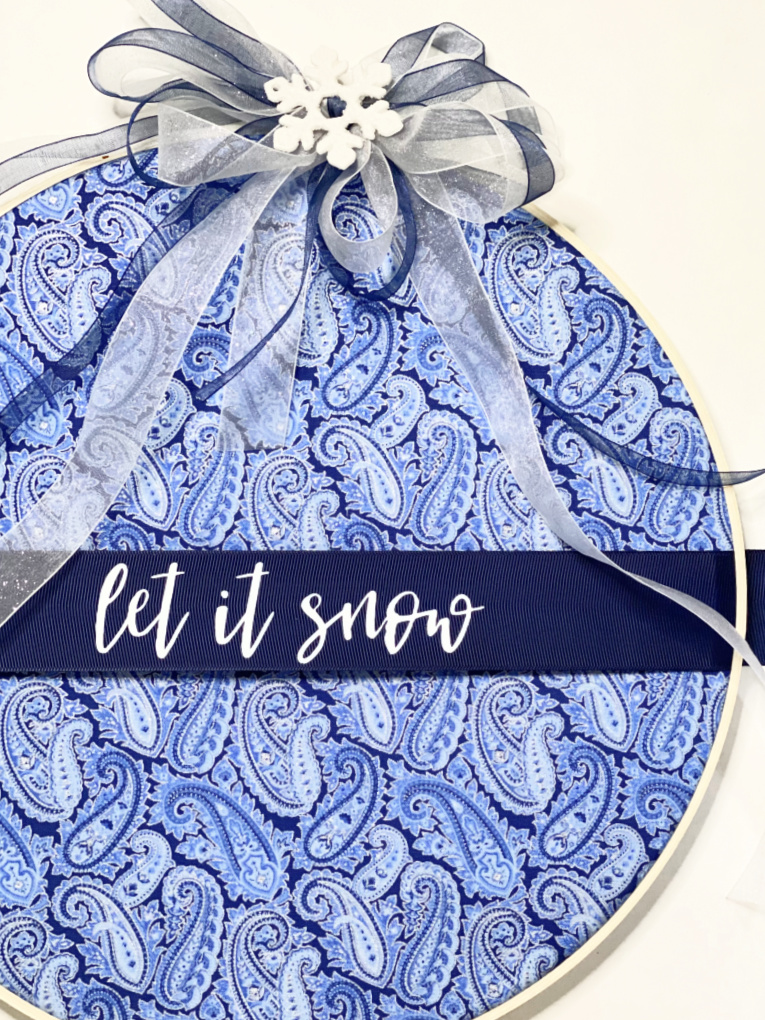
For my first wreath, I layered ribbon and created a bow using my Bowdabra Bow Maker. (I have had this tool for over 20 years and use it to make all of my bows!) Then I just added a snowflake accent.
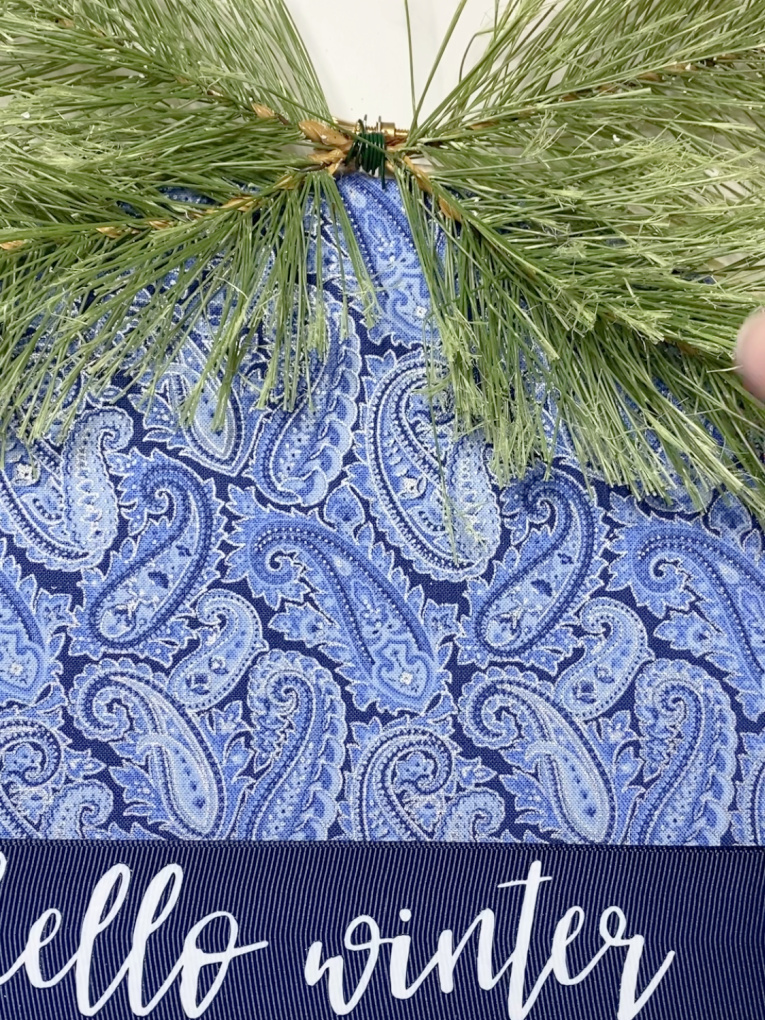
For the second wreath, I used a winter greenery floral pick. I took it apart and used my floral wire cutters to trim
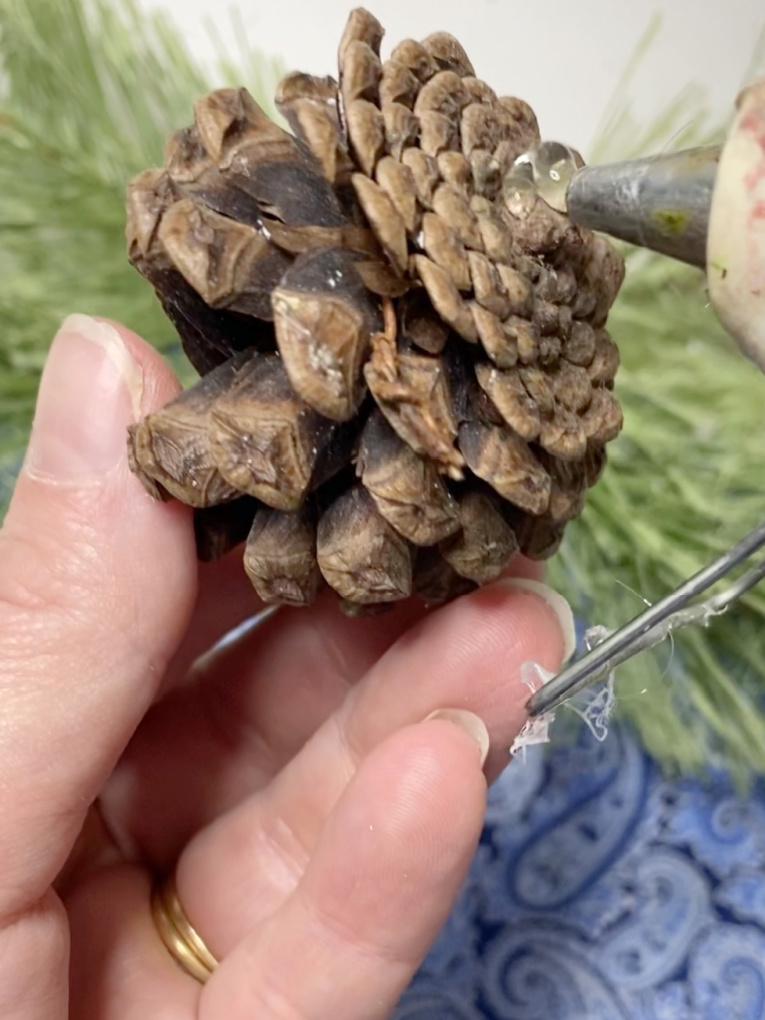
Using some floral wire, I created a small swag with the pieces of greenery and then attached it to the wreath by gluing it into place with hot glue. I finished decorating with a few small pine cones.
To trim the ribbon, just fold it in half and snip at an angle.
Now it is ready to hang.
How do you hang an embroidery hoop wreath?
You may need to add a hook to the wreath using ribbon. Cut a piece of thin ribbon and then glue the two ends of a ribbon together to create a loop. Then, glue the end of the loop onto the back of the embroidery hoop at the top center.
And now be sure to peruse/check out/explore the posts from my Blue & White Christmas friends. We have a bit of something for everyone!

I LOVE this look. But I’ve always been a sucker for paisley. And don’t even get me started on blue and white. And so smart that this can transition right into Winter. That’s a win-win-win
I appreciate your kind words, Diane! Thank you! It was a fun project to make. I loved being part of this blog hop and appreciate you organizing it! xo
What an easy way to bring color into your decor! Turned out so pretty. Glad to hop with you!
I appreciate your kind words, Marie! It’s always wonderful to hop with you!
So adorable! Thank you for the inspiration!! Adding this to my create list!
Thank you so much for your kind words, Leslie! I look forward to seeing your creation too! It’s always fun to hop with you!
What a sweet little project! That looks like something that anymore… Which makes it even better!
Thank you so much, Sue! I am so glad you like it!
This is such a great idea and it will look beautiful on your front door this winter.
Thank you so much, Paula! I appreciate your kind words! xo
What a fun project, it’s such a fun spin on a wreath.
Thank you for being a part of the blog hop, too! I look forward to more projects!
Thank you for your kind words, Juliet! It is always fun to hop with you!
Such a great idea! I love it. It was so fun hopping with you. Hugs to you.
Thank you so much, Renae! It is always wonderful to hop with you! xo
I love this so much! I bought a couple of embroidery hoops recently at a thrift shop and have been holding on to them until I had the perfect project to create…I think this is it! Thank you so much for the great tutorial!
Thank you so much, Stephanie! I appreciate your kind words! I can’t wait to see your project come together. It was so much fun to hop with you!
Love your beautiful wreath! Thanks for the tutorial!
Thank you so much for your kind words, Lauren! Please let me know if you make one. Wishing you a wonderful weekend!
I love your winter door hanger. The best part is it can be used all winter.
Happy Winter,
Kippi
Thank you so much, Kippi! Wishing you a wonderful week! xo