Dollar Tree DIY Sign Art Project: One Room Challenge
Give this easy Dollar Tree DIY sign art project a try!
This post contains affiliate links. As always, all opinions are my own.
Do you realize that there are less than 70 days until Christmas? With the holidays quickly approaching, I am thankful that my sweet friend Susie from The Chelsea Project invited me to join the One Room Challenge, hosted by Calling It Home and House Beautiful. With us already three weeks into the challenge, my guest room will be ready for holiday company. My guest room makeover is coming along slowly, but surely. This week my son was home from college for a visit, so I didn’t spend time on any house projects. Instead, I decided to do a quick, easy, and inexpensive DIY craft. I will use this as sign art on a shelf in my completed guest room.
This craft took just a few minutes and cost only $2. Yes, that’s correct…only $2. I just love a project that costs less than than a cup of coffee.
I had picked up this 8 x 10 inch frame and wall transfer from Dollar Tree. The detail in the frame caught my eye. I figured once it was painted, no one will realize that it is plastic.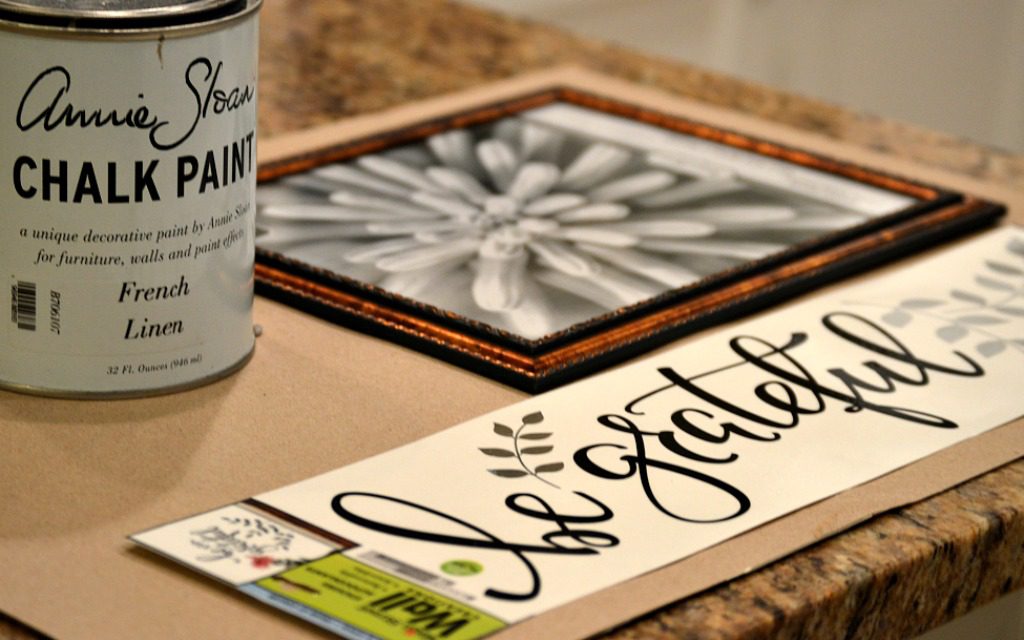
I began by taking the frame apart and giving the glass a good cleaning.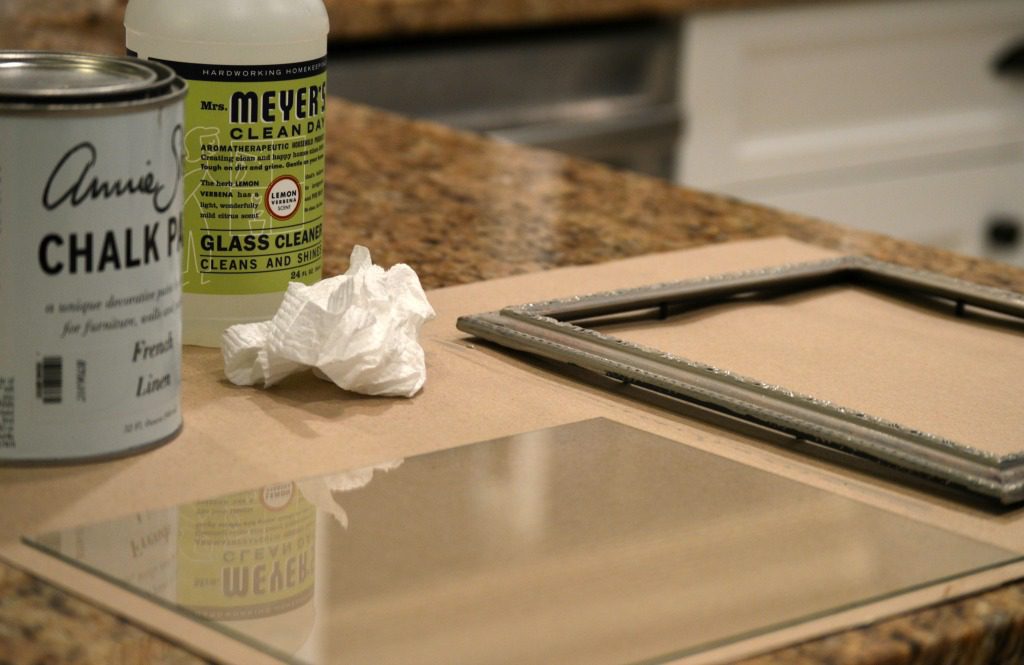
Next, the bargain frame received a quick coat of my favorite Annie Sloan Chalk Paint, in French Linen. I love this gray, taupe color that just looks great with everything. It took two coats of this paint to completely cover the frame.
Between coats of paint, I worked on the transfer. I cut apart the transfer. It wasn’t necessary to do that, but I wanted to space it out on the glass. Once I was happy with the placement, I carefully placed the transfer on the glass.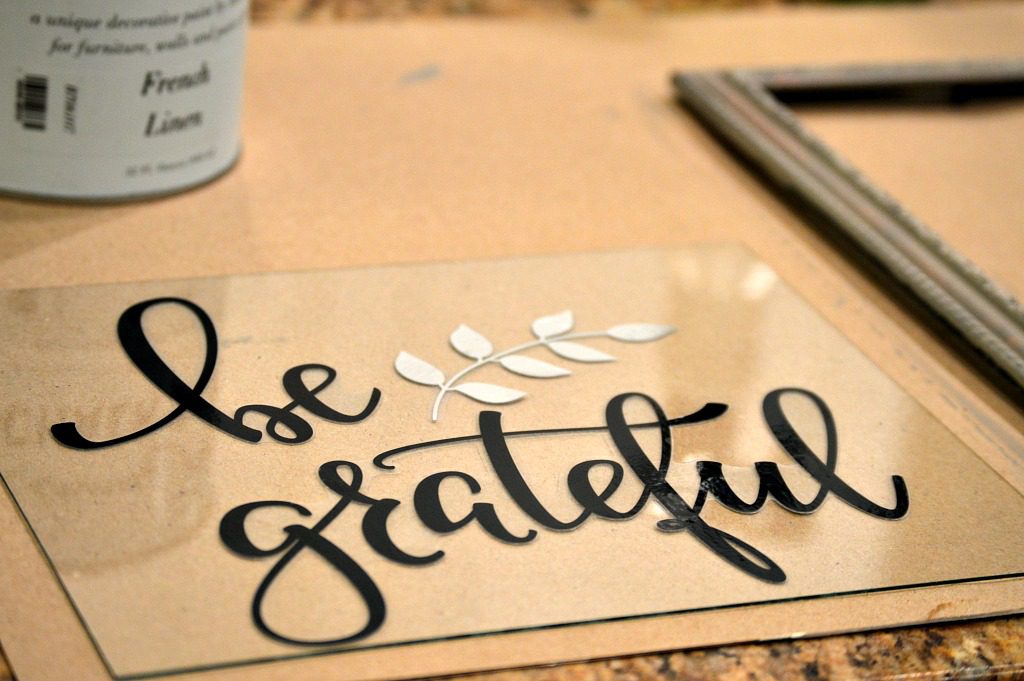
When the frame was dry, I pulled back the prongs that are meant to keep the glass in place so they wouldn’t show through. I added a dab of hot glue to each corner to secure the glass in place.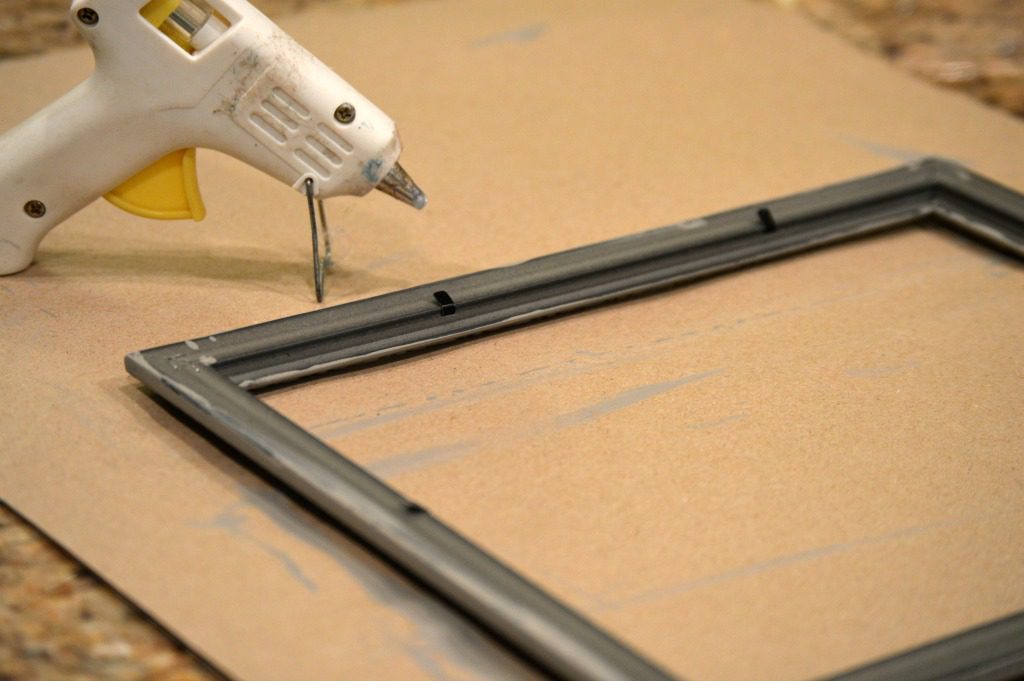
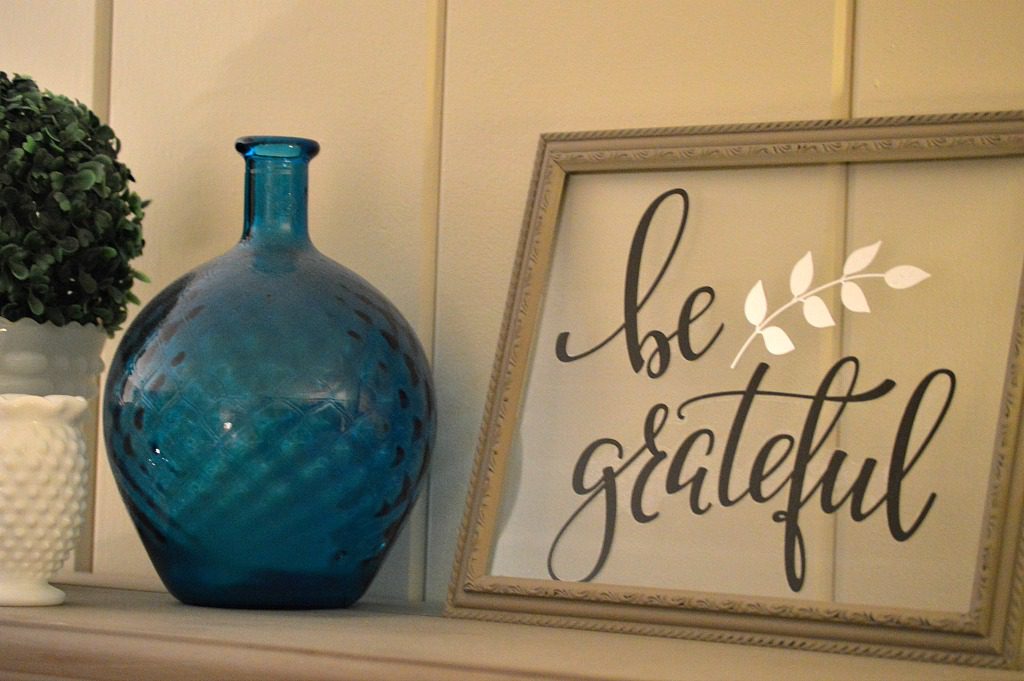
I will display this decorative sign on a shelf for visitors to enjoy in my finished guest room. I hope you check back next week to check out the guest room progress.
You can find great sewing tips and product reviews from our friends at Teach You To Sew
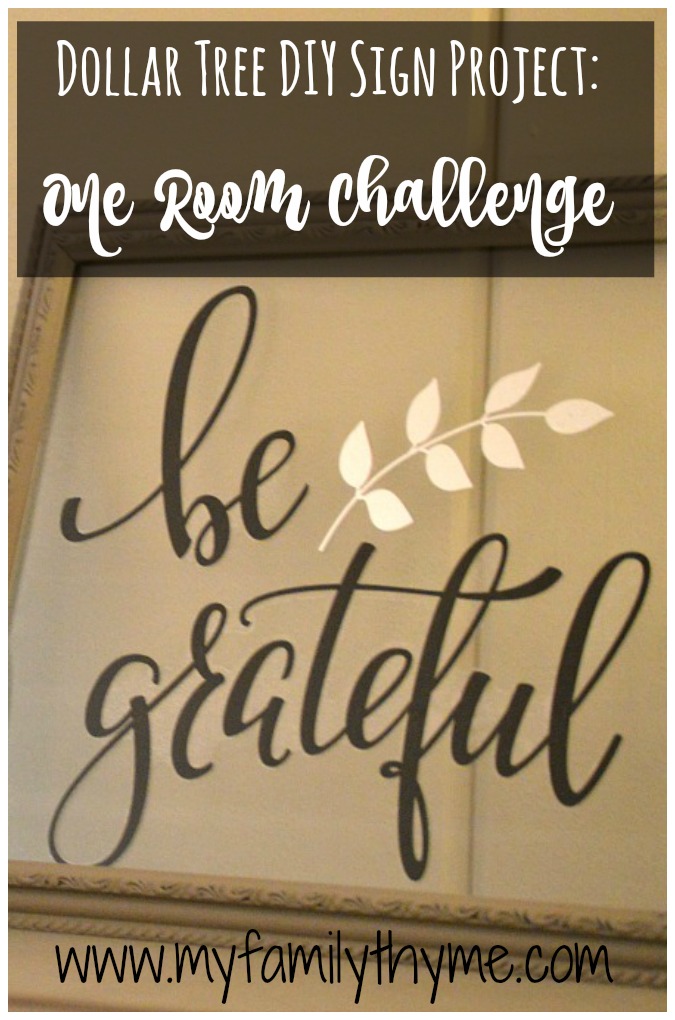
If you want to save this post for later, pin it here:
If you want to make your own sign, visit Dollar Tree for these fun and inexpensive supplies.



This sign is so warm and welcoming – a perfect addition to your guest room! You were right about the detail showing through nicely after the frame was painted – you would never know it was plastic! Can’t wait to see how the whole room turns out!
Thank you so much, my sweet friend! I appreciate your kind comment!
how did you make the transfer?
I purchased the transfer at Dollar Tree.
Very cute. Looks like a much more expensive accessory.
Thank you so much, Darla! I am so happy with the way it turned out. Wishing you a great weekend!
That is so adorable and what a great idea to make something yourself than just going out and buying a picture!
Thank you so much, Christine! I appreciate your kind comment. Have a wonderful weekend!
This is super cute! I will have to keep this in mind as I am working on redecorating the kitchen!
Thanks so much, Katie! Good luck with your kitchen. Wishing you a great week!
I LOVE this! I need to be watching for these items at my local Dollar Tree!
Thank you so much, Julie! I hope you find these items and give this a try! Wishing you a wonderful week ahead!
That is so cute and who doesn’t love an adorable project for just mere pennies?! Pinned.
Thank you so much, Joanne! I hope you give this project a try! 🙂
So pretty! Thank you for sharing at The Really Crafty Link Party. Pinned.
Thanks so much, Teresa! 🙂
Ooo, this is a lovely way to make personalised art for next to nothing. Pinning.
Thank you so much, Julie! I appreciate your kind comment and hope you give this project a try!
That looks so lovely Lynne and it’s so apt for a guest room too. Pinning, love the way it turned out
Thank you so much, Michelle! I appreciate your kind comment!
Congratulations Lynne, your lovely art project was the most popular over at our Sweet Inspiration link party.
Thank you so much, Mary! I am so excited and appreciative to be featured on your link party. Wishing you a great week ahead!
Your project is so nice. It would make a nice gift just to make someone’s day.