How to Hang a Picture on a Wall Using Tape
Use this step by step tutorial to learn how to perfectly hang a picture on a wall using painter’s tape.

I have been plugging along as a guest participant in the Spring One Room Challenge! This bi-annual challenge is a gathering and celebration of home decor bloggers and designers hosted by Linda from Calling It Home. This eight-week design challenge will follow 20 featured designers along with hundreds of guest participants. Participants are challenged to makeover a space in their home, while sharing their progress along the way. Each week, a wealth of inspiration and creativity is shared!

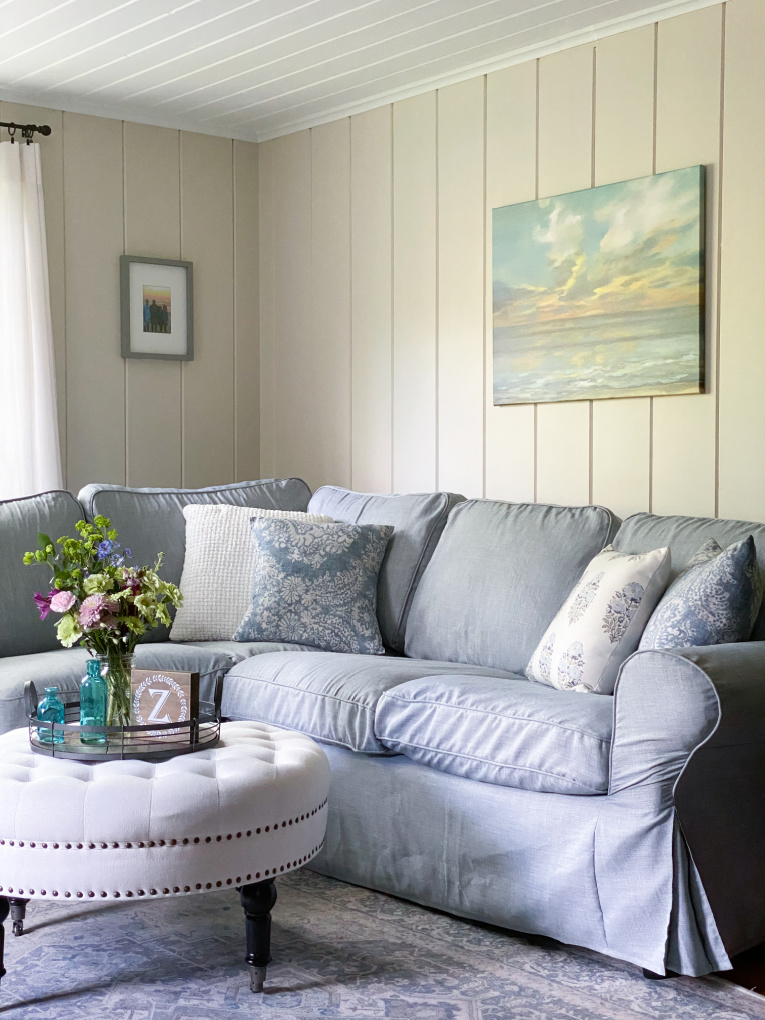
I am continuing to refresh and update my family room. You can read all about my plan for this room HERE and How to Fix Ceiling Water Stains.
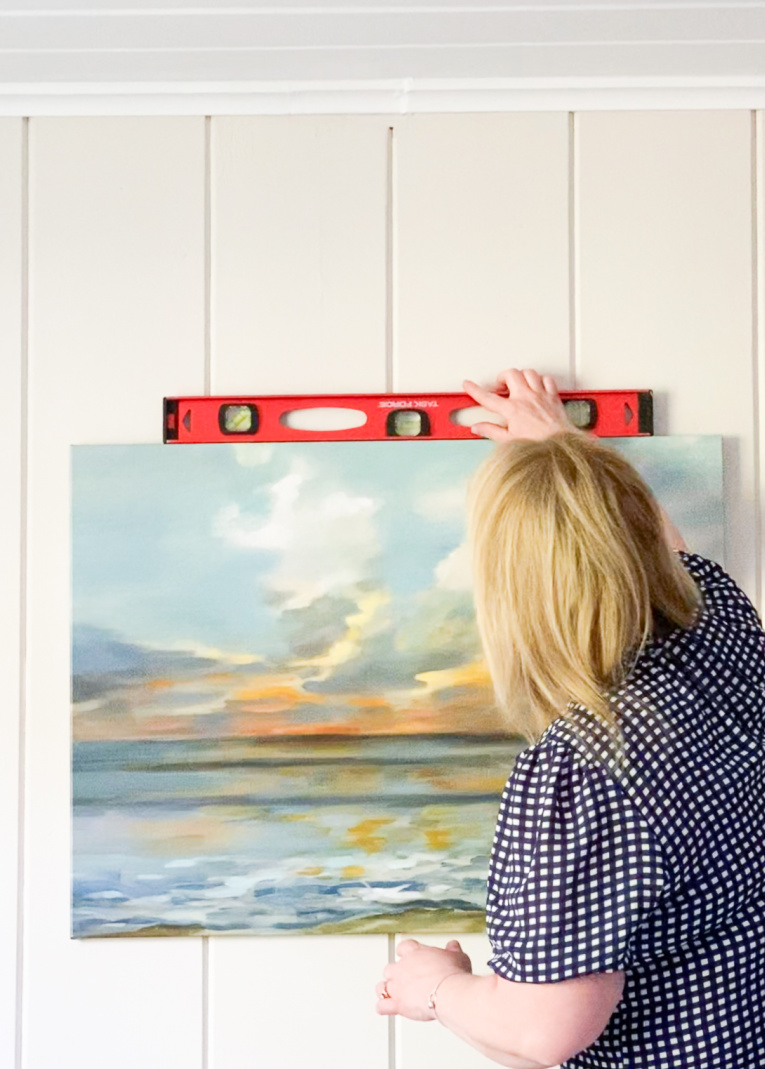
Hanging a picture perfectly on a wall, especially when there are two hooks, can be a challenge. With this simple trick, your pictures will hang perfectly straight the first time!
I received this beautiful Rhythmic Sunset Waves canvas print from my friends at Photowall. I am so happy with the quality and design of this beautiful custom-made canvas. To hang it perfectly on my family room room wall, I used this simple picture hanging hack.
Materials Needed:
- picture
- painter’s tape
- pencil
- level
- nail or picture hanger
- hammer
Instructions to Hang a Picture Perfectly Straight
Step One: Place a piece of painter’s tape across the back of your picture.
Step Two: With a pencil, mark the tape precisely where the nail or picture hanger will need to go.
Step Three: Place the tape on the wall where you want to hang your picture. Use your level to ensure the tape is straight.

Step Four: Hammer your nails where you have made your marks on the tape.
Step Five: Remove your tape and hang your picture.
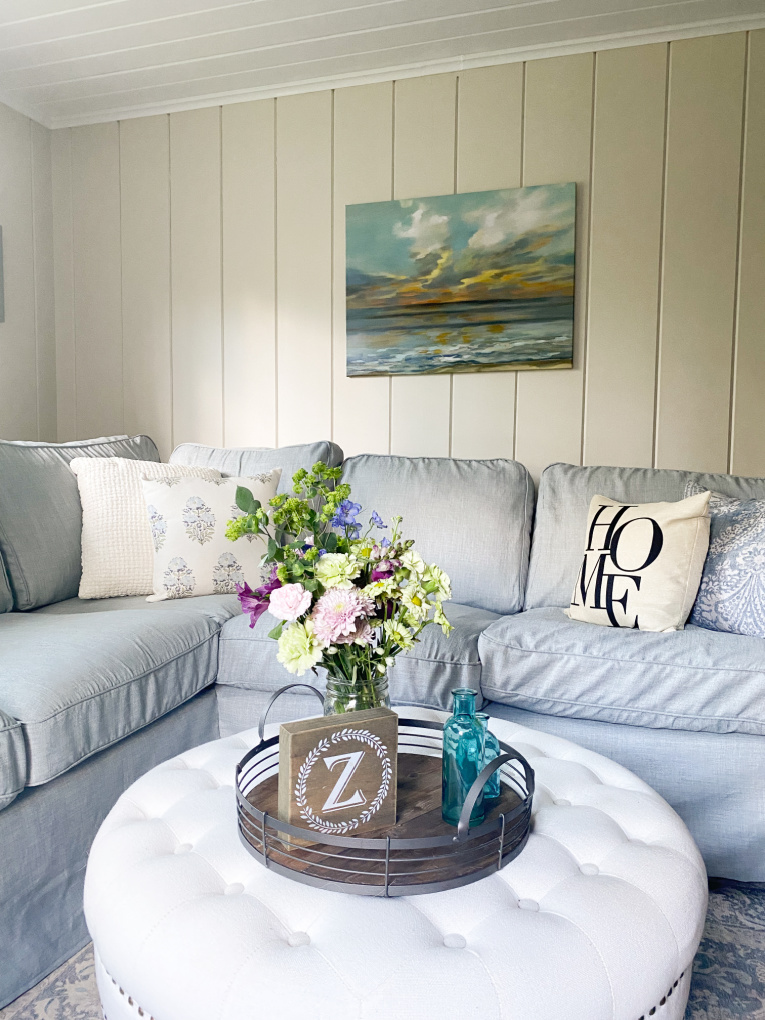
That’s it! Just five easy steps and no extra holes or damage to the walls!
I hope that this is helpful to you. Please stop back next week as I share some more progress on this room refresh.
If you are interested in learning more about the beautiful, custom canvas, head over to visit my friends at Photowall. I am excited to partner with them to bring you a special. Just use the code myfamilythyme25 at checkout and receive a 25% discount!
Thank you so much for visiting today. I am so grateful for you! I would love to connect with you on Facebook, Instagram, Pinterest, or here on the blog!

Brilliant idea for perfect picture hanging, Lynne! And I love the picture you selected for your space too!
Thank you so much for your kind words, Janet! I appreciate you! Wishing you a great week ahead!
I always make Rich hang my pictures, but with your tips, I think I could do it by myself! You made it look so easy! Thanks and have a great week! Donna
Thanks for the tips. Since I am a tenant in the house, I cannot drill the walls. My paintings were in ridiculous places.
Hi Lynne- This is a great idea and so simple. Great photos too! Thank you for sharing. Pinned.